
Photo Logbook: Building the XXL Lysimeter Weathering Experiment
Based on the results from last year’s enhanced weathering experiments on our field in Fürth we decided to build a new, improved experiment in 2022: The XXL Lysimeter Project. For this experiment we had to engineer and build 20 large lysimeters and put them into the field. This is a photo logbook of this process.

Building the Lysimeters
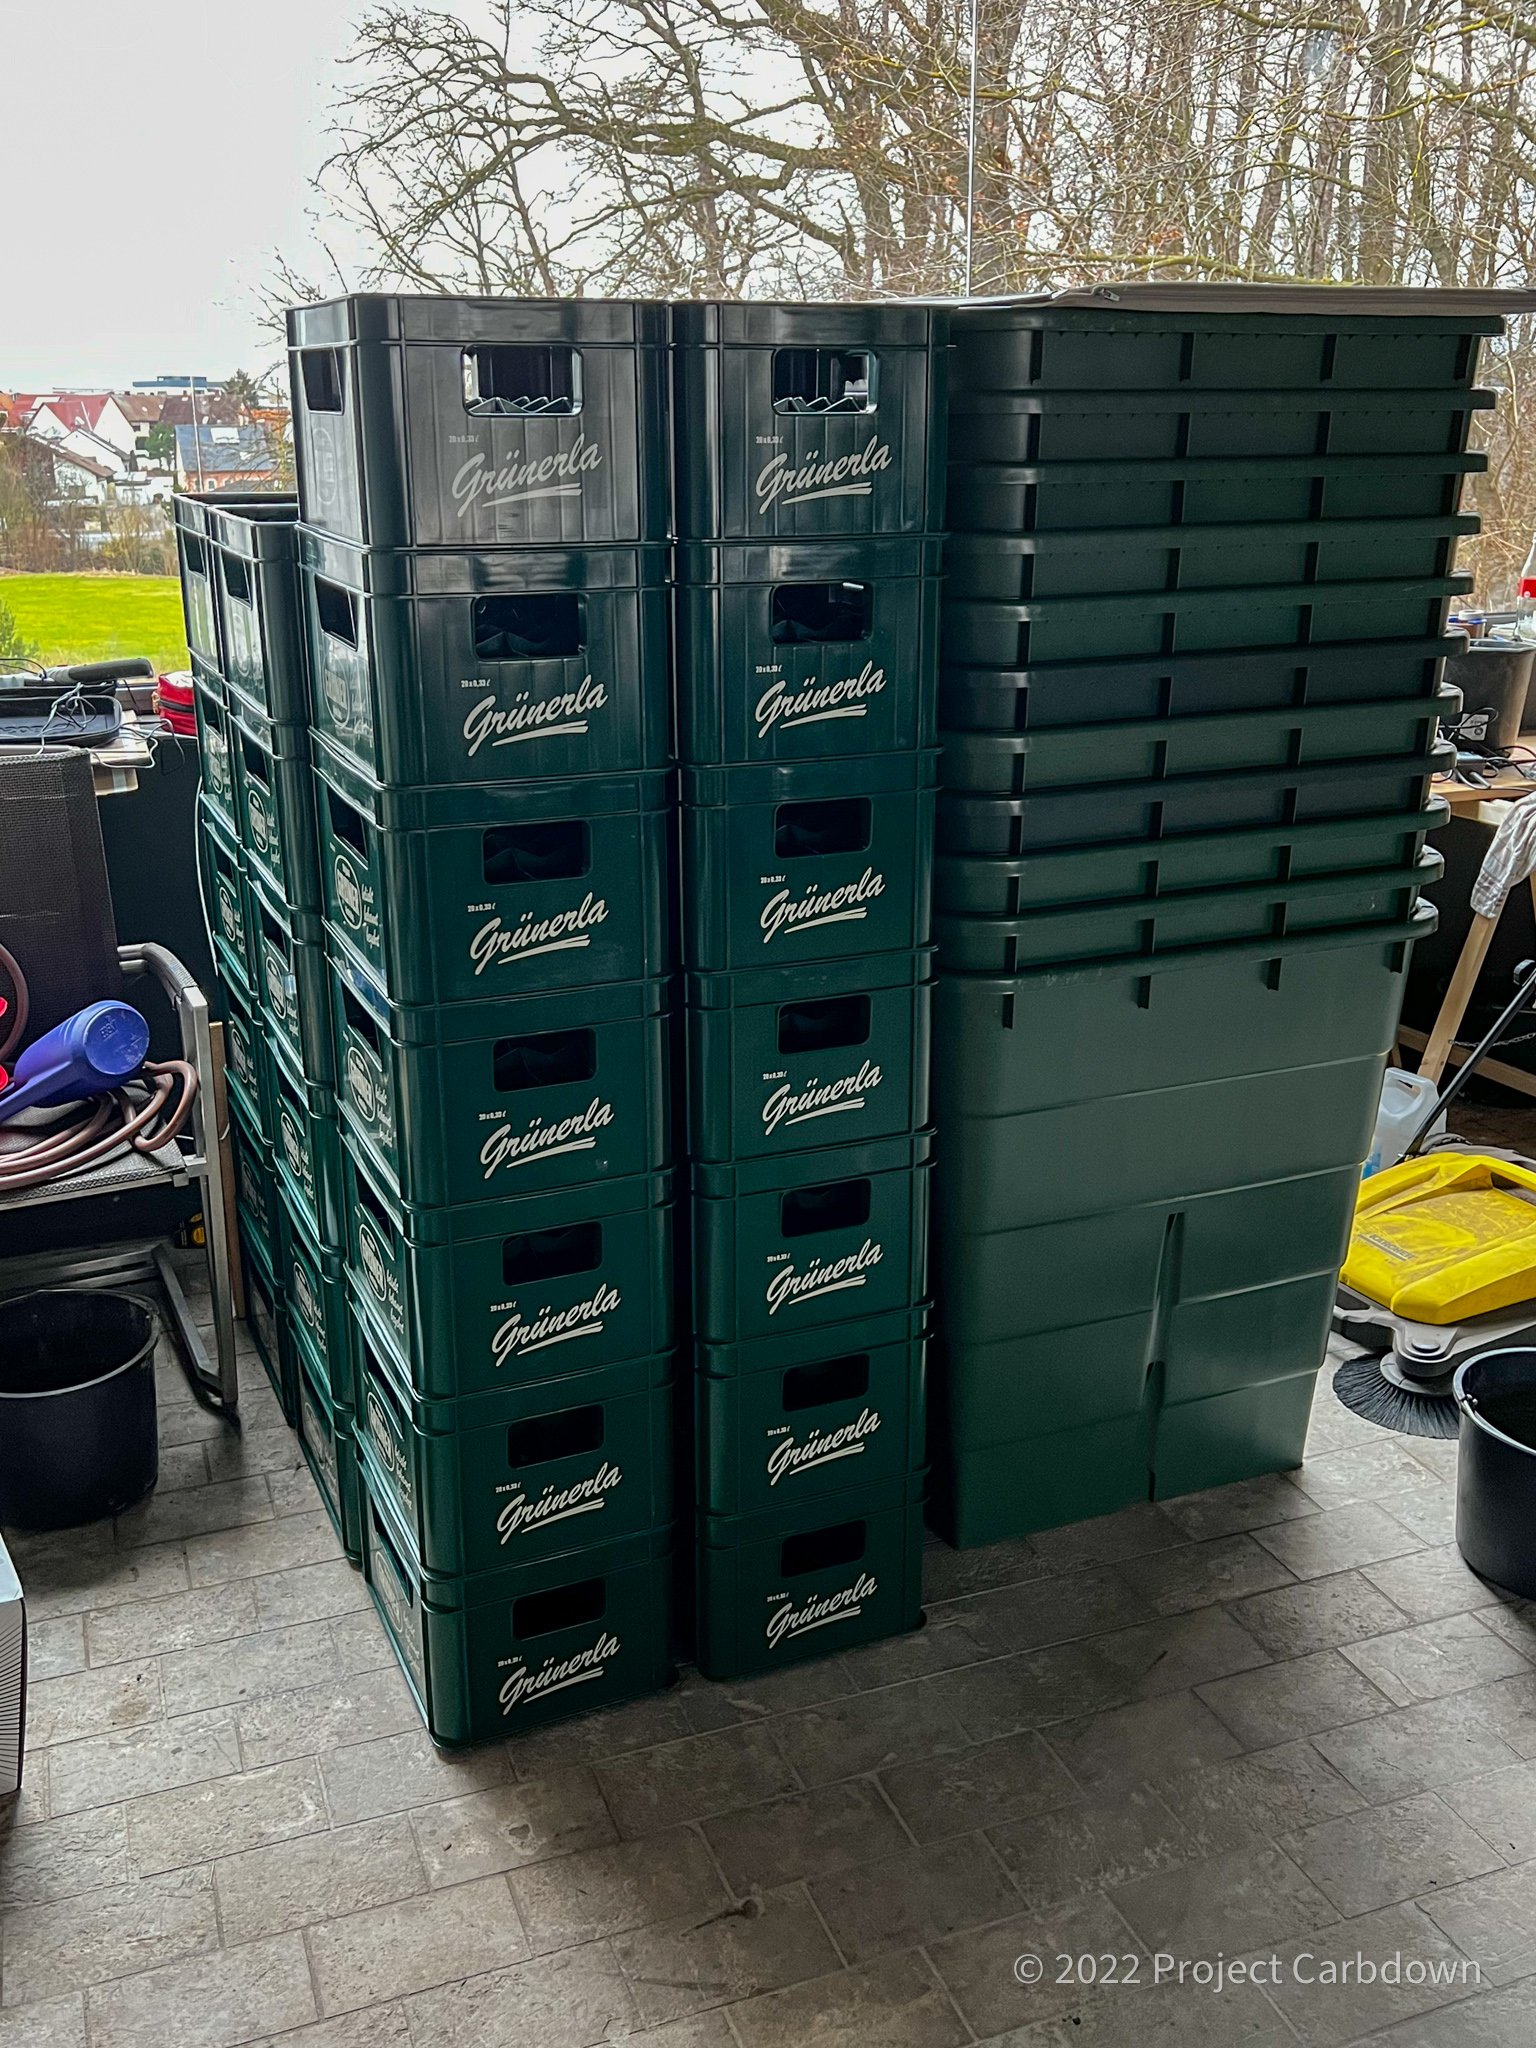
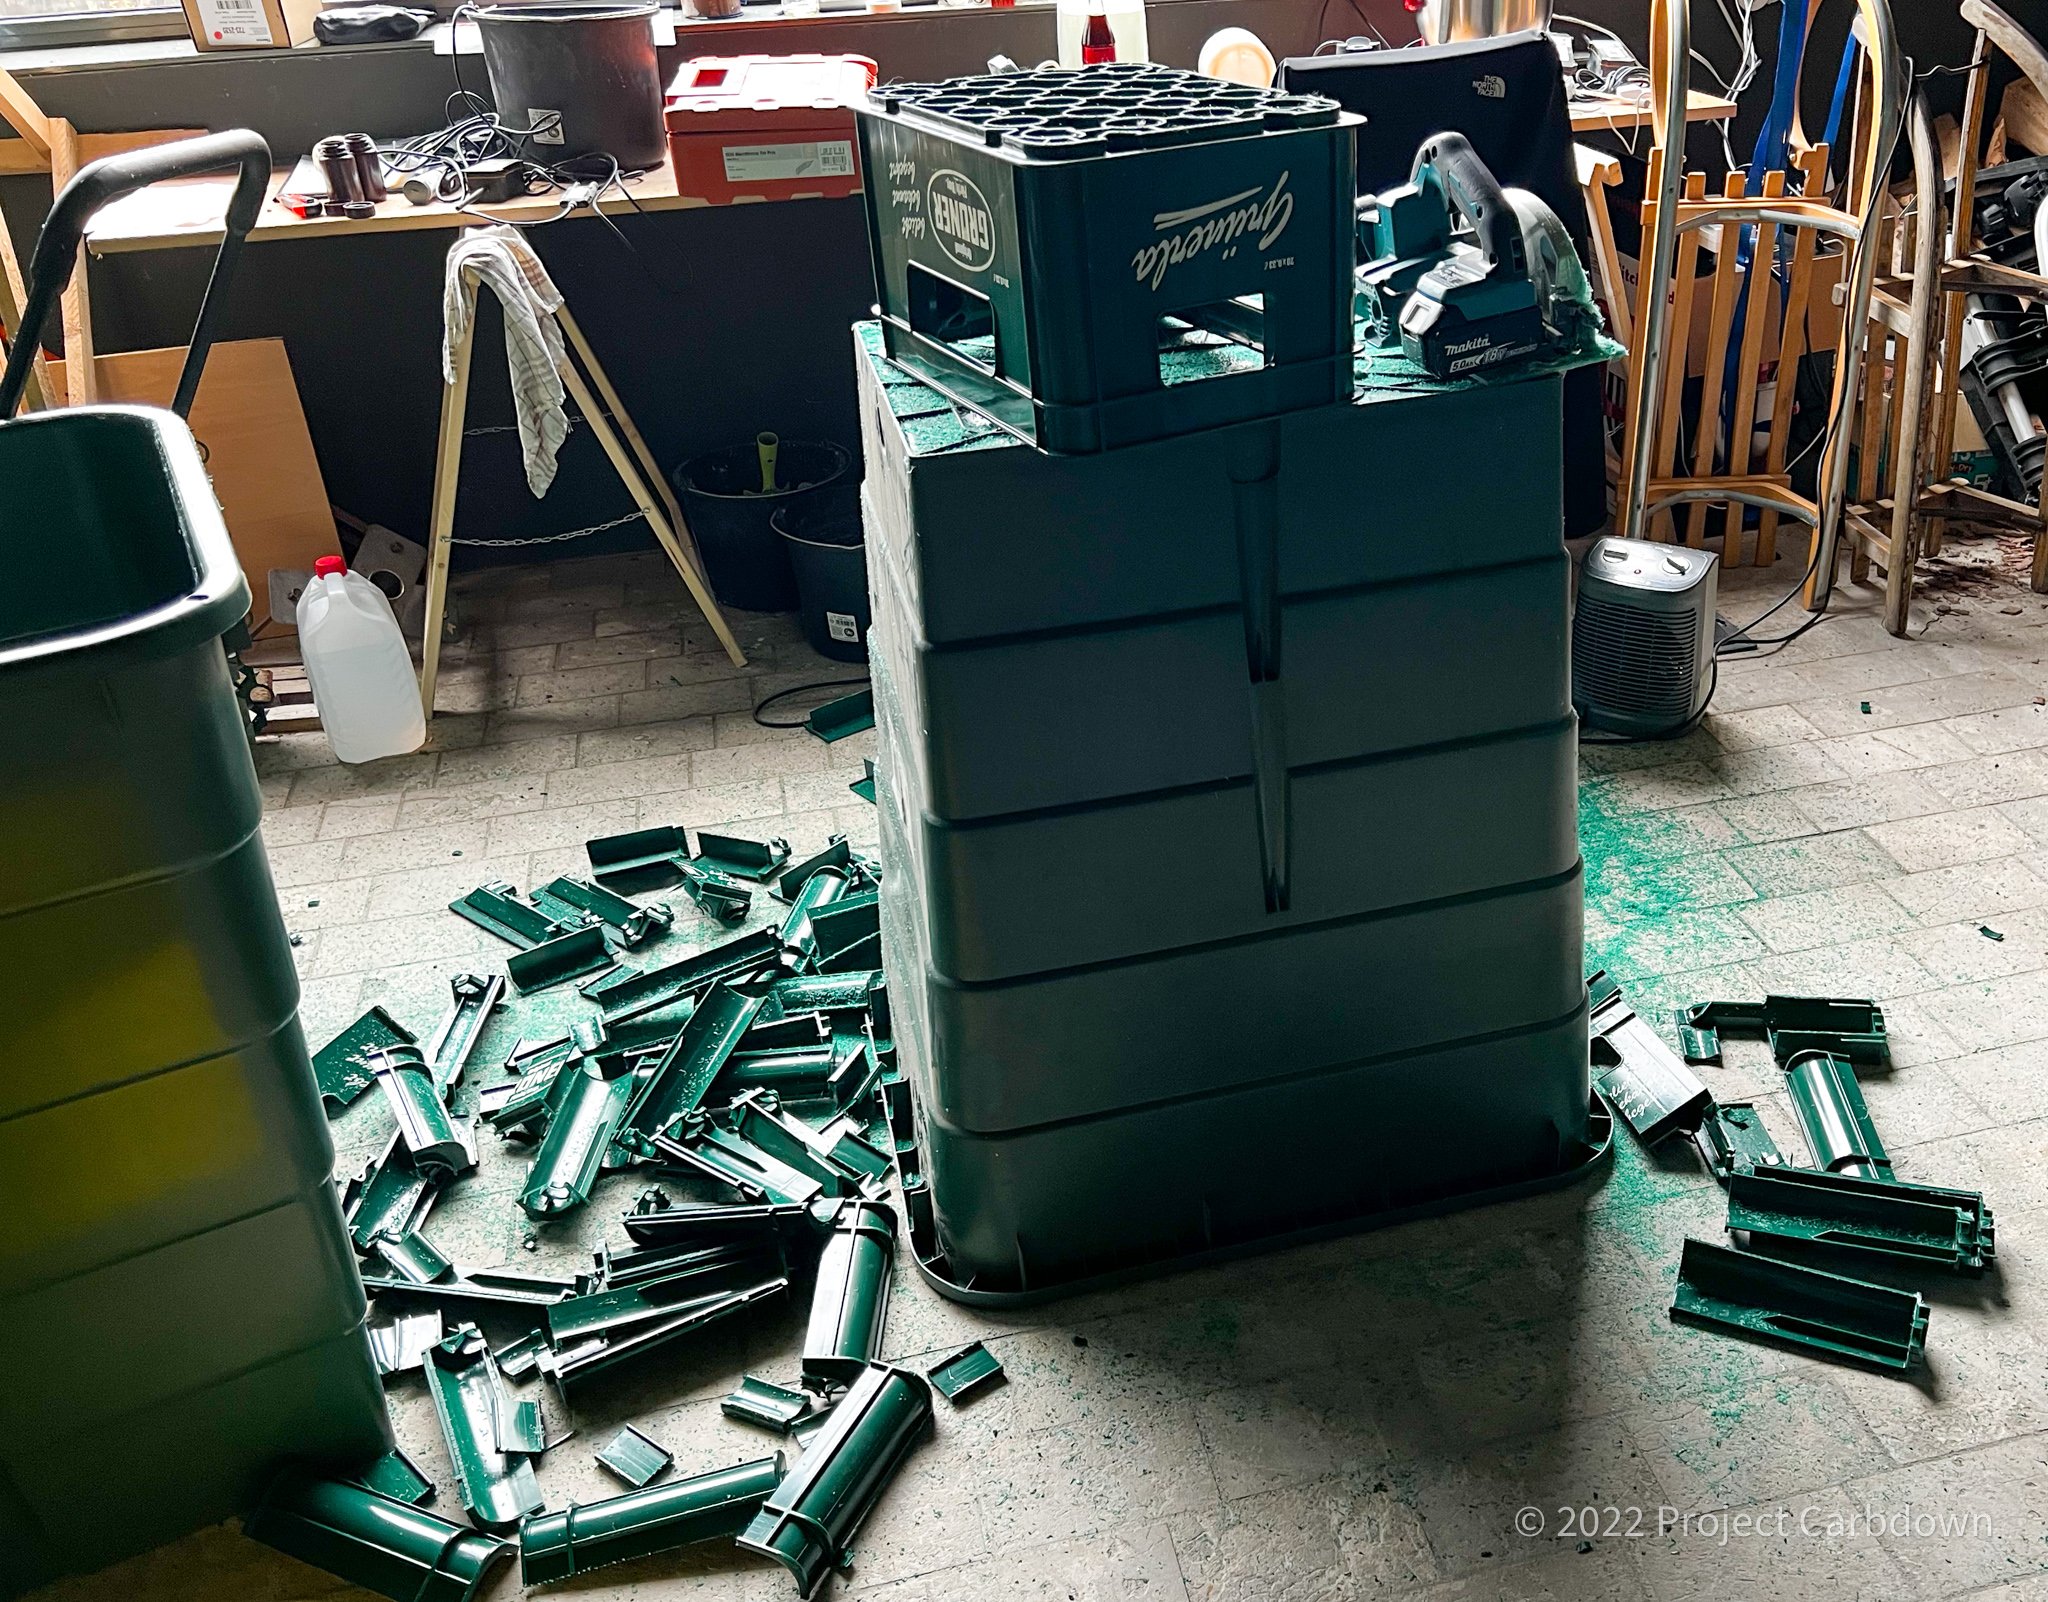
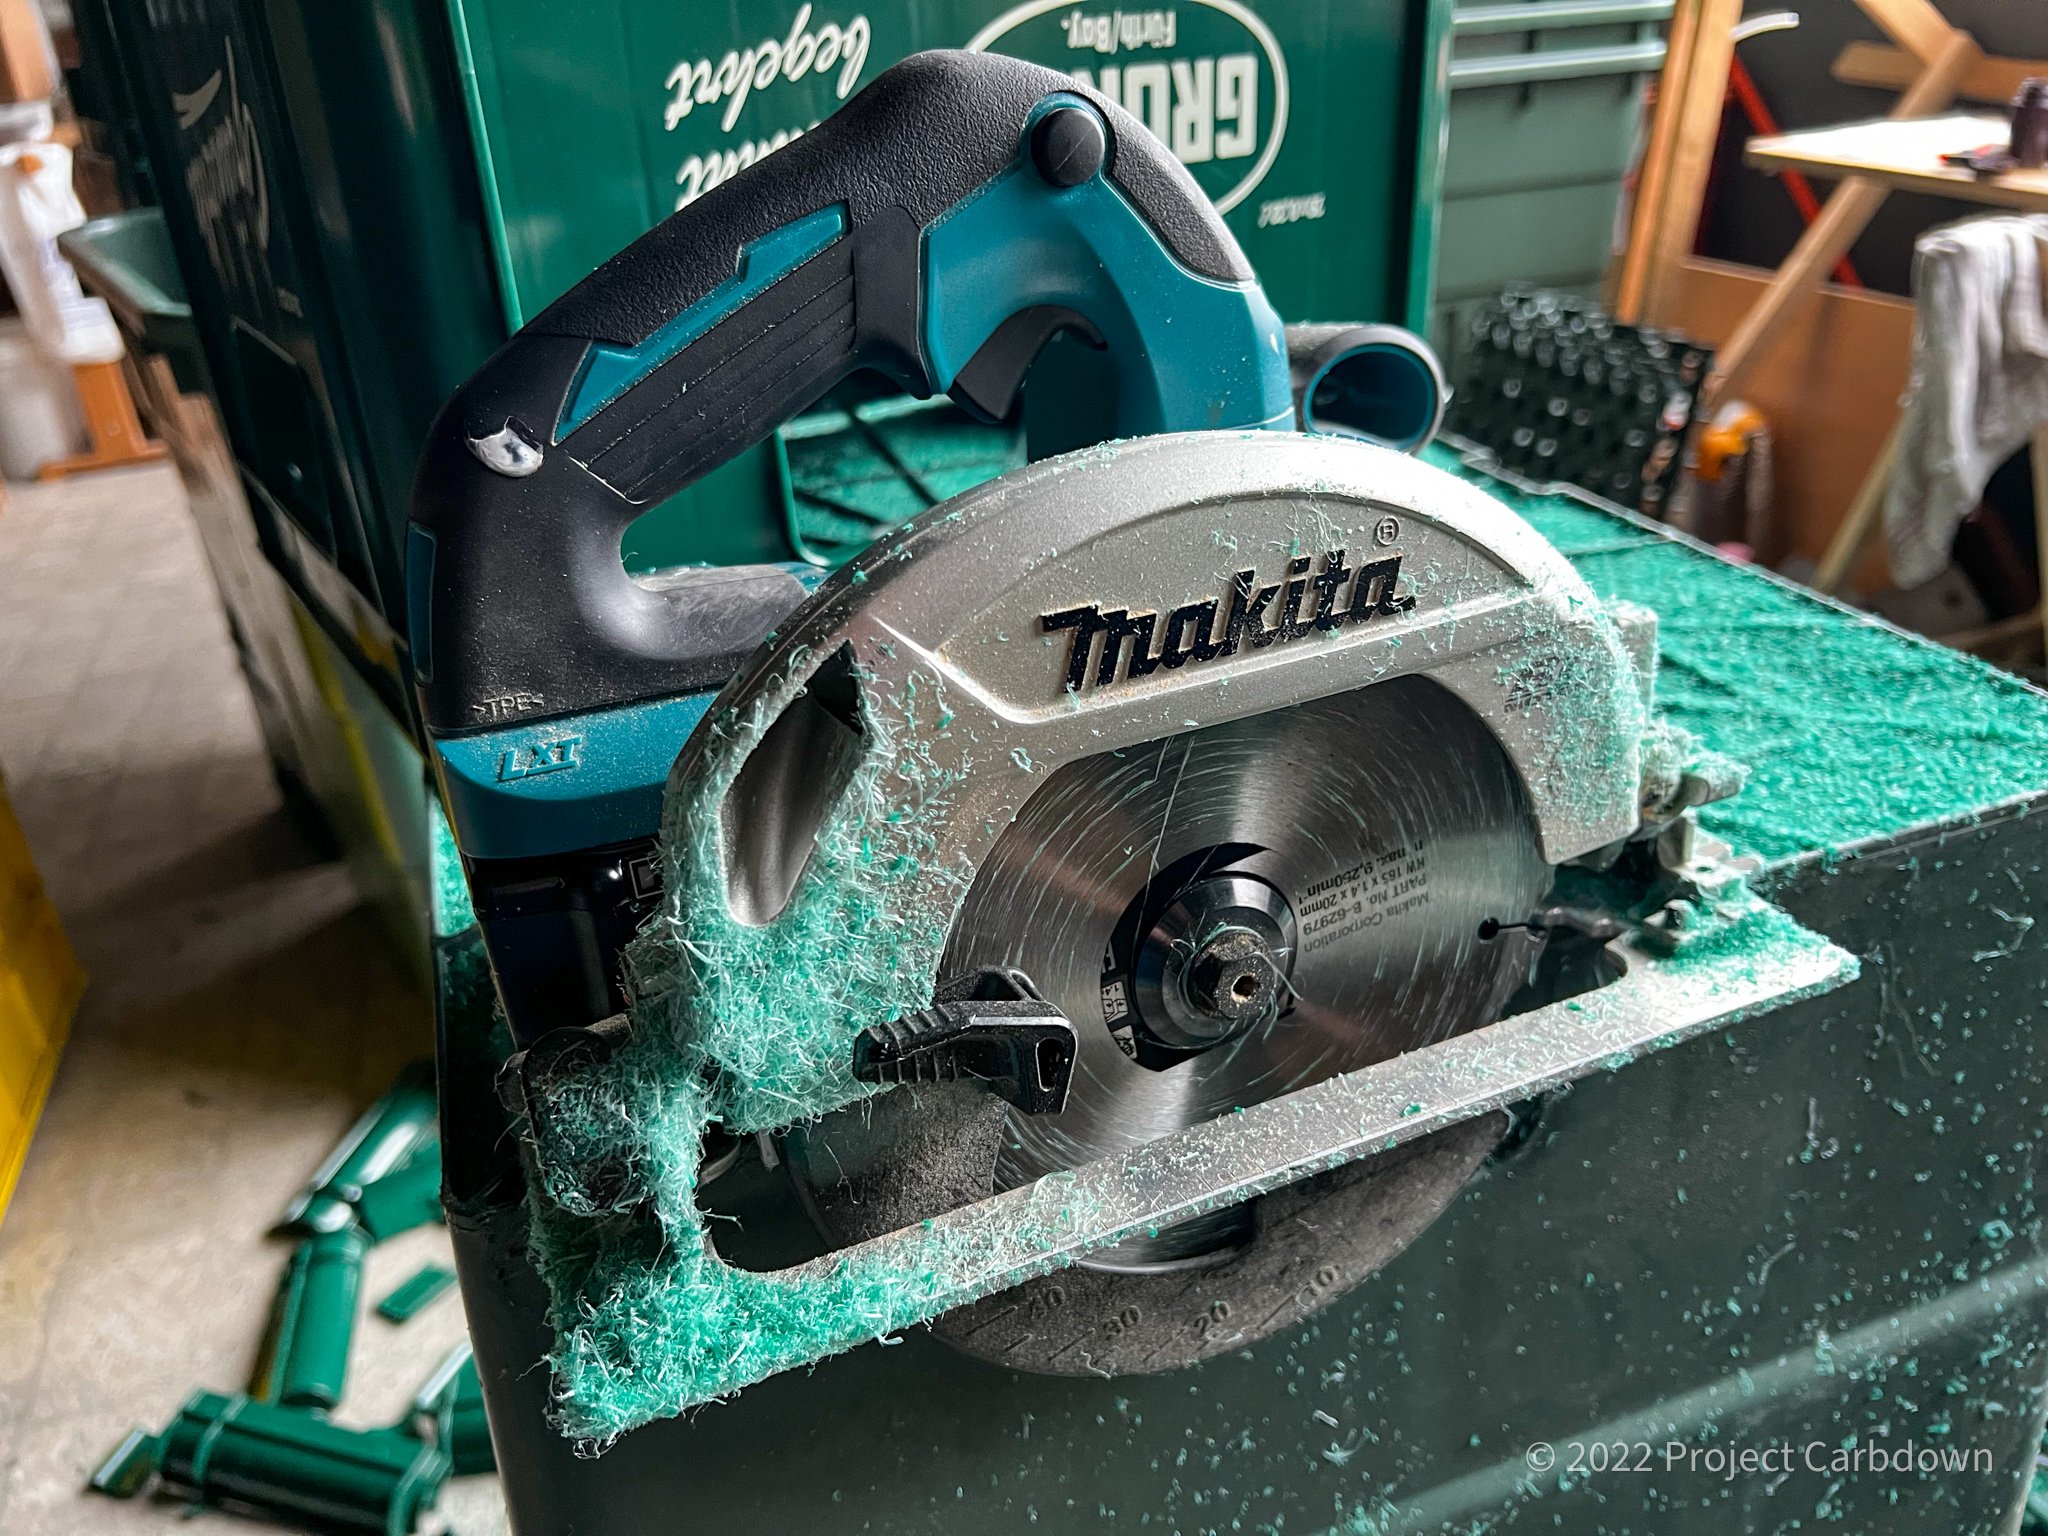
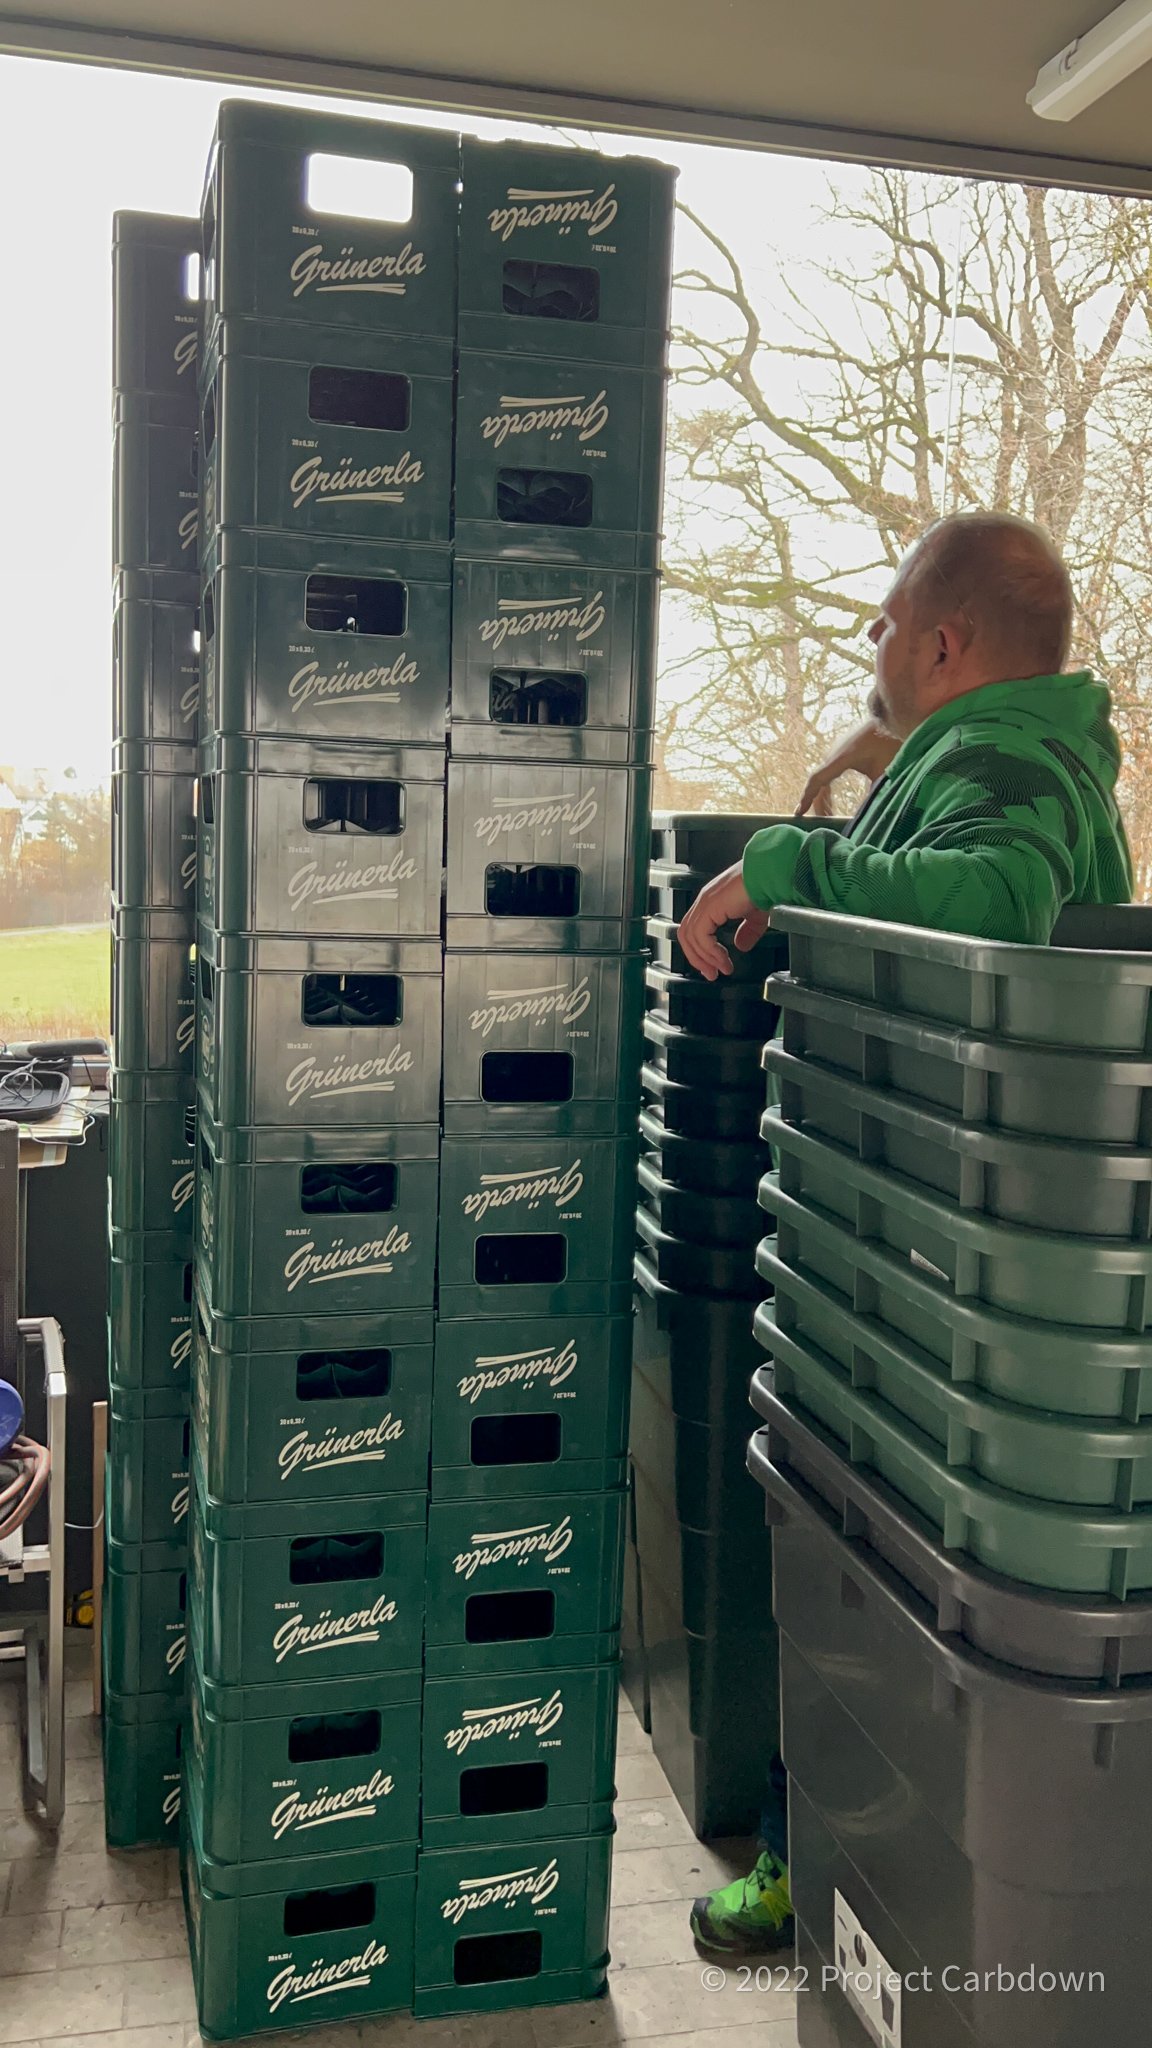
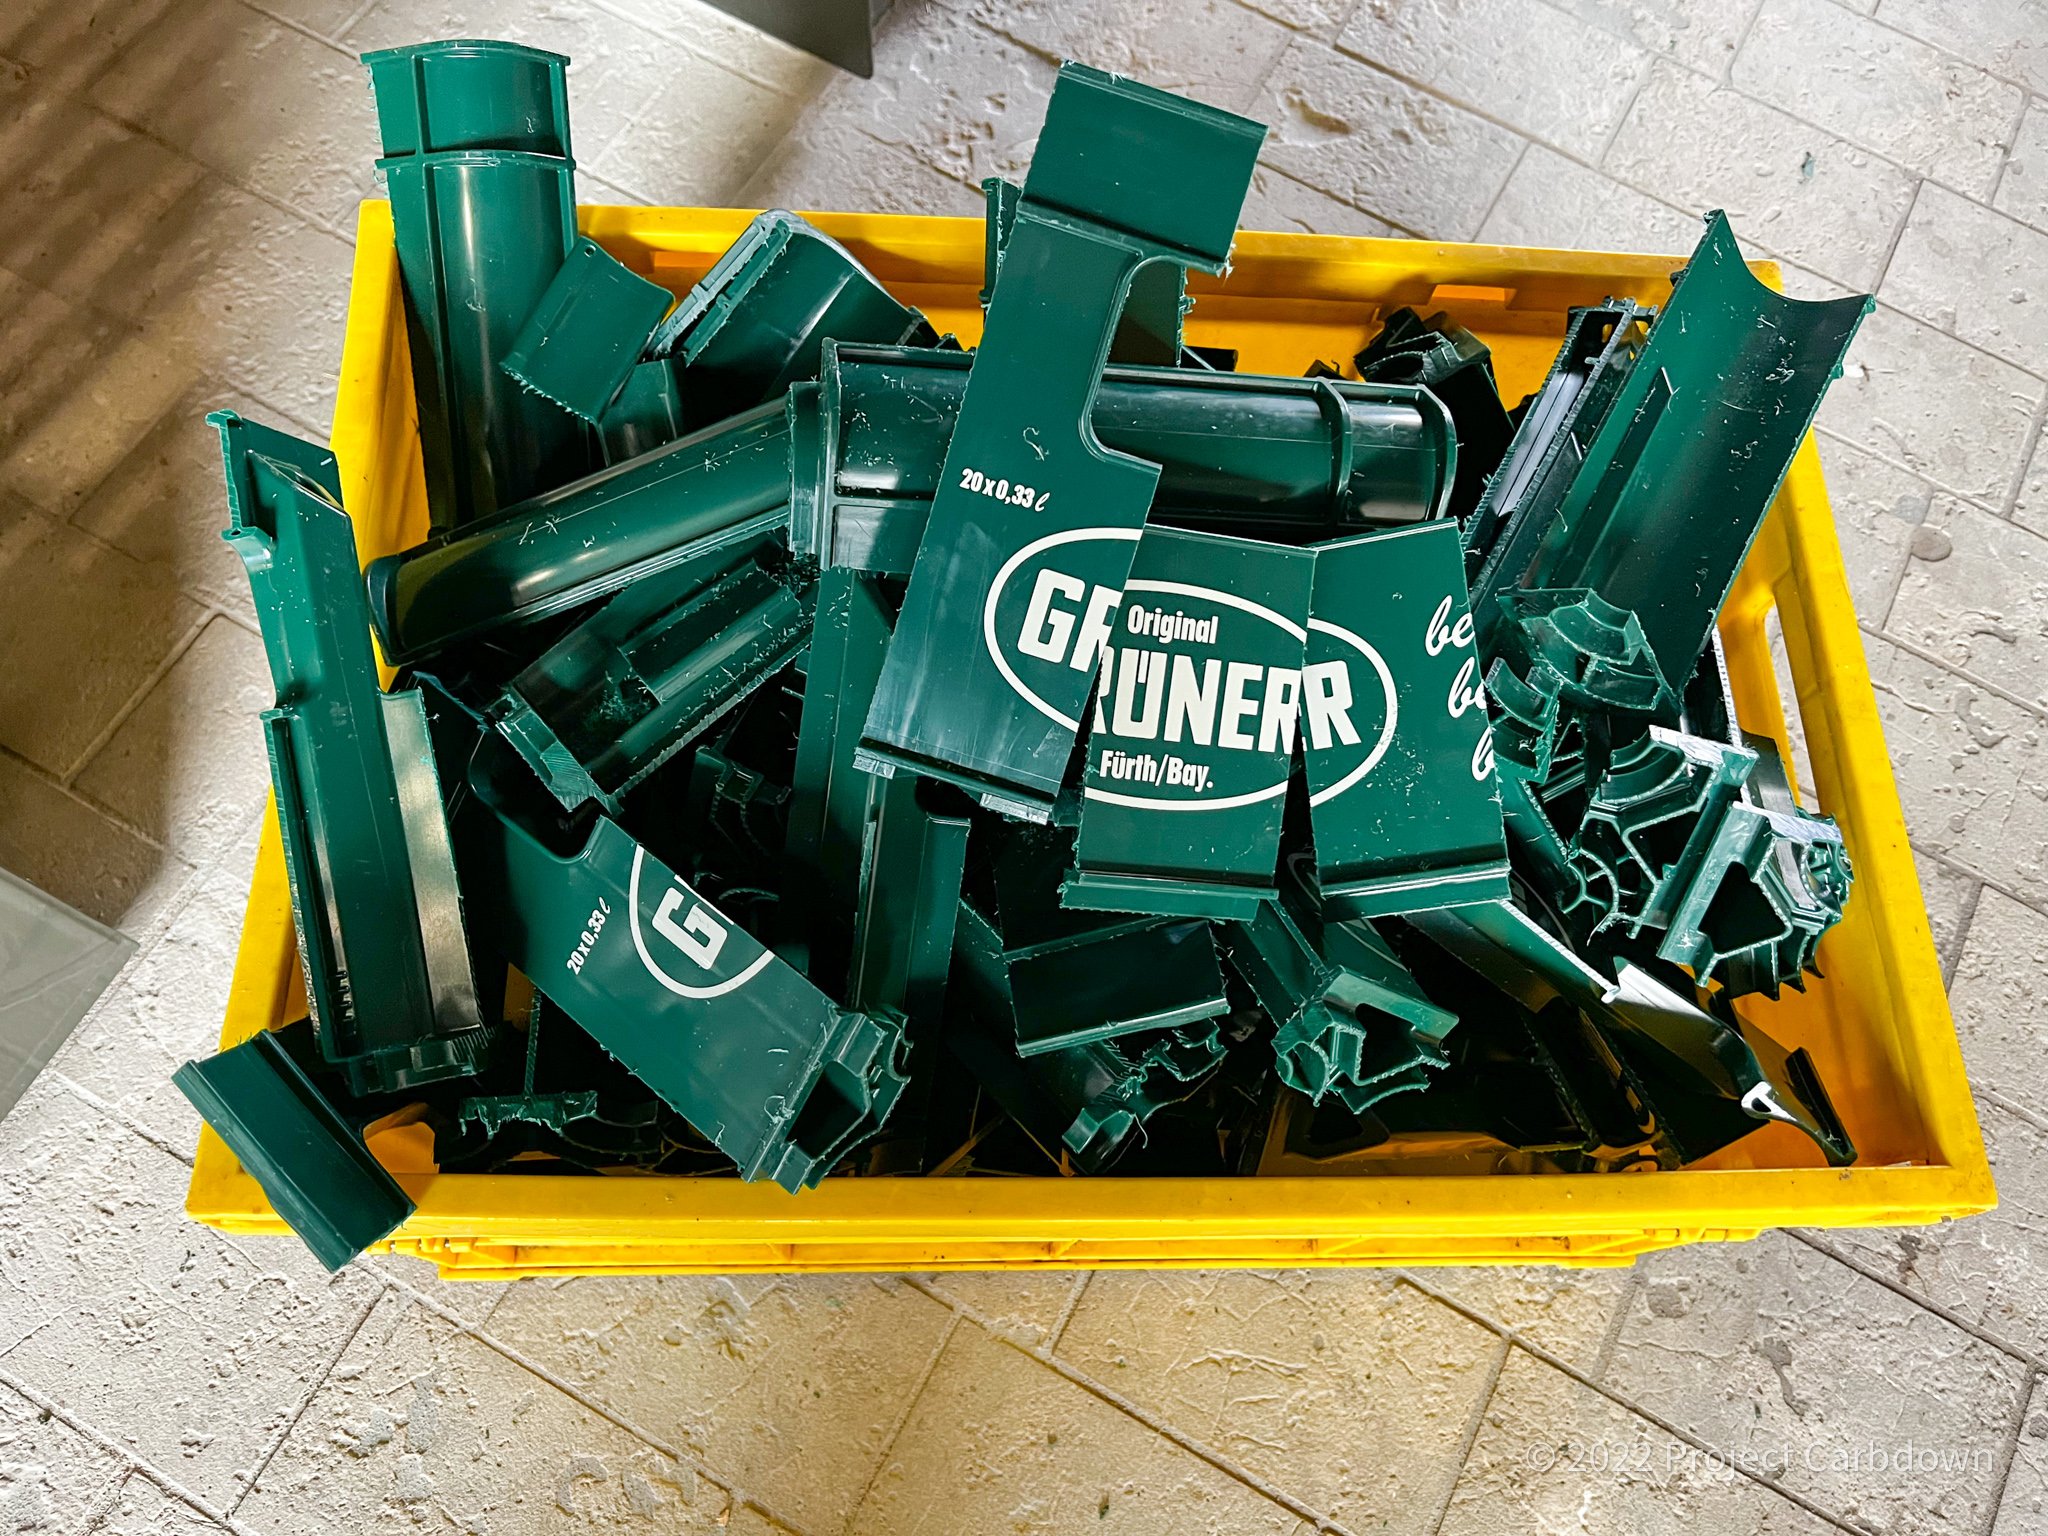
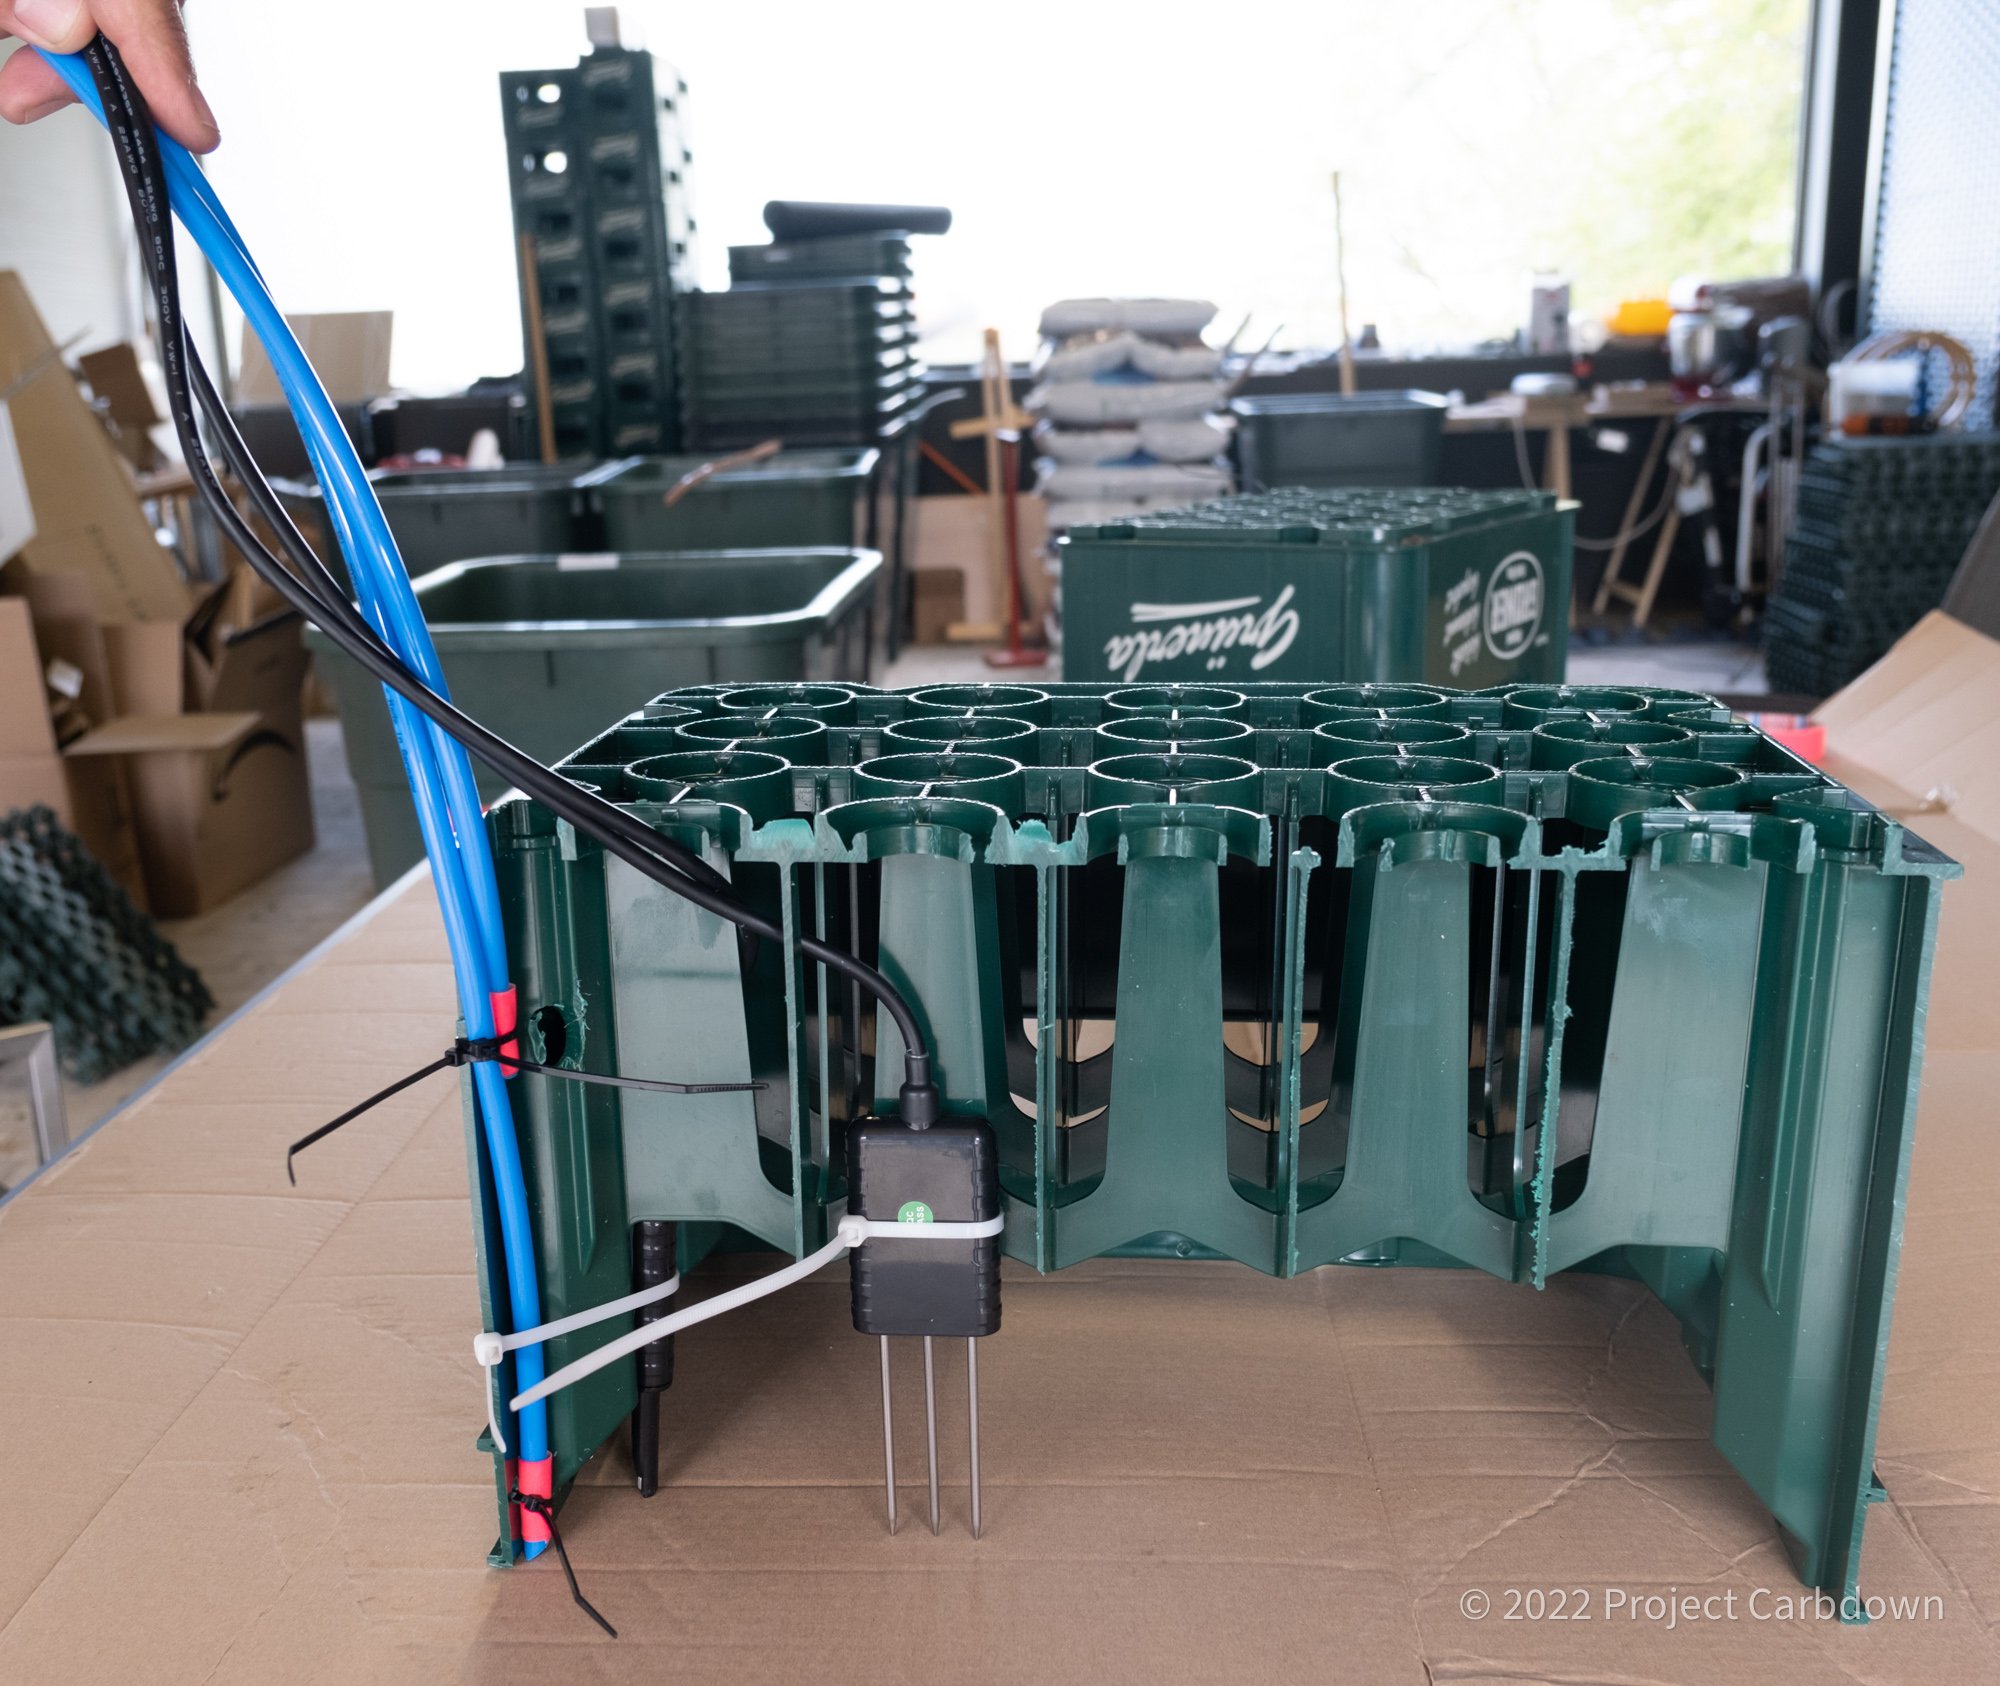
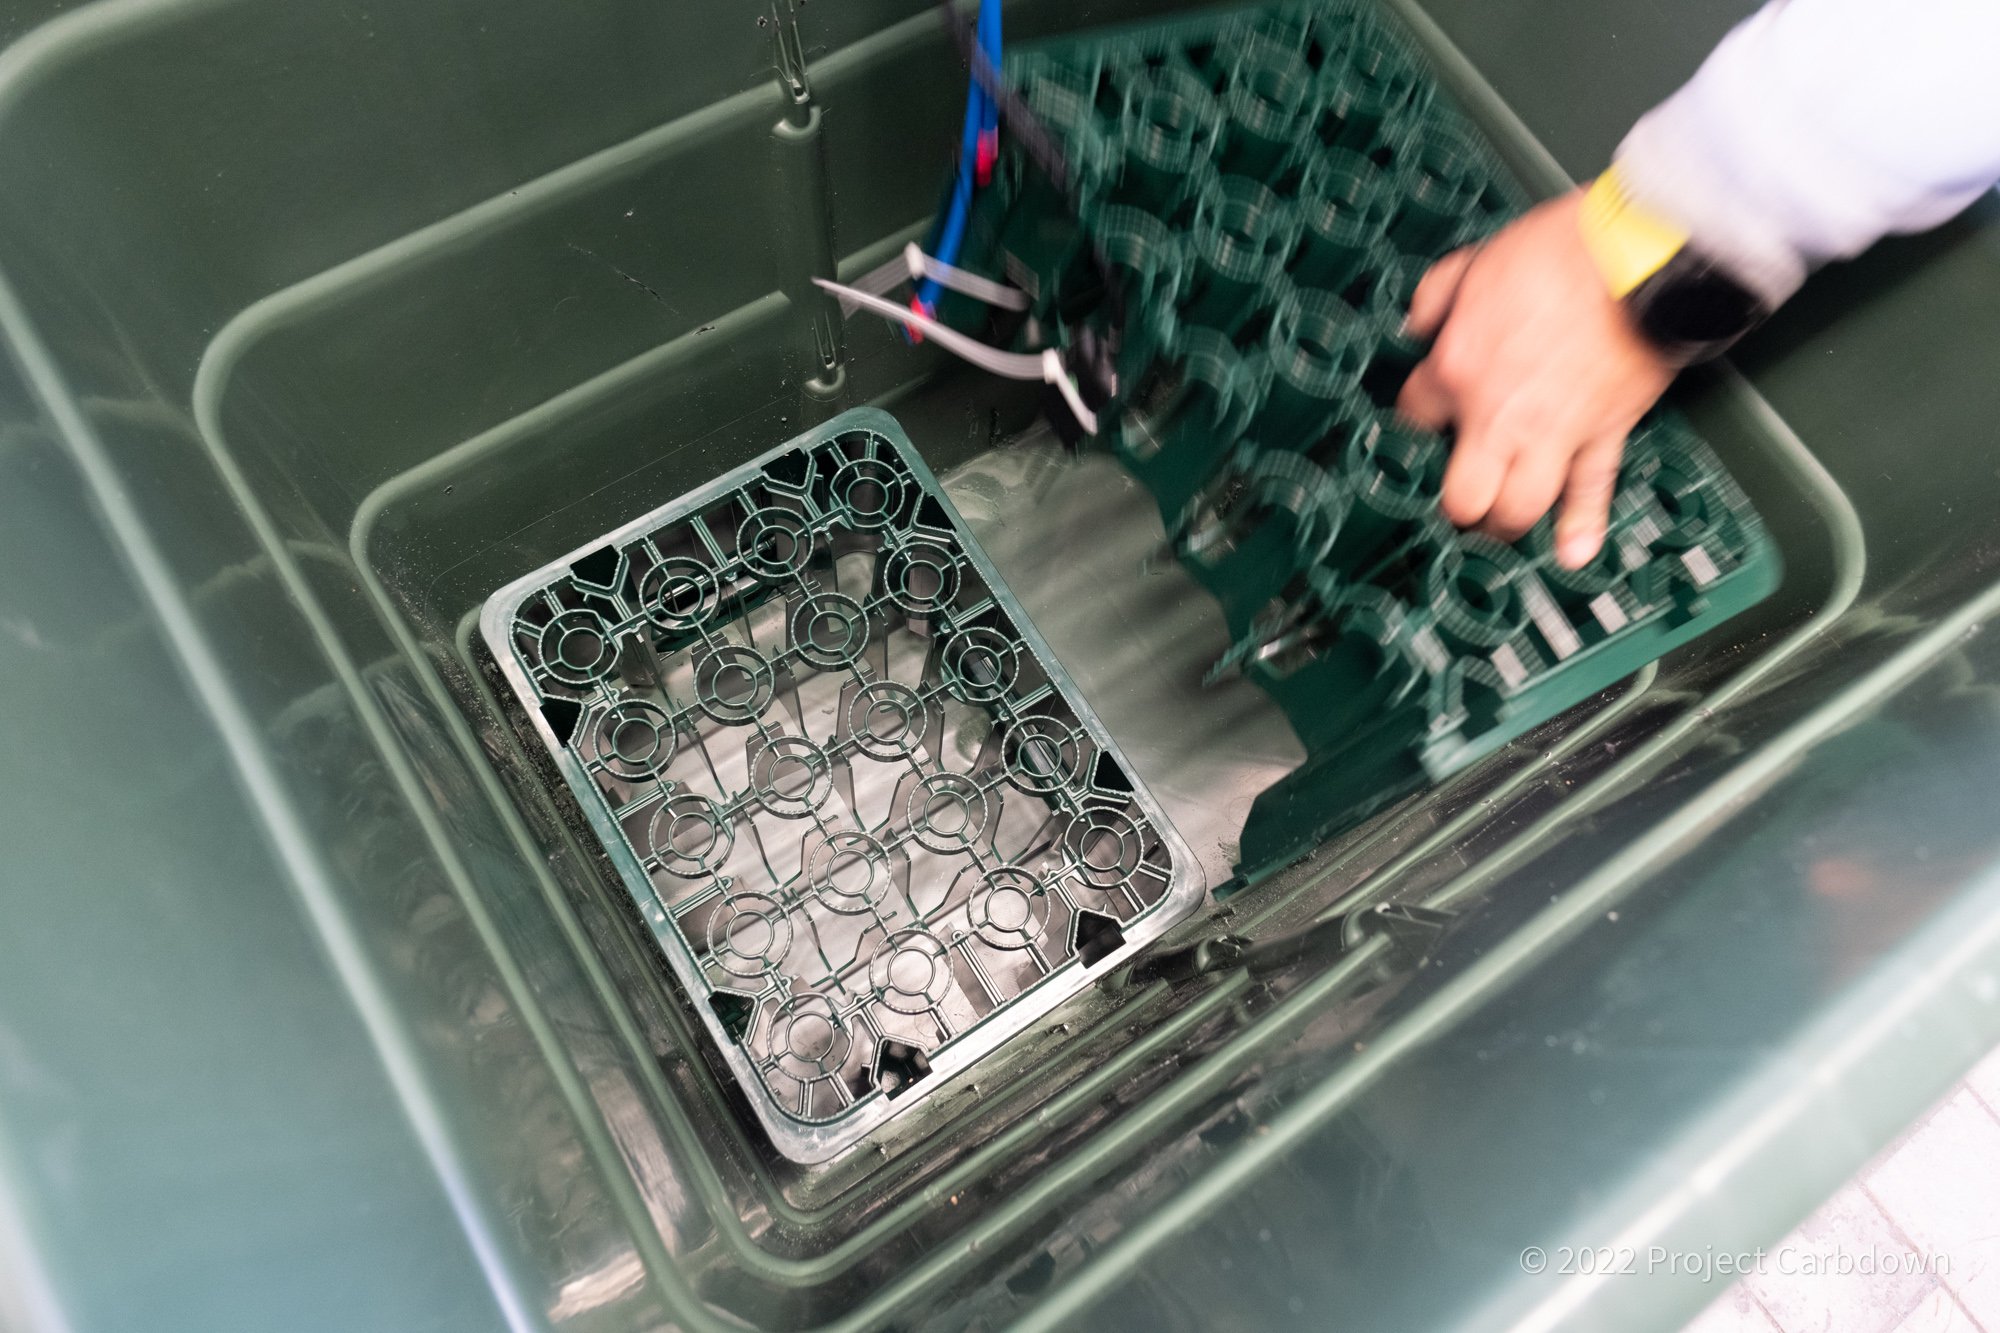
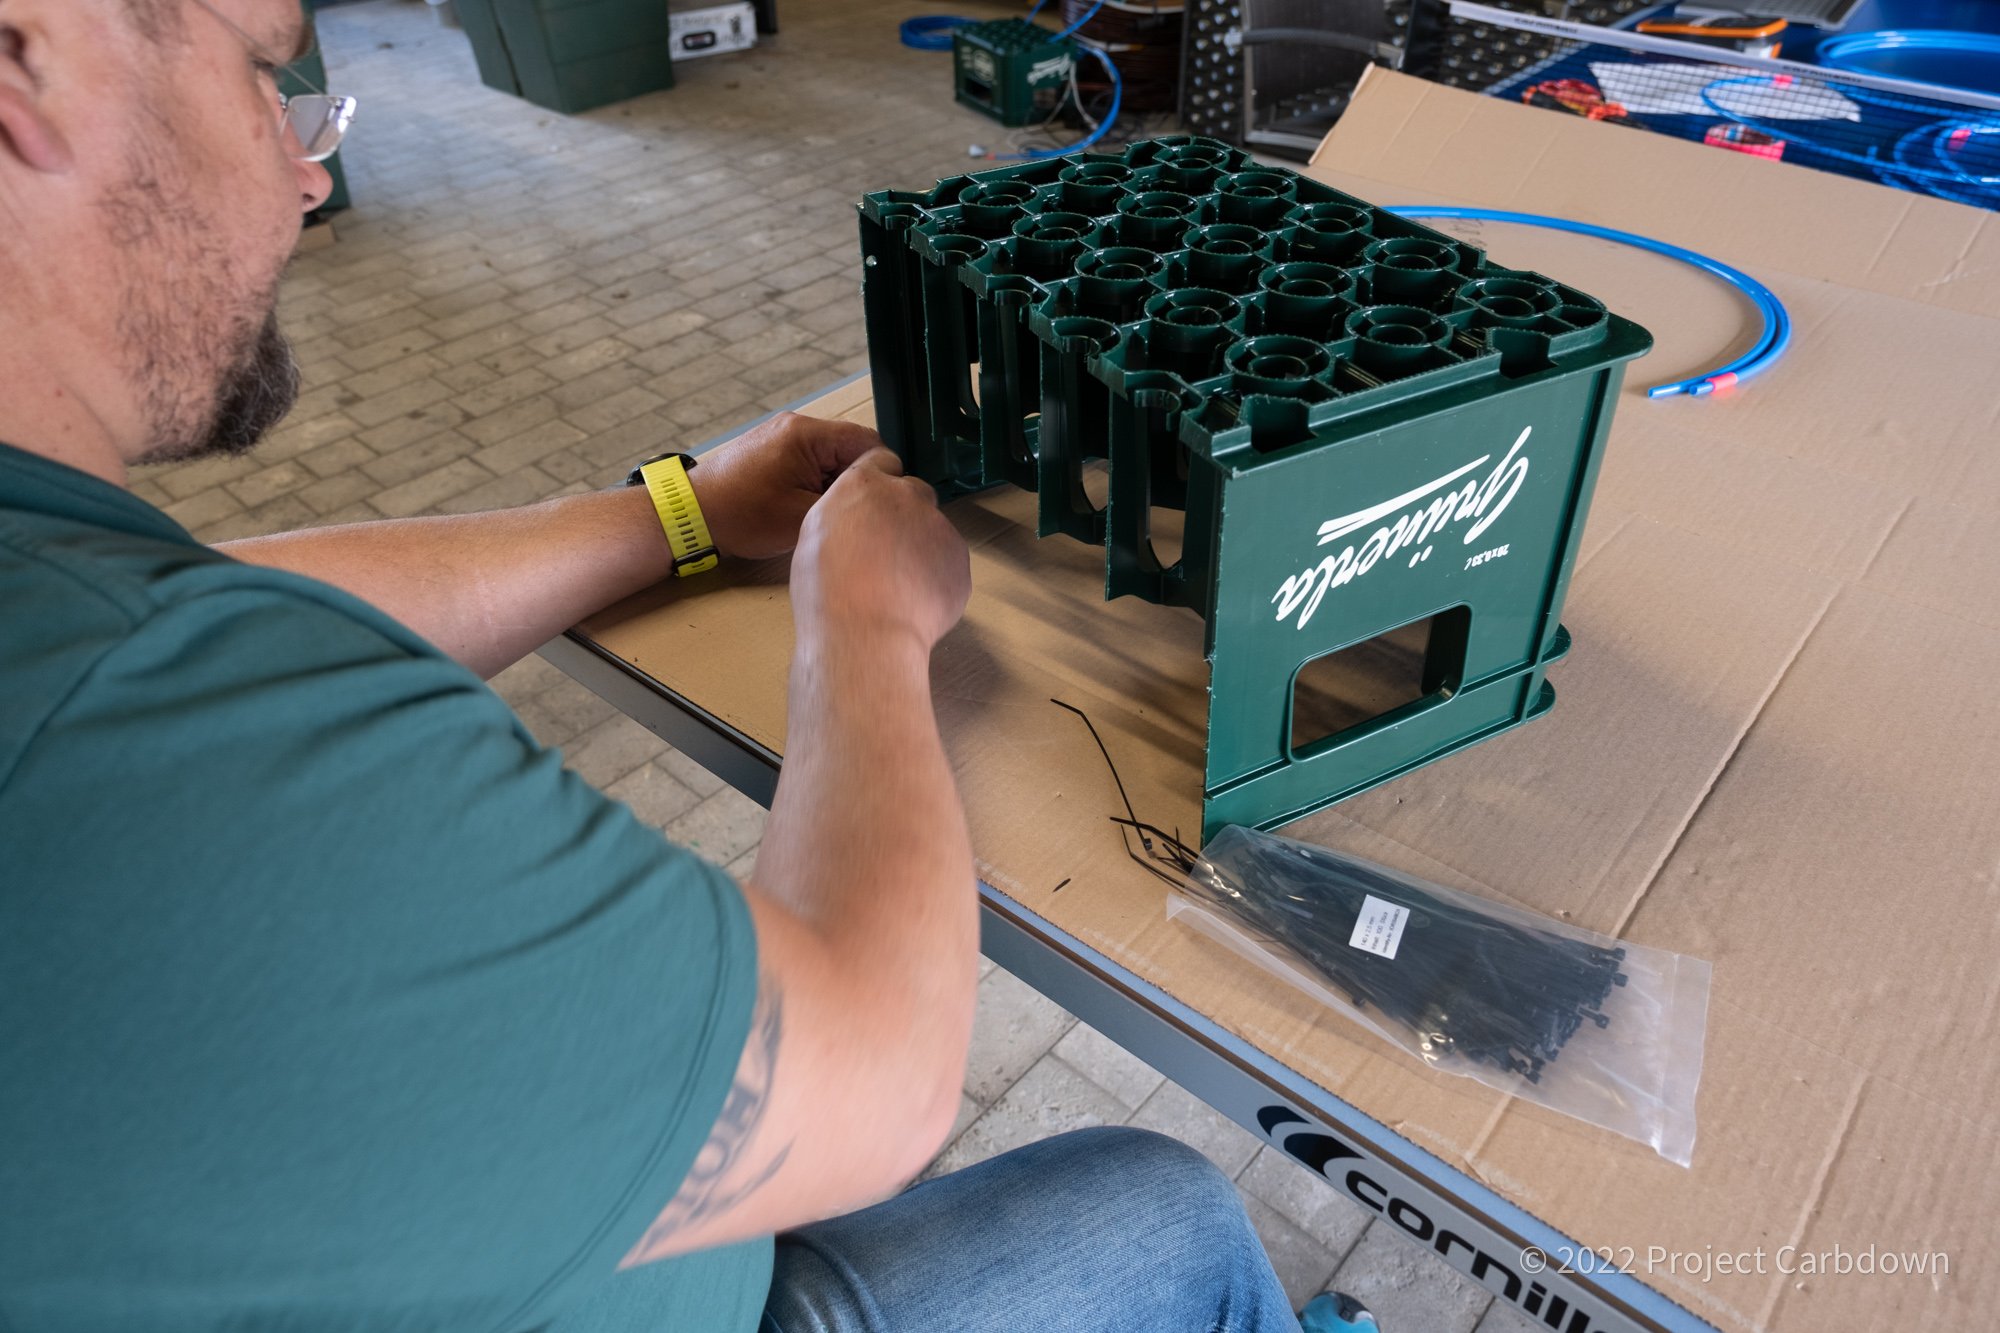
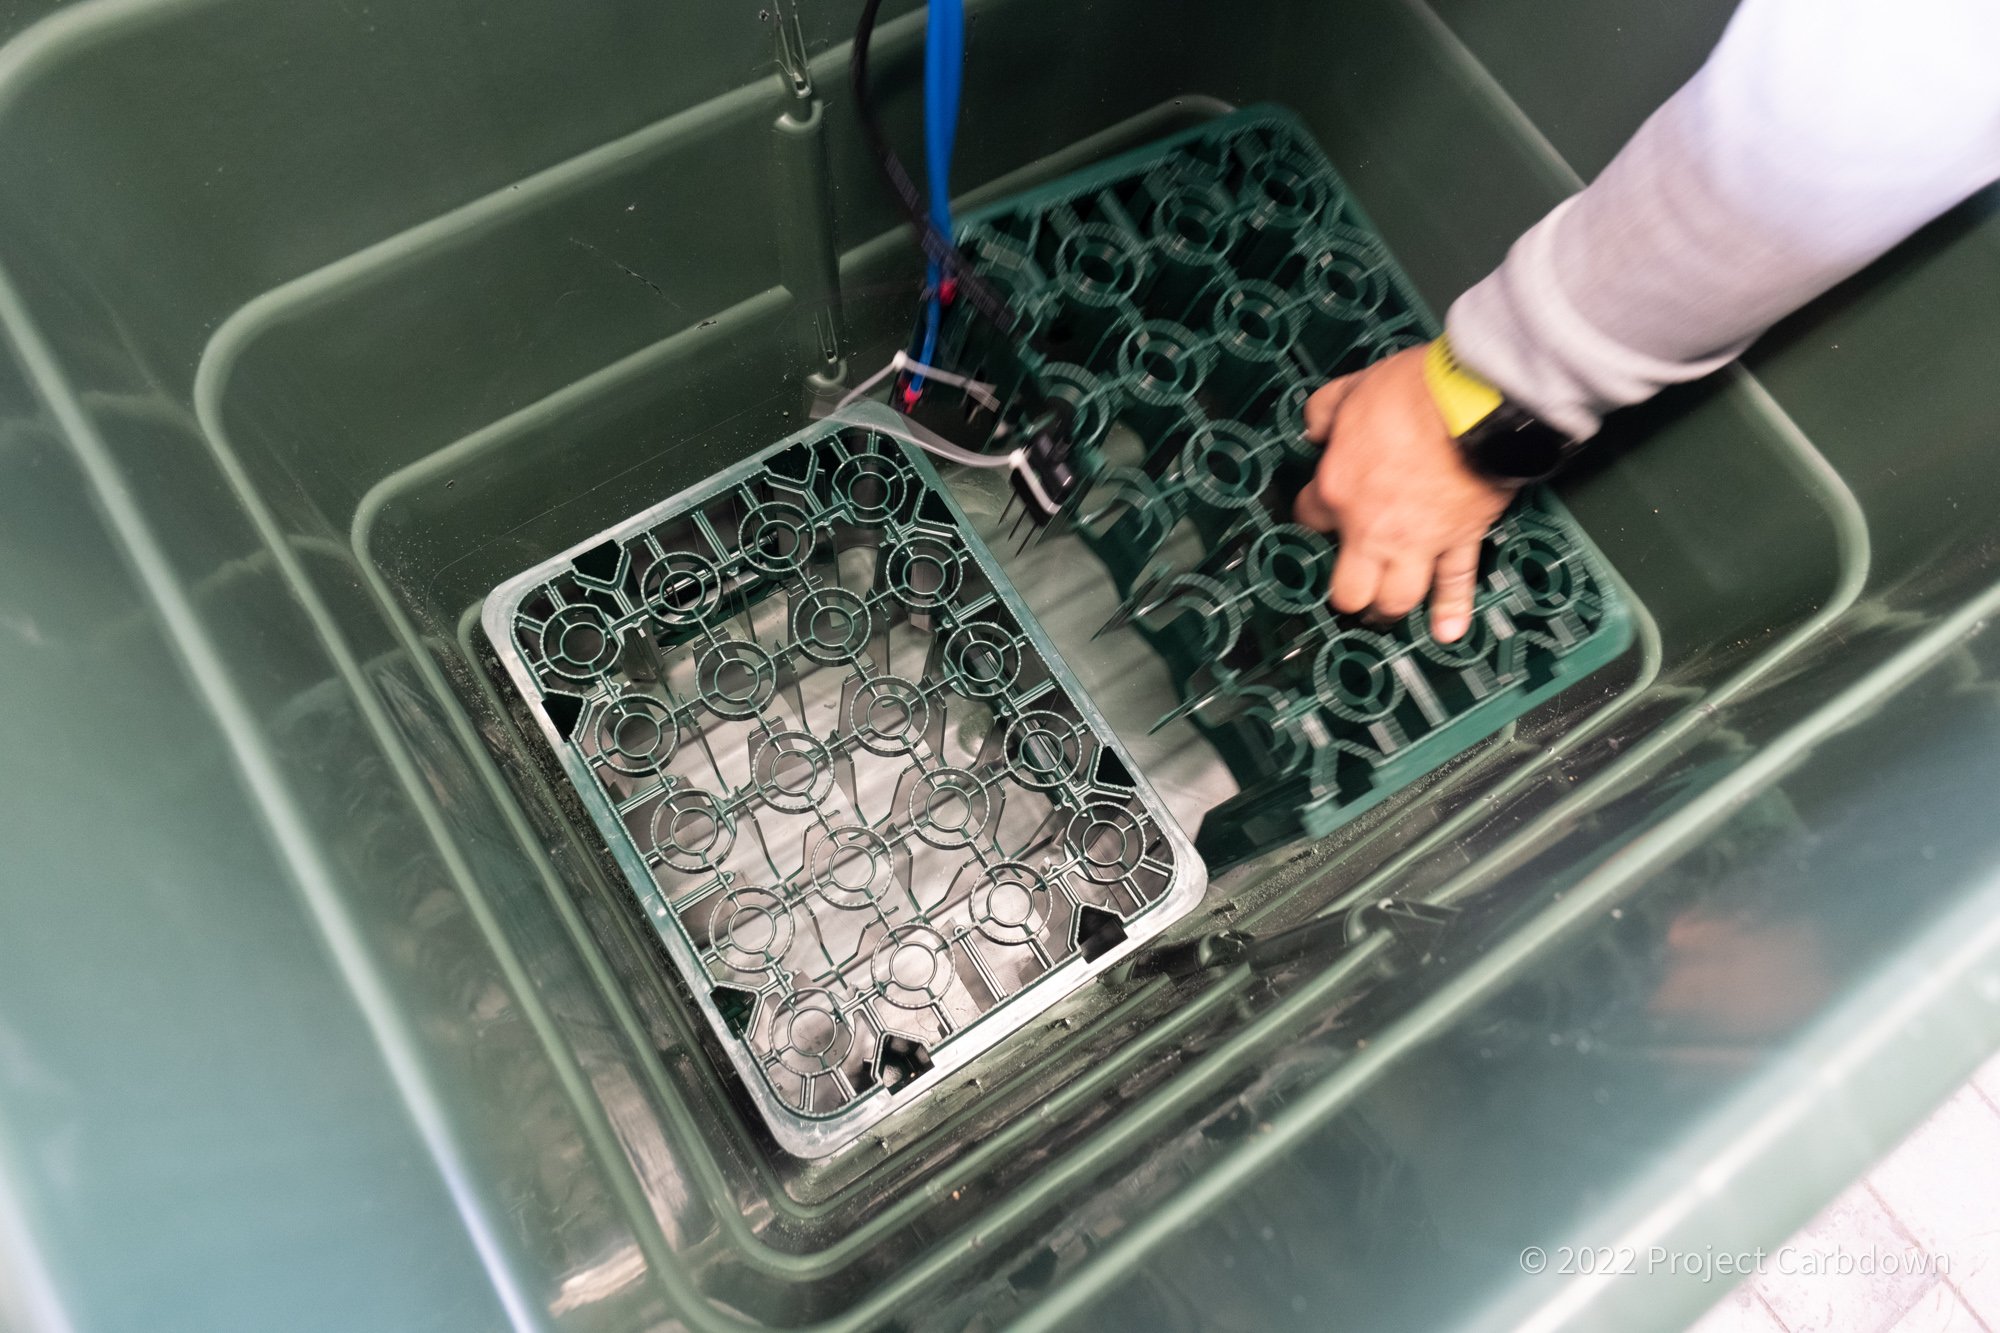
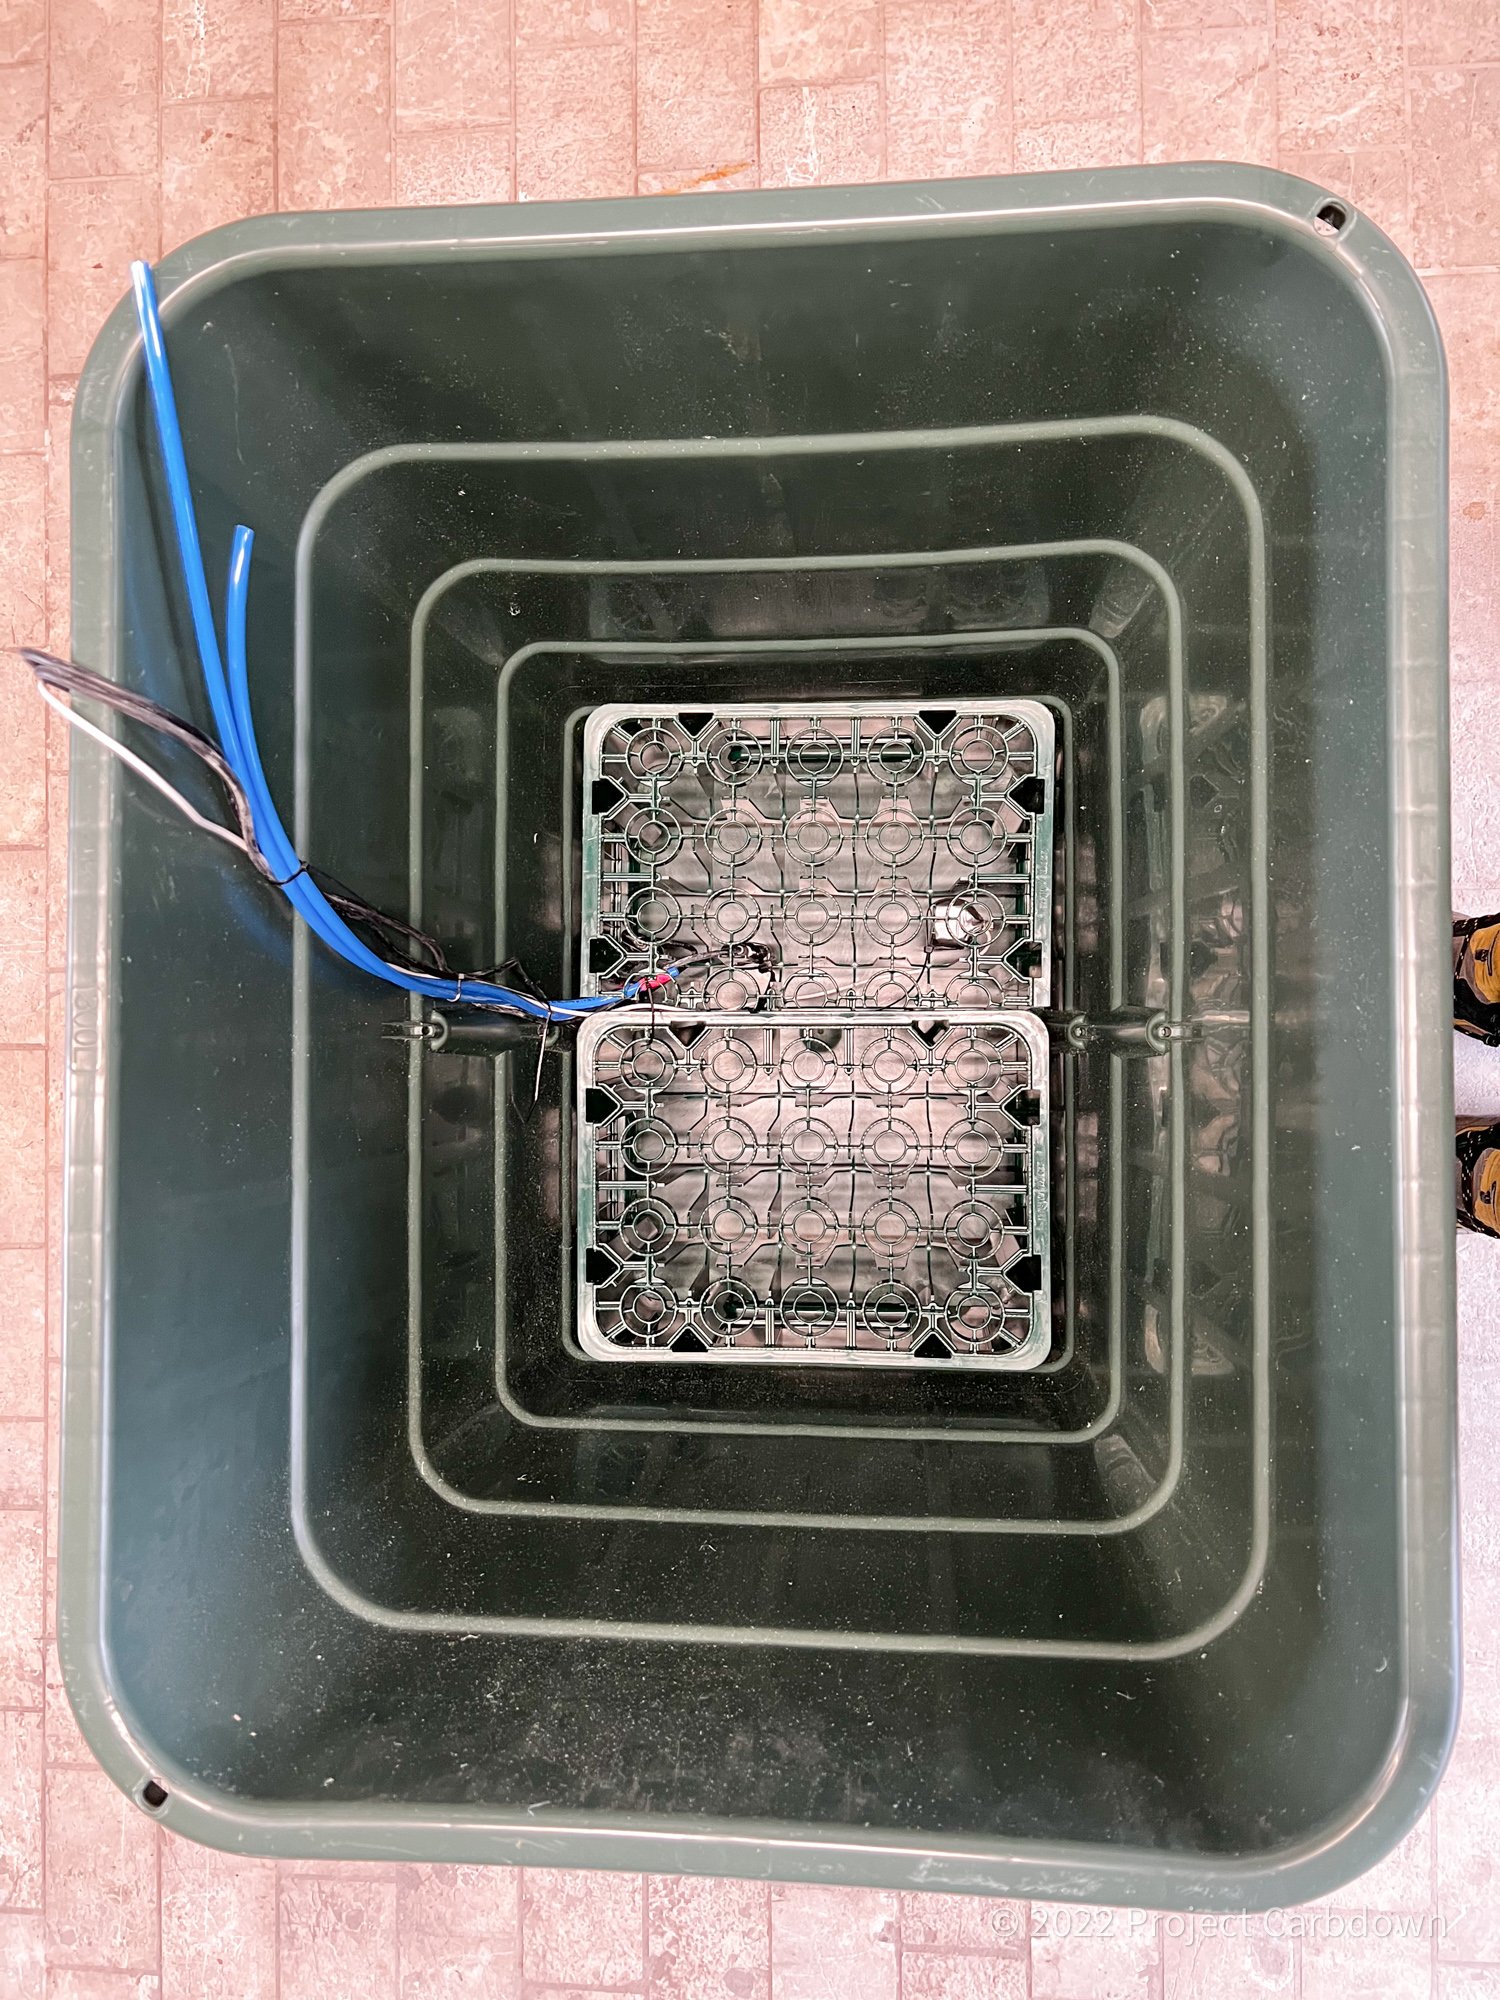
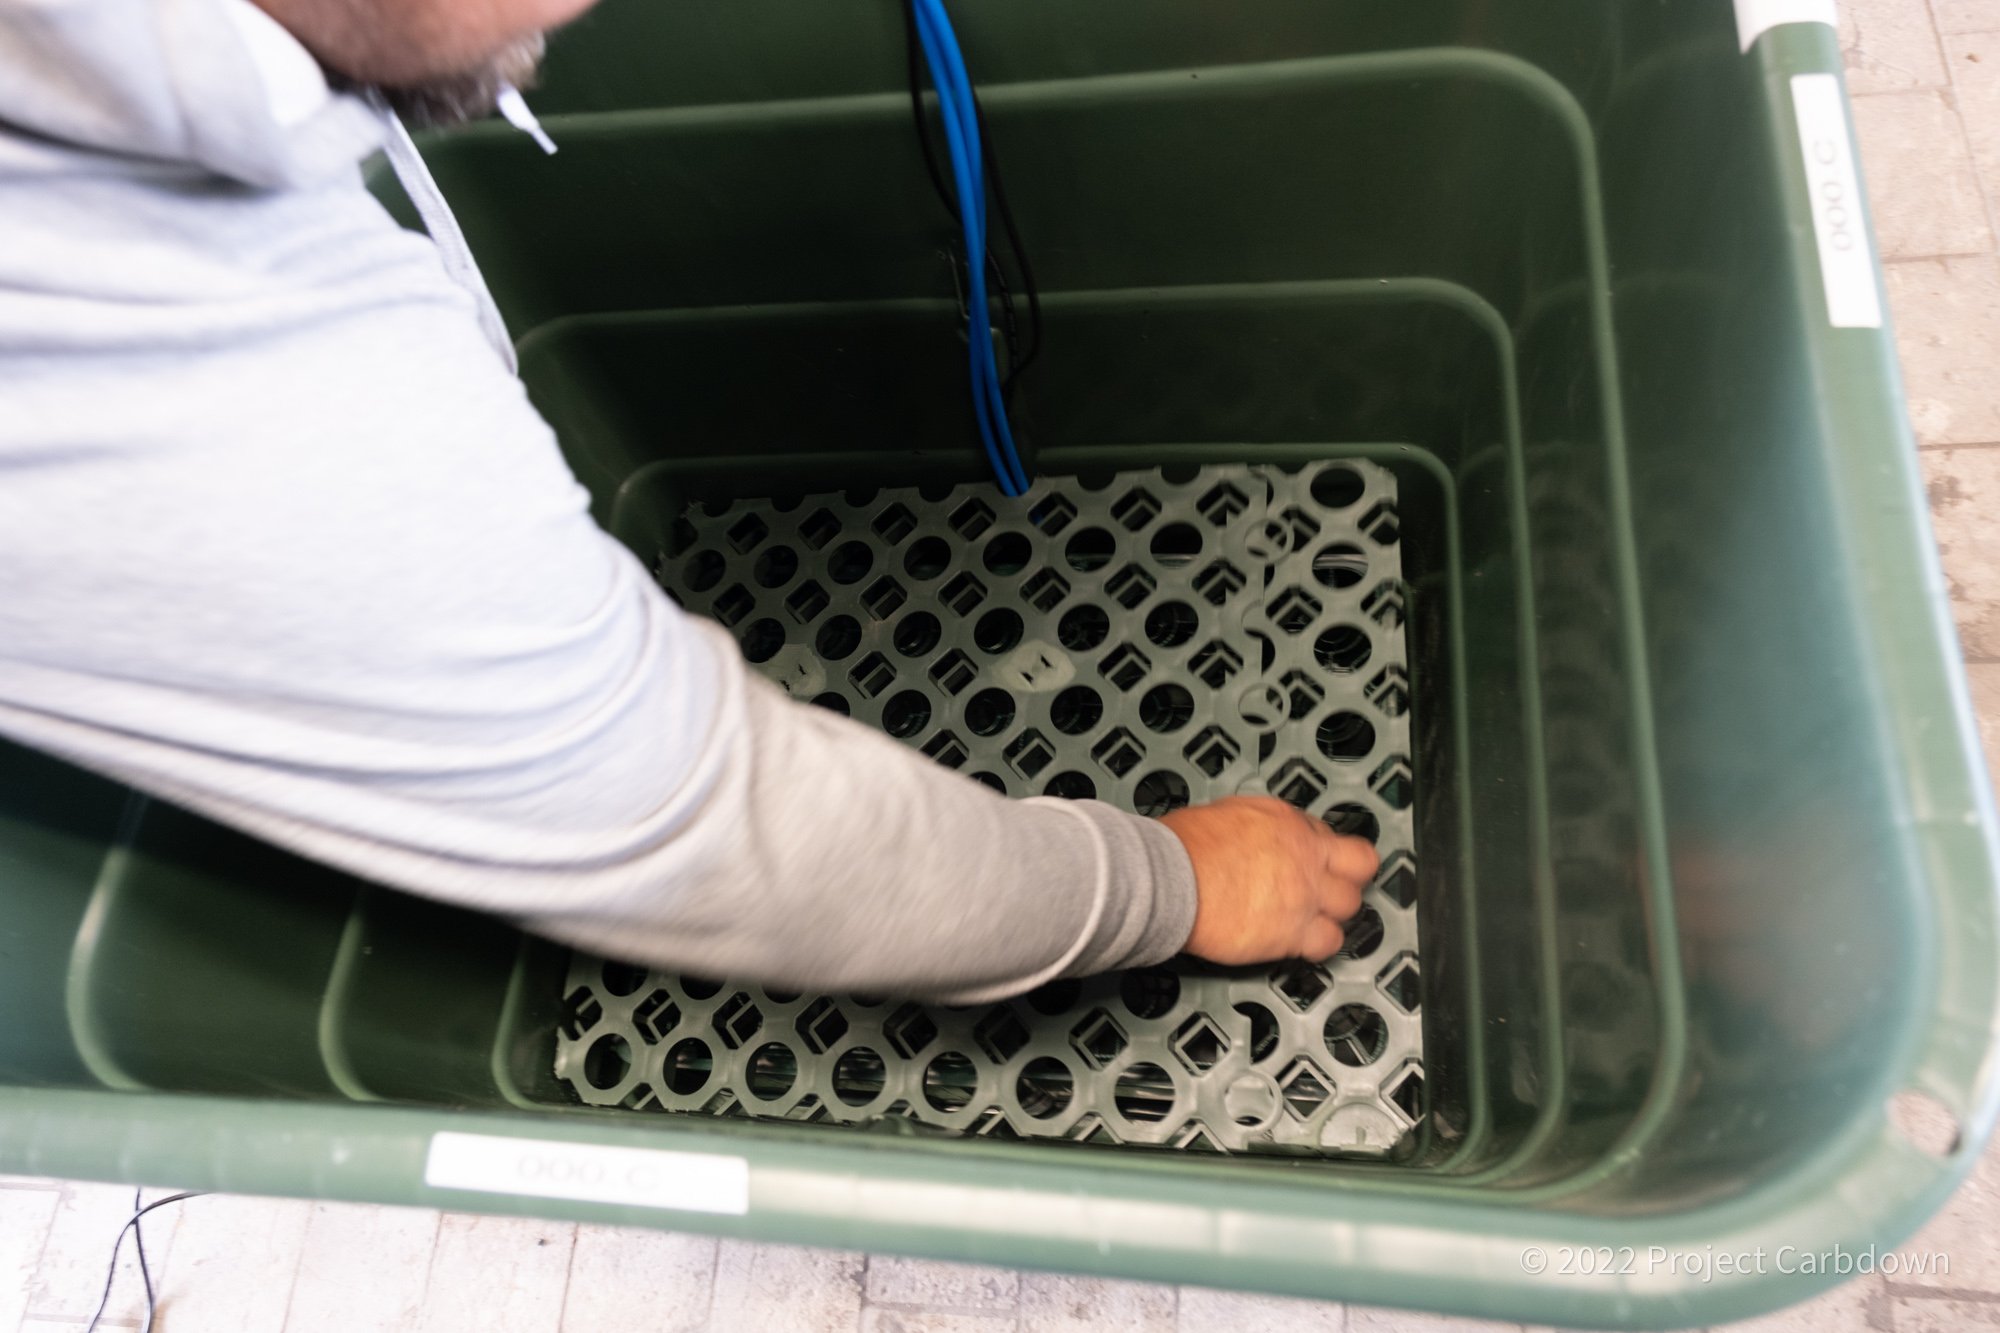
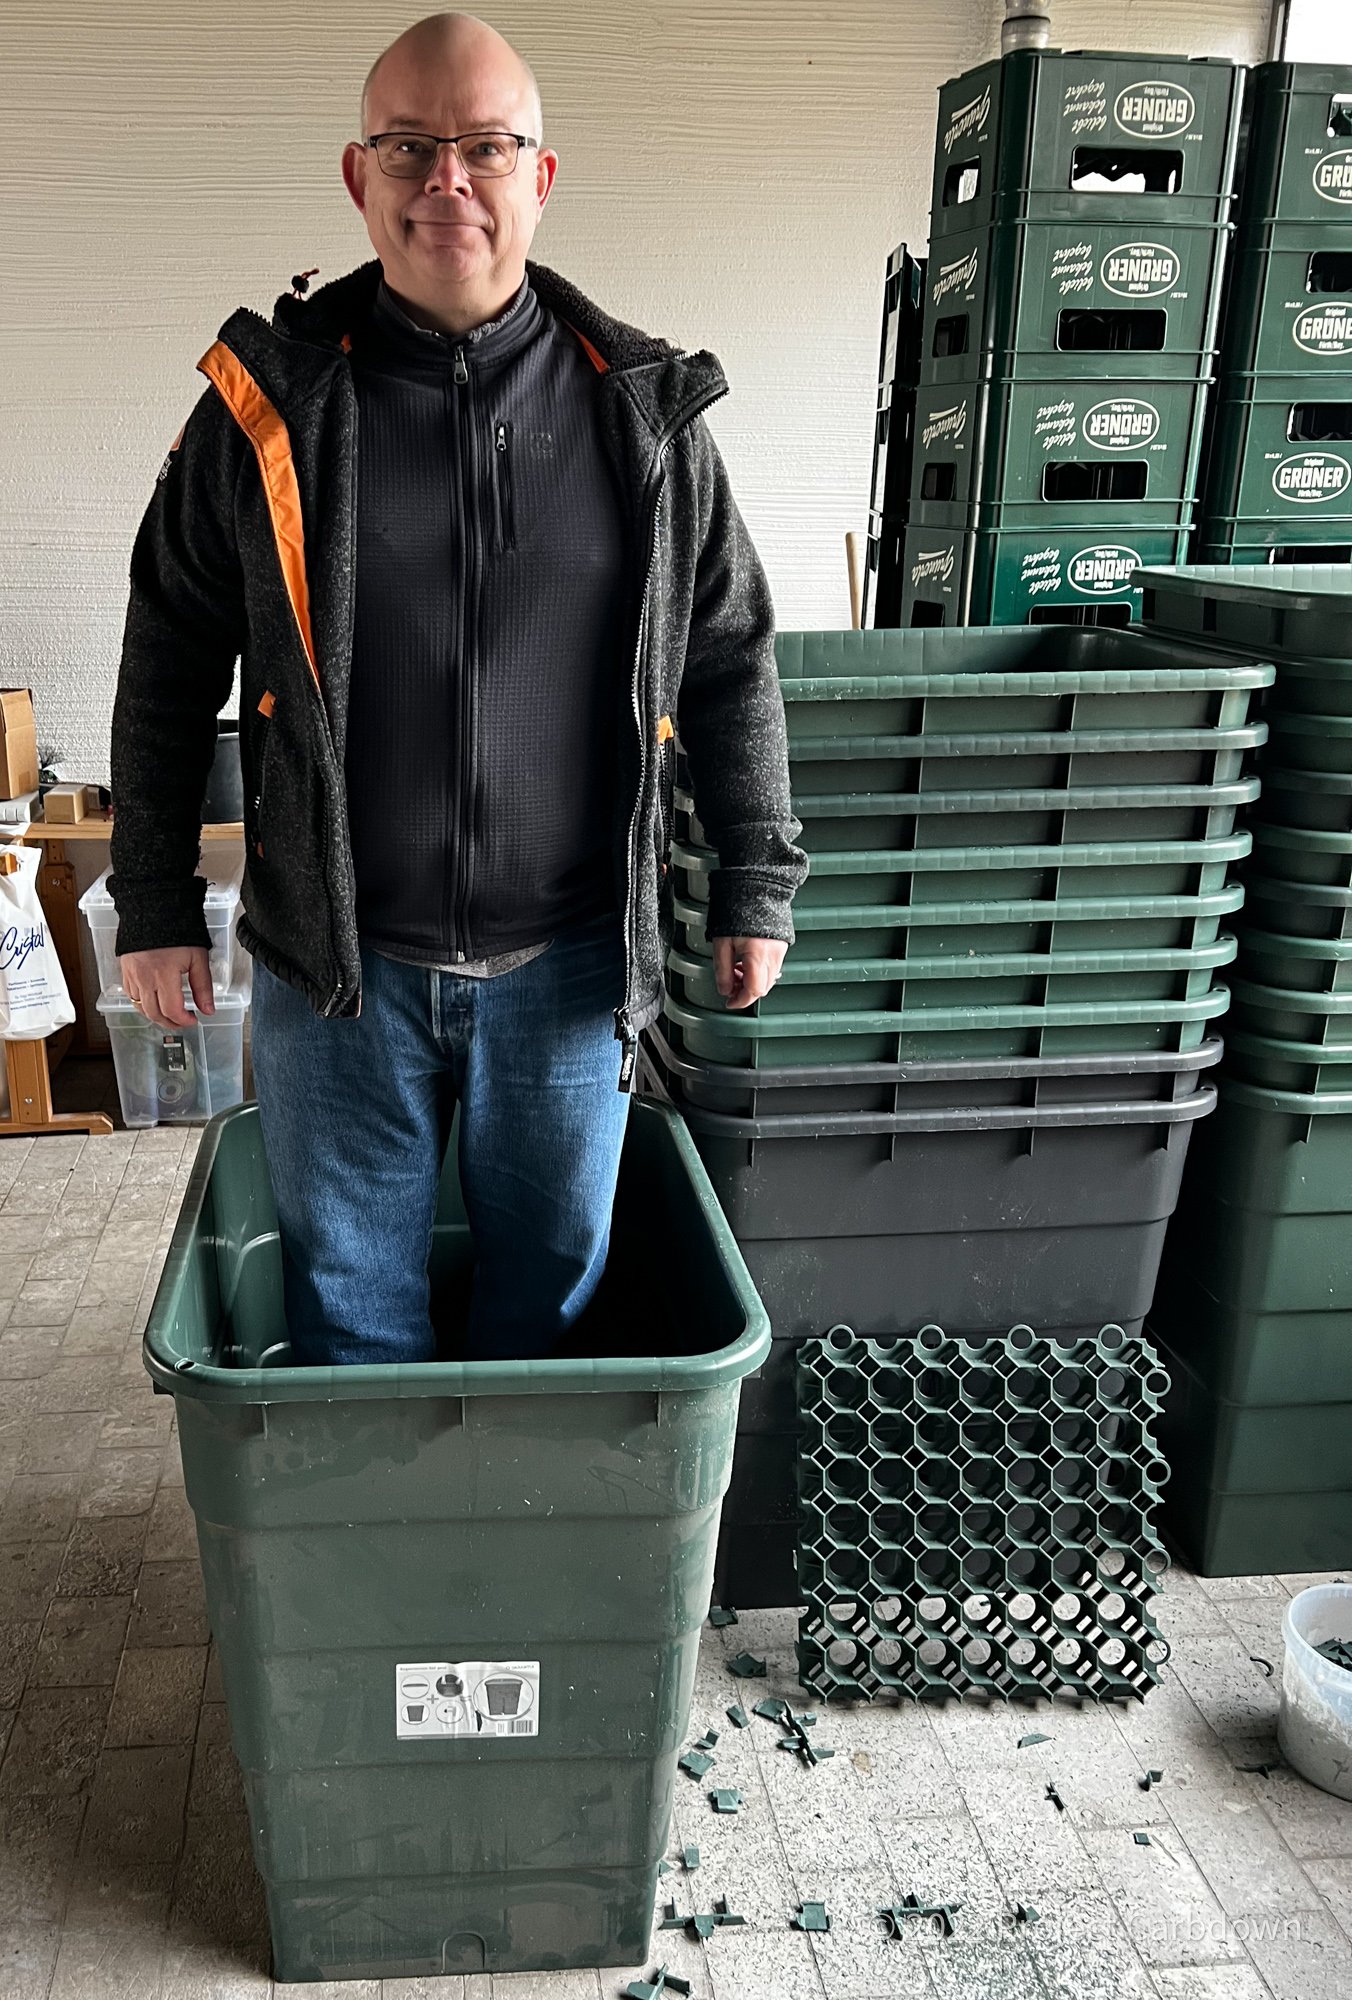
We decided to build the lysimeters out of large 300 liter water tanks. At the bottom two beer crates (we needed something cheap and sturdy that is able to carry the load of hundreds of kilogram of soil) carry the load and create a hollow room which is our tank. We found that two beer crates from local brewery Grünerla fit almost perfectly into the tank and the brewery supported us by giving us 40 creates for free (thank you!). We only needed to cut off 5 cm from one of the crates. We also had to cut some plastic pieces from the tanks.
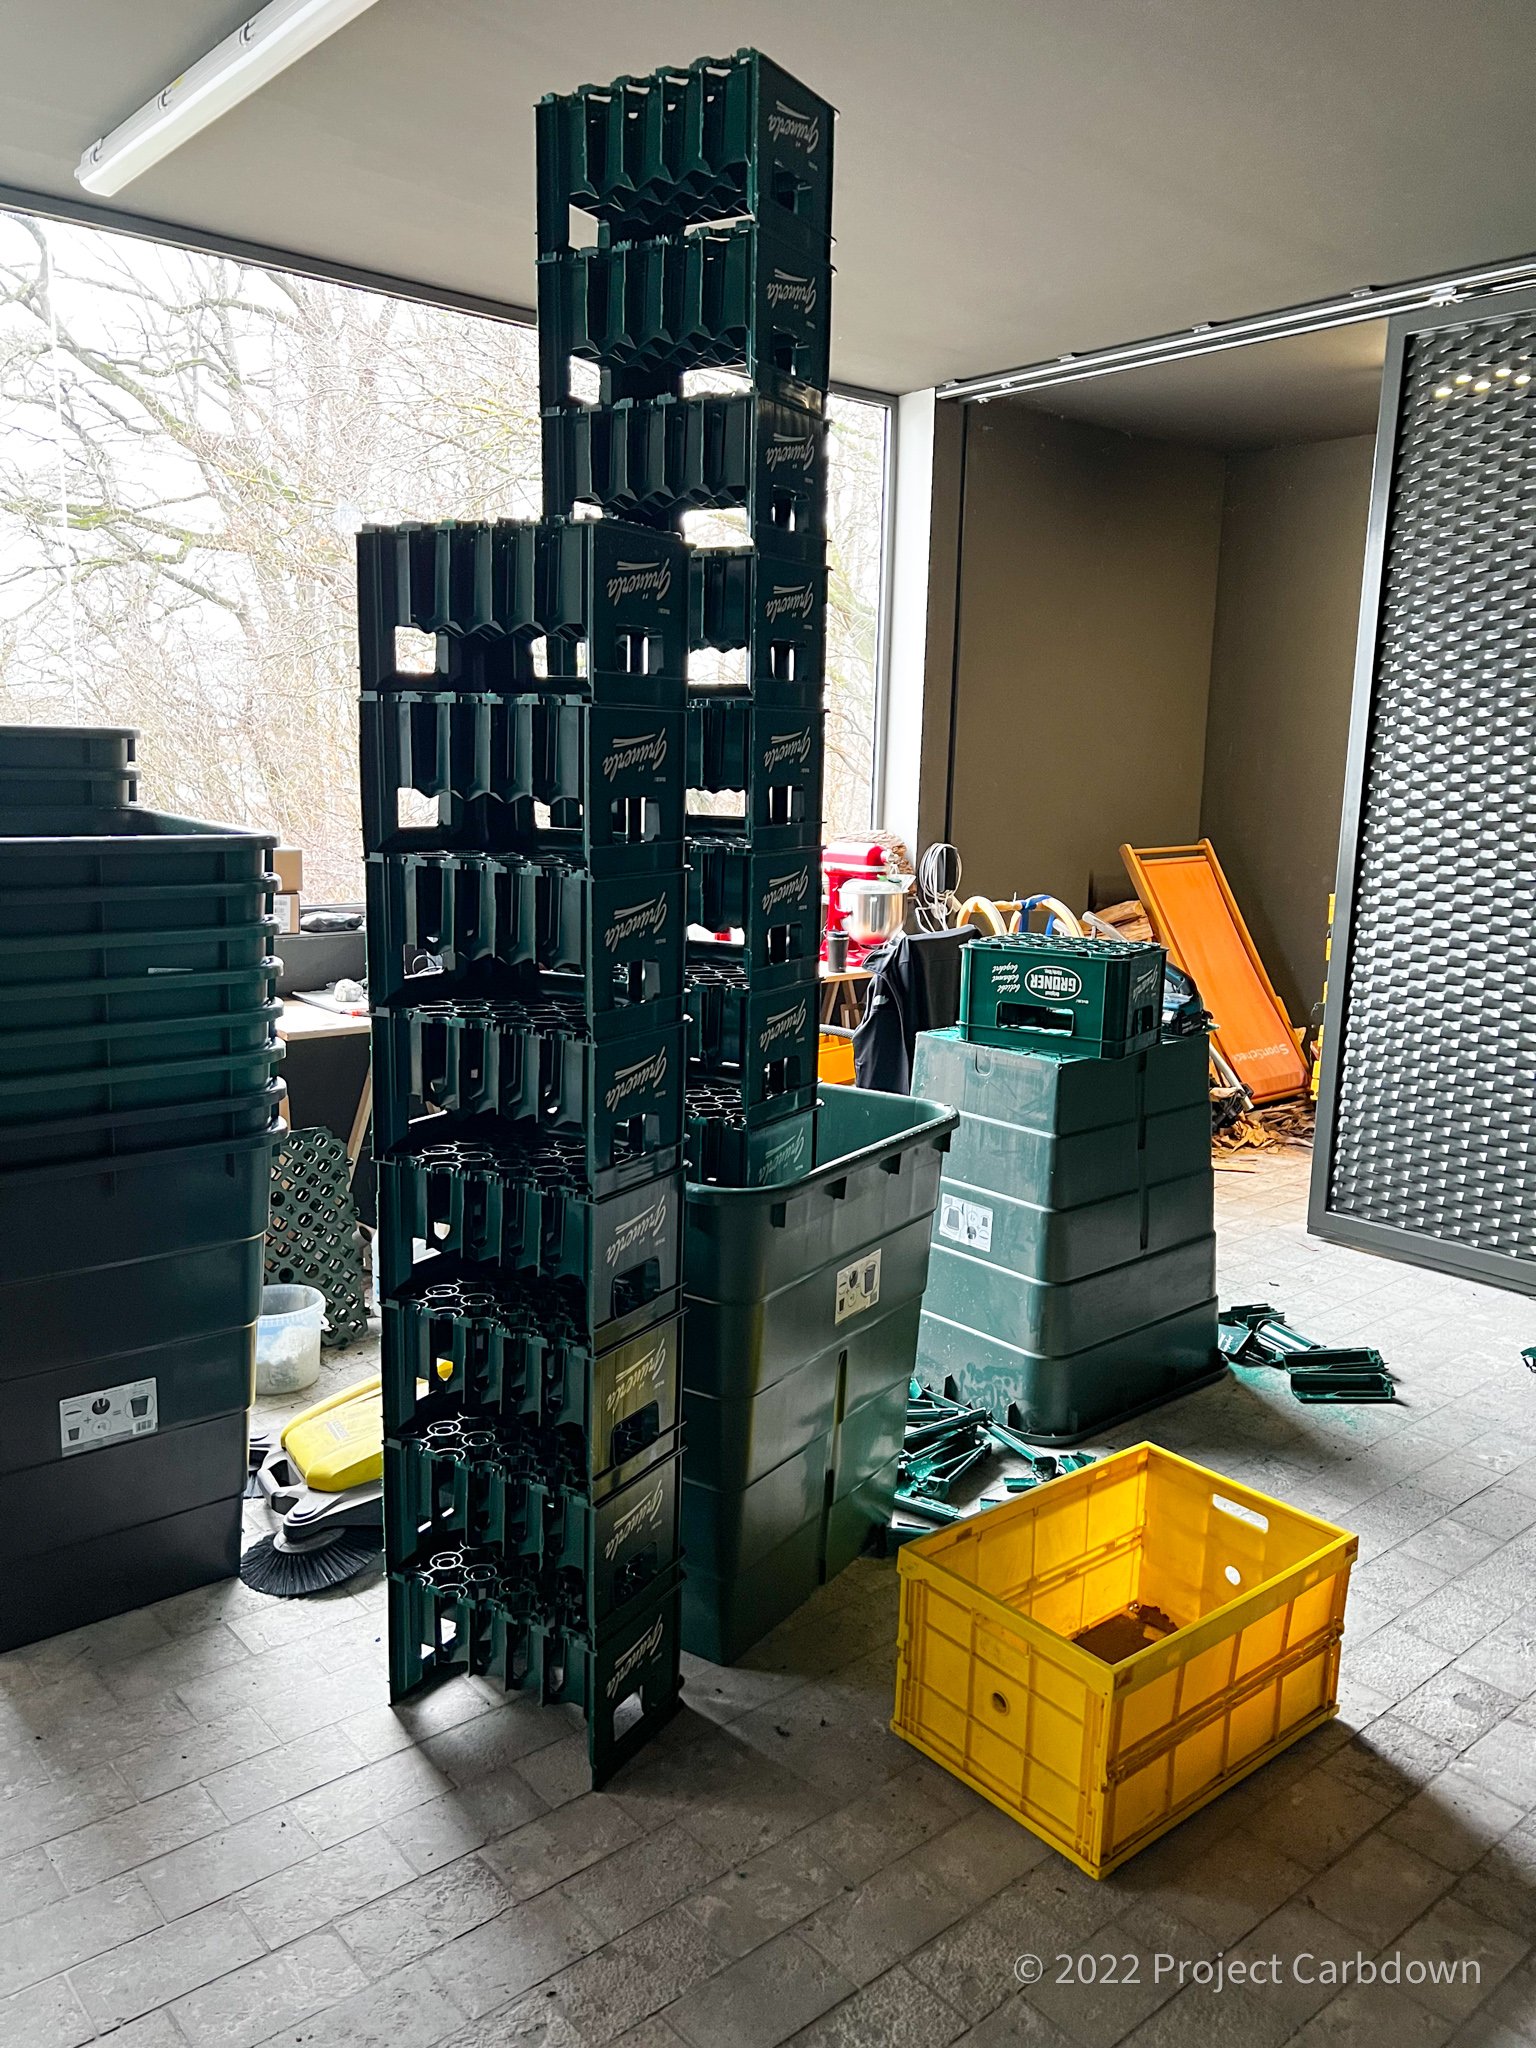
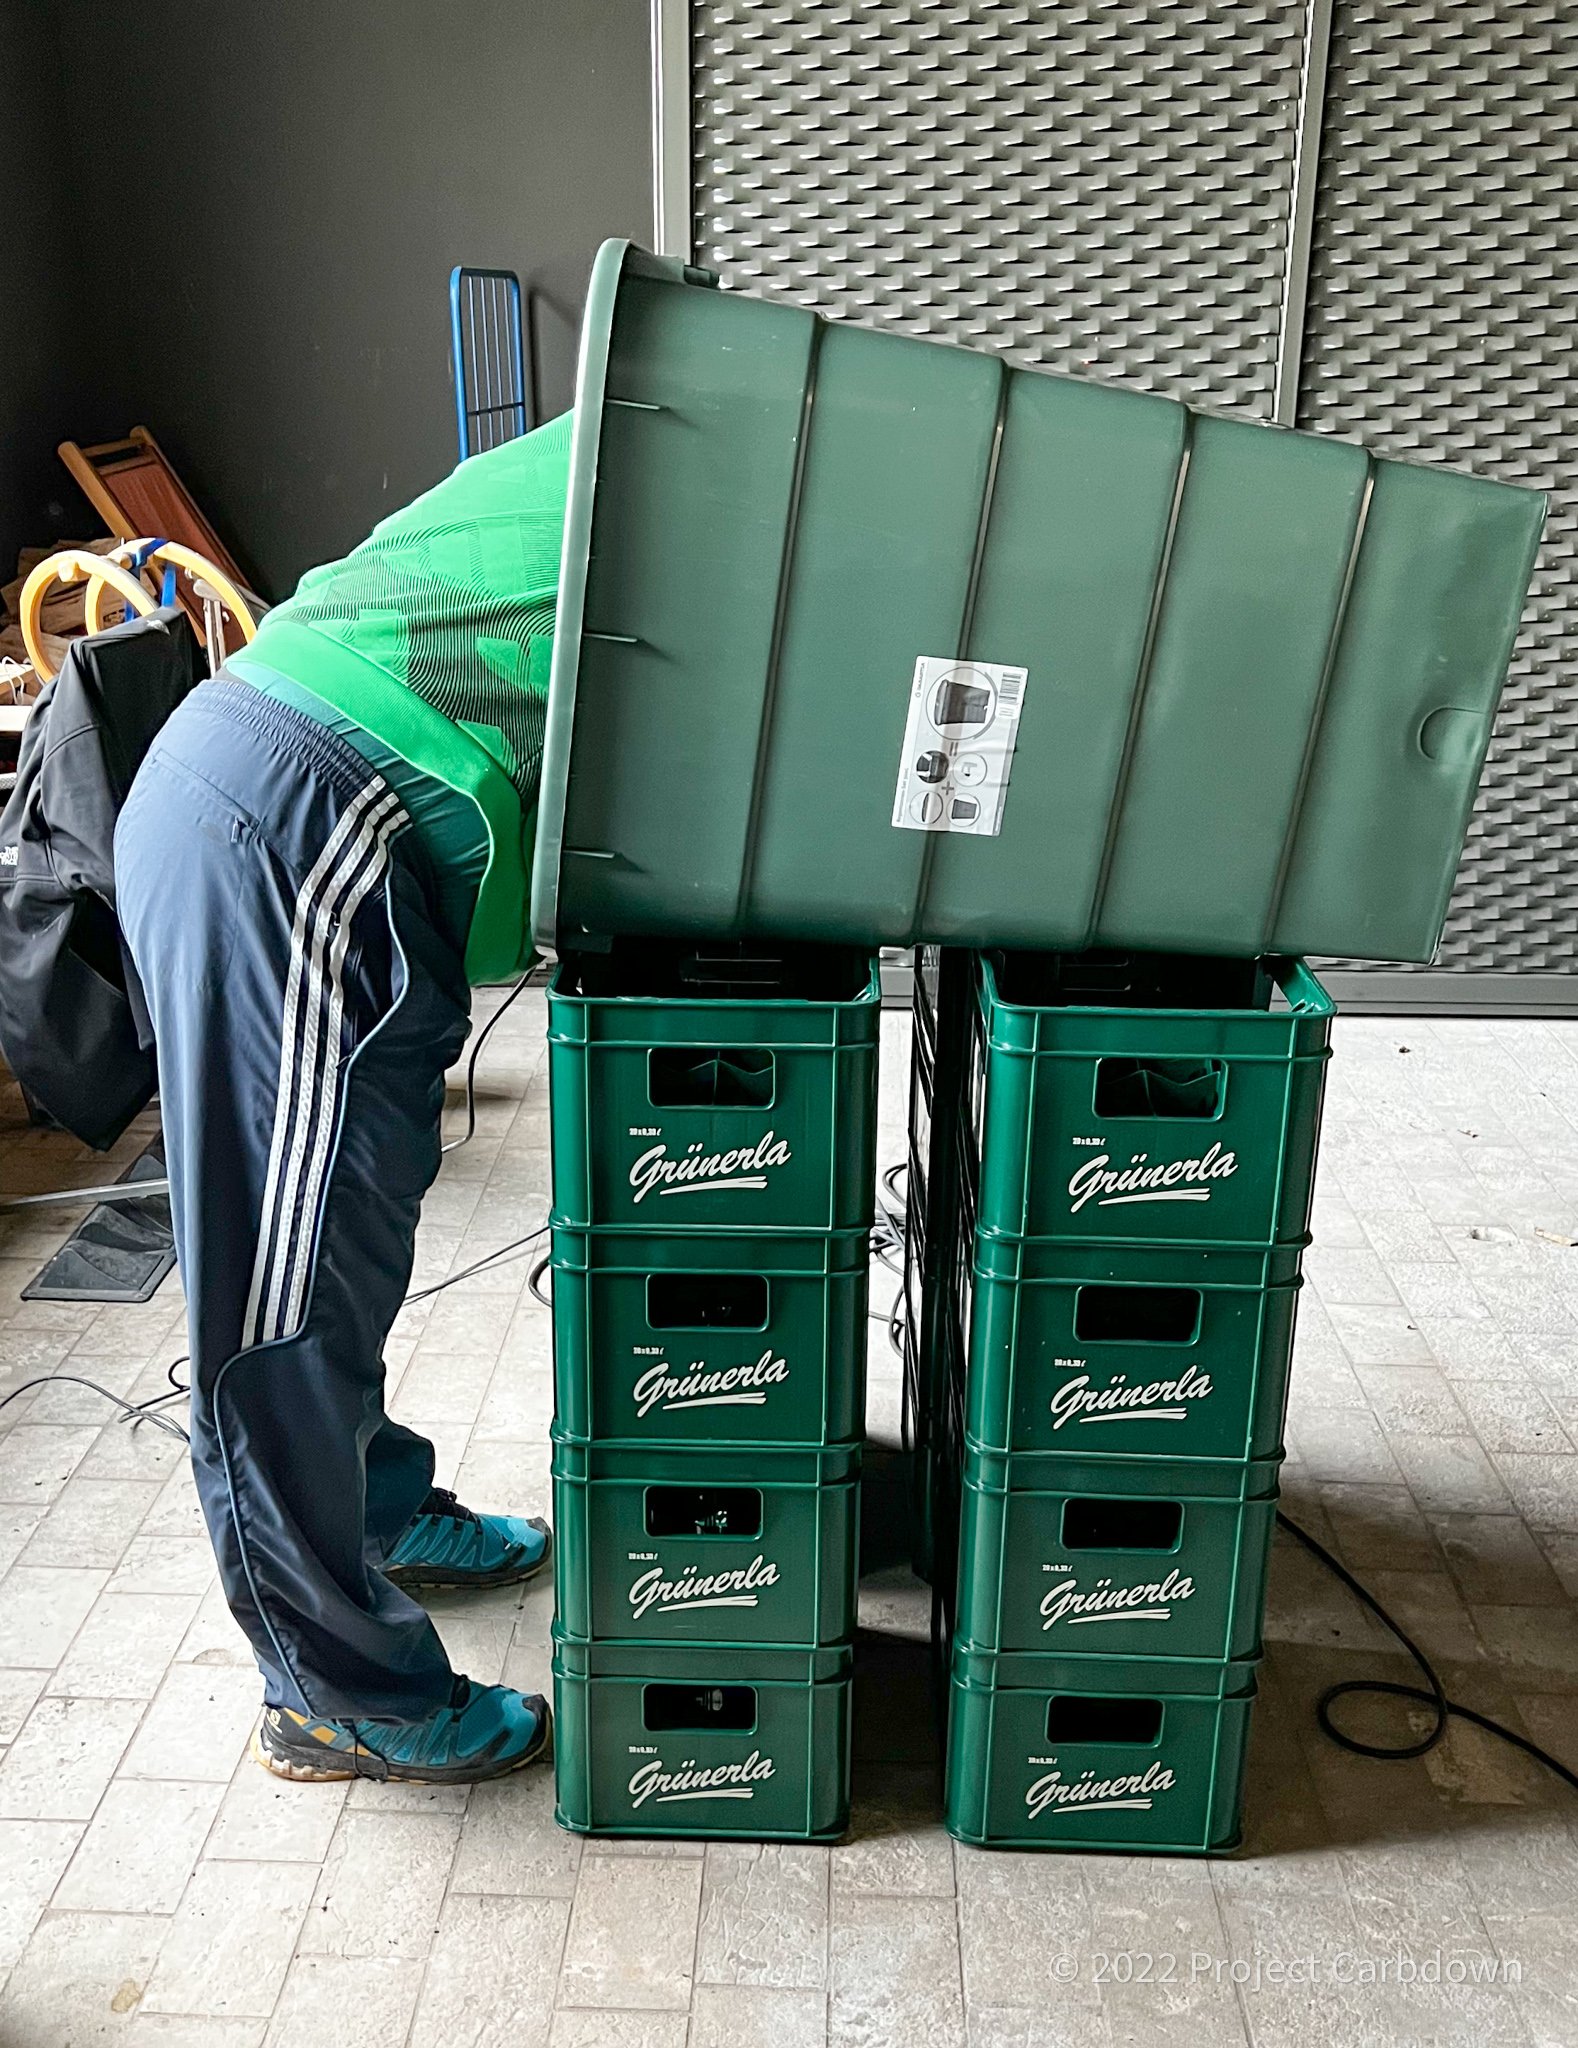
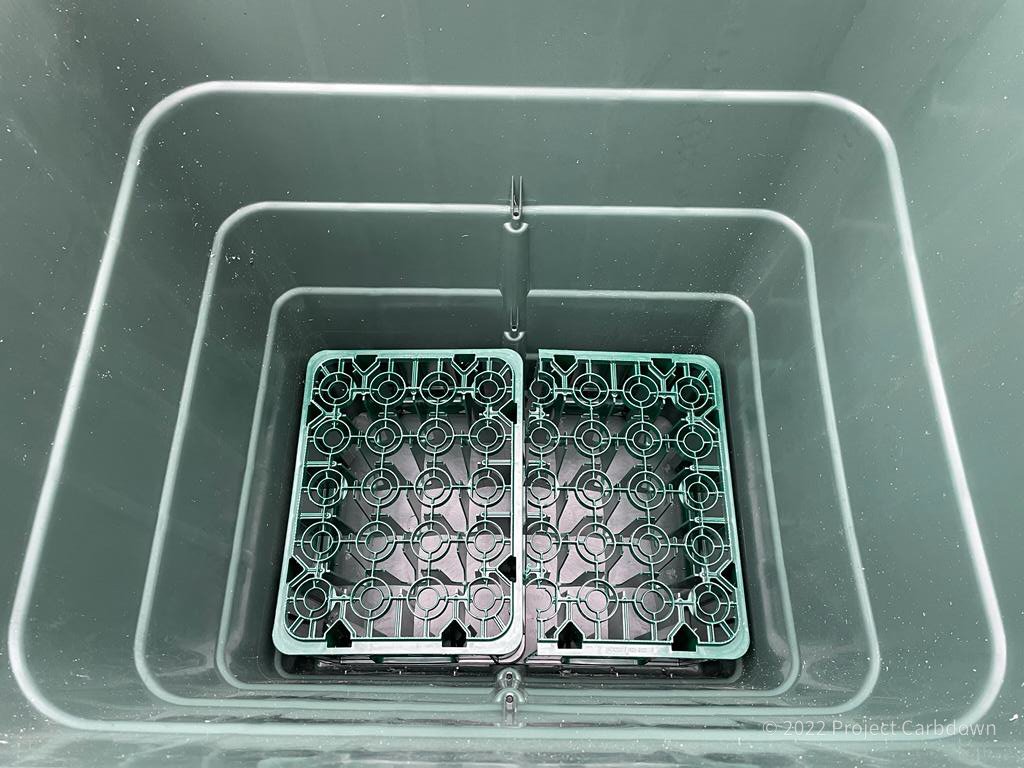
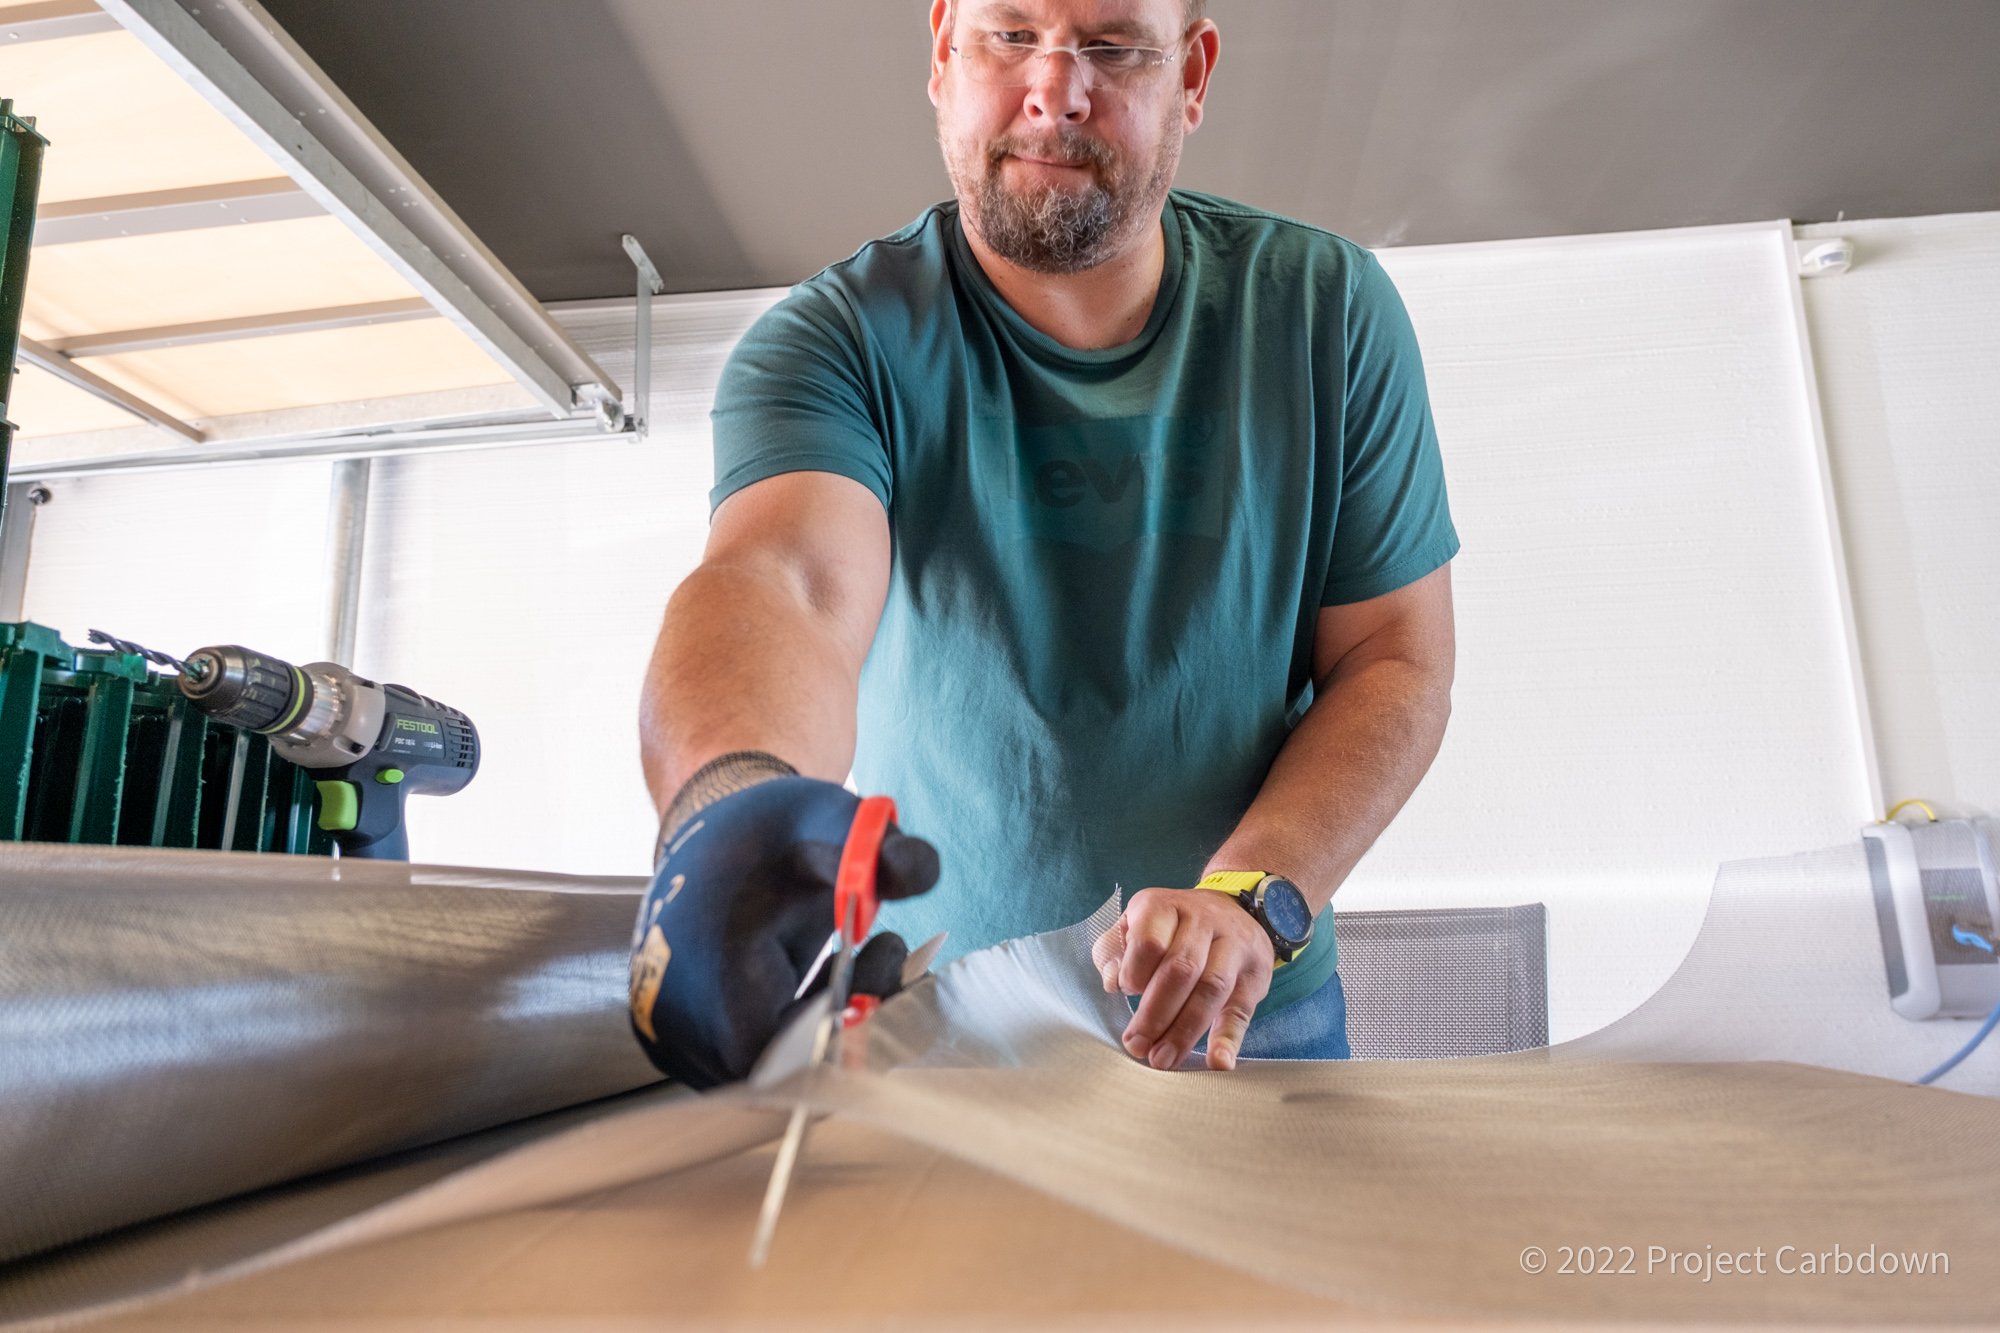
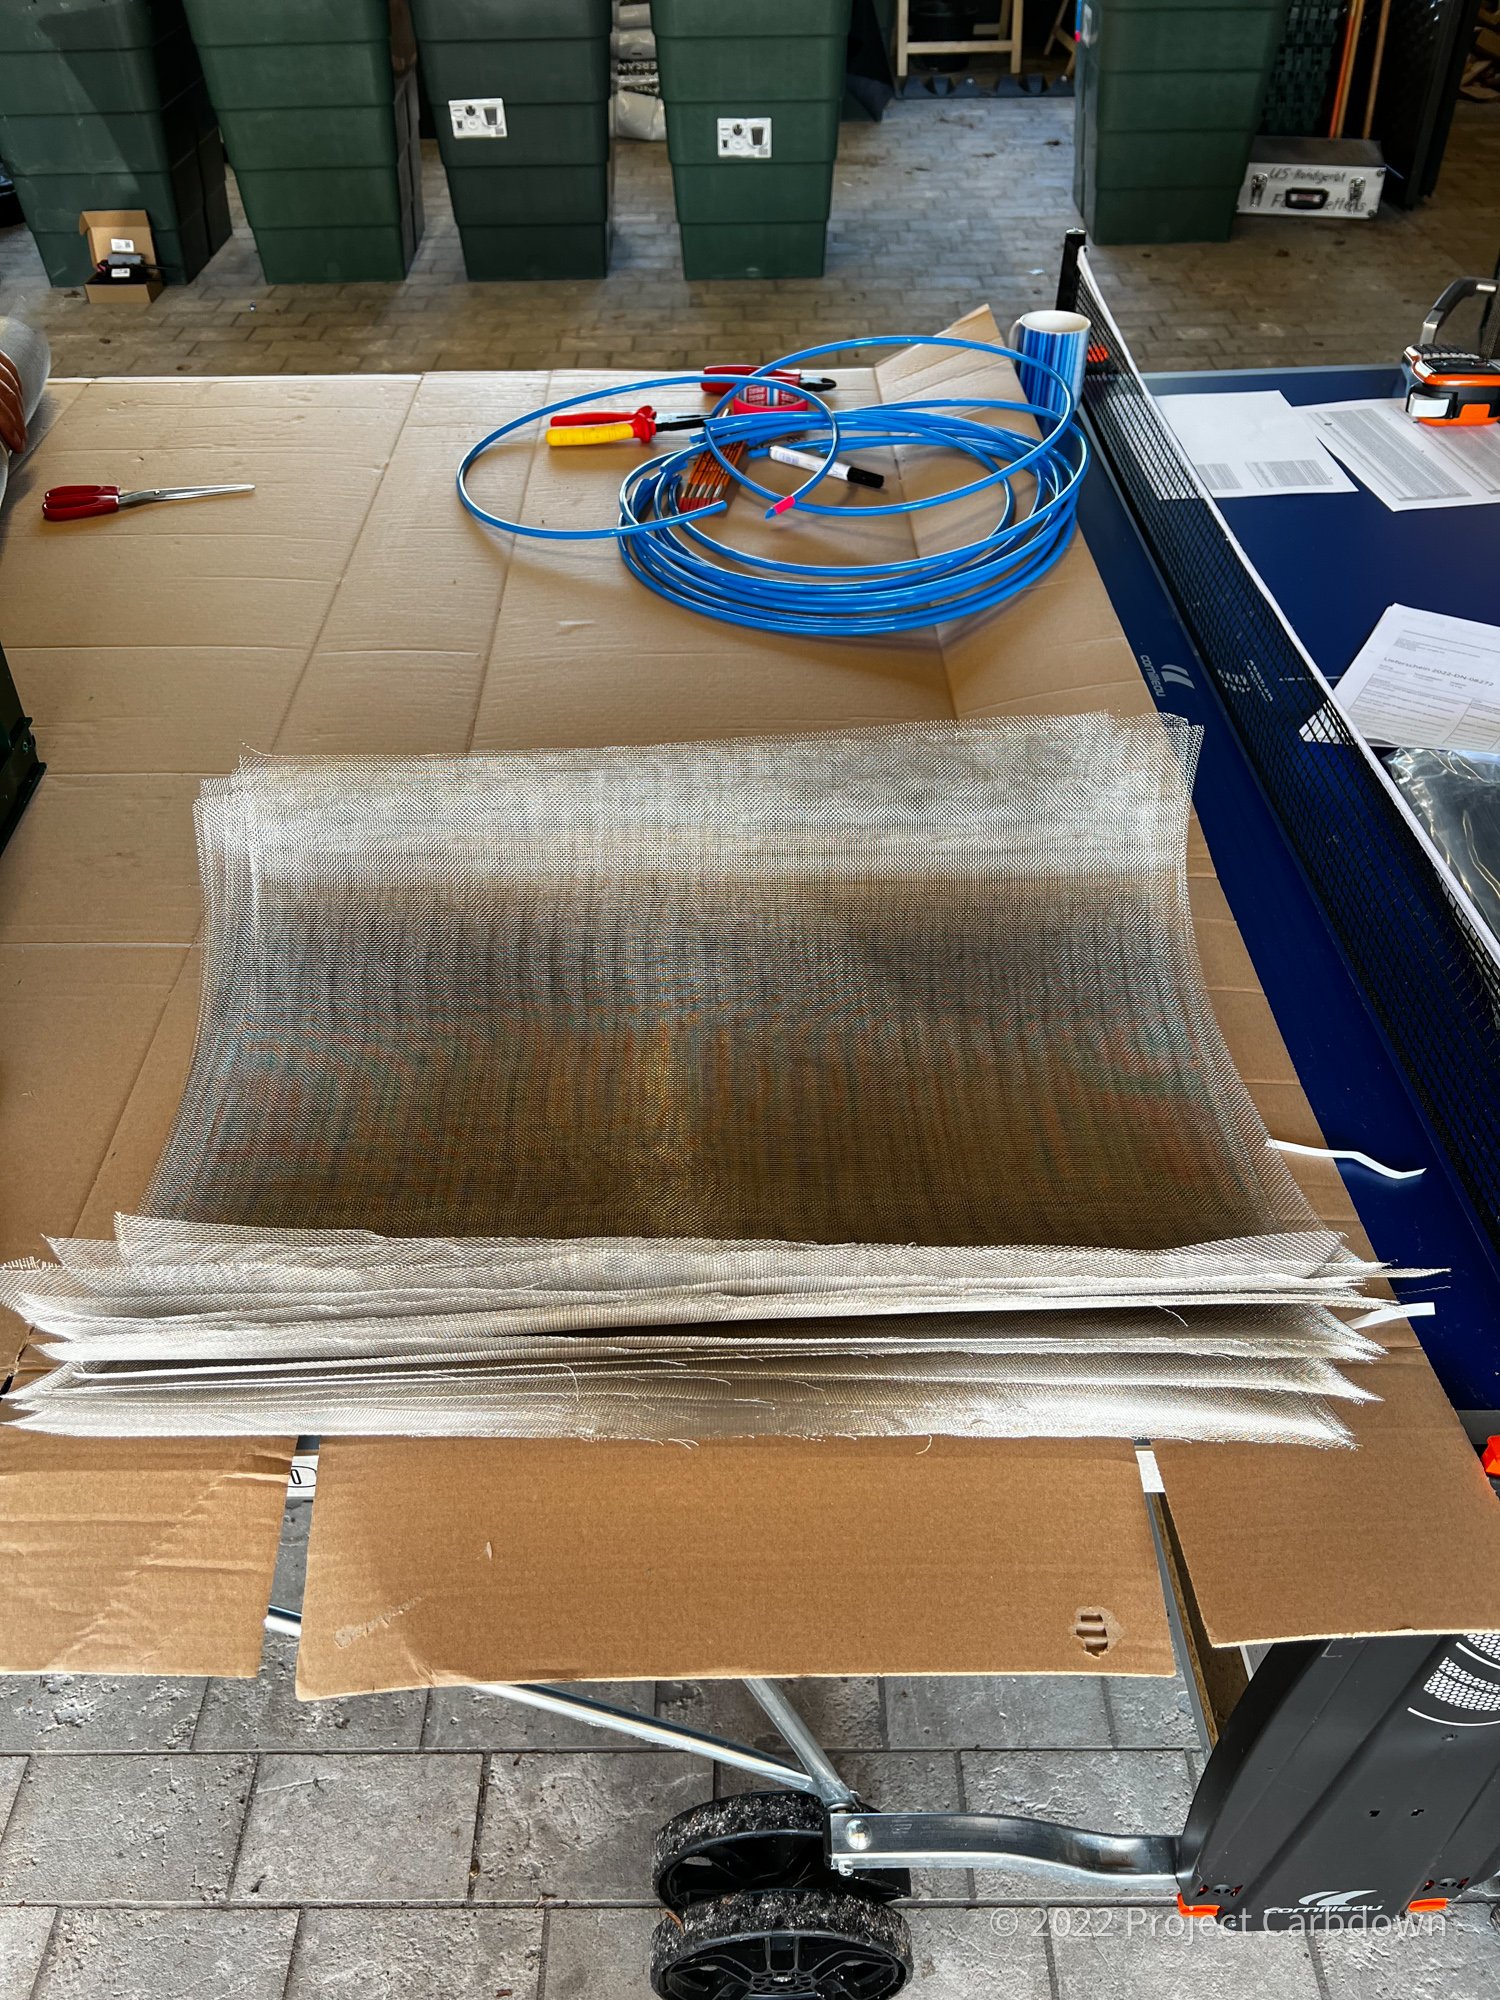
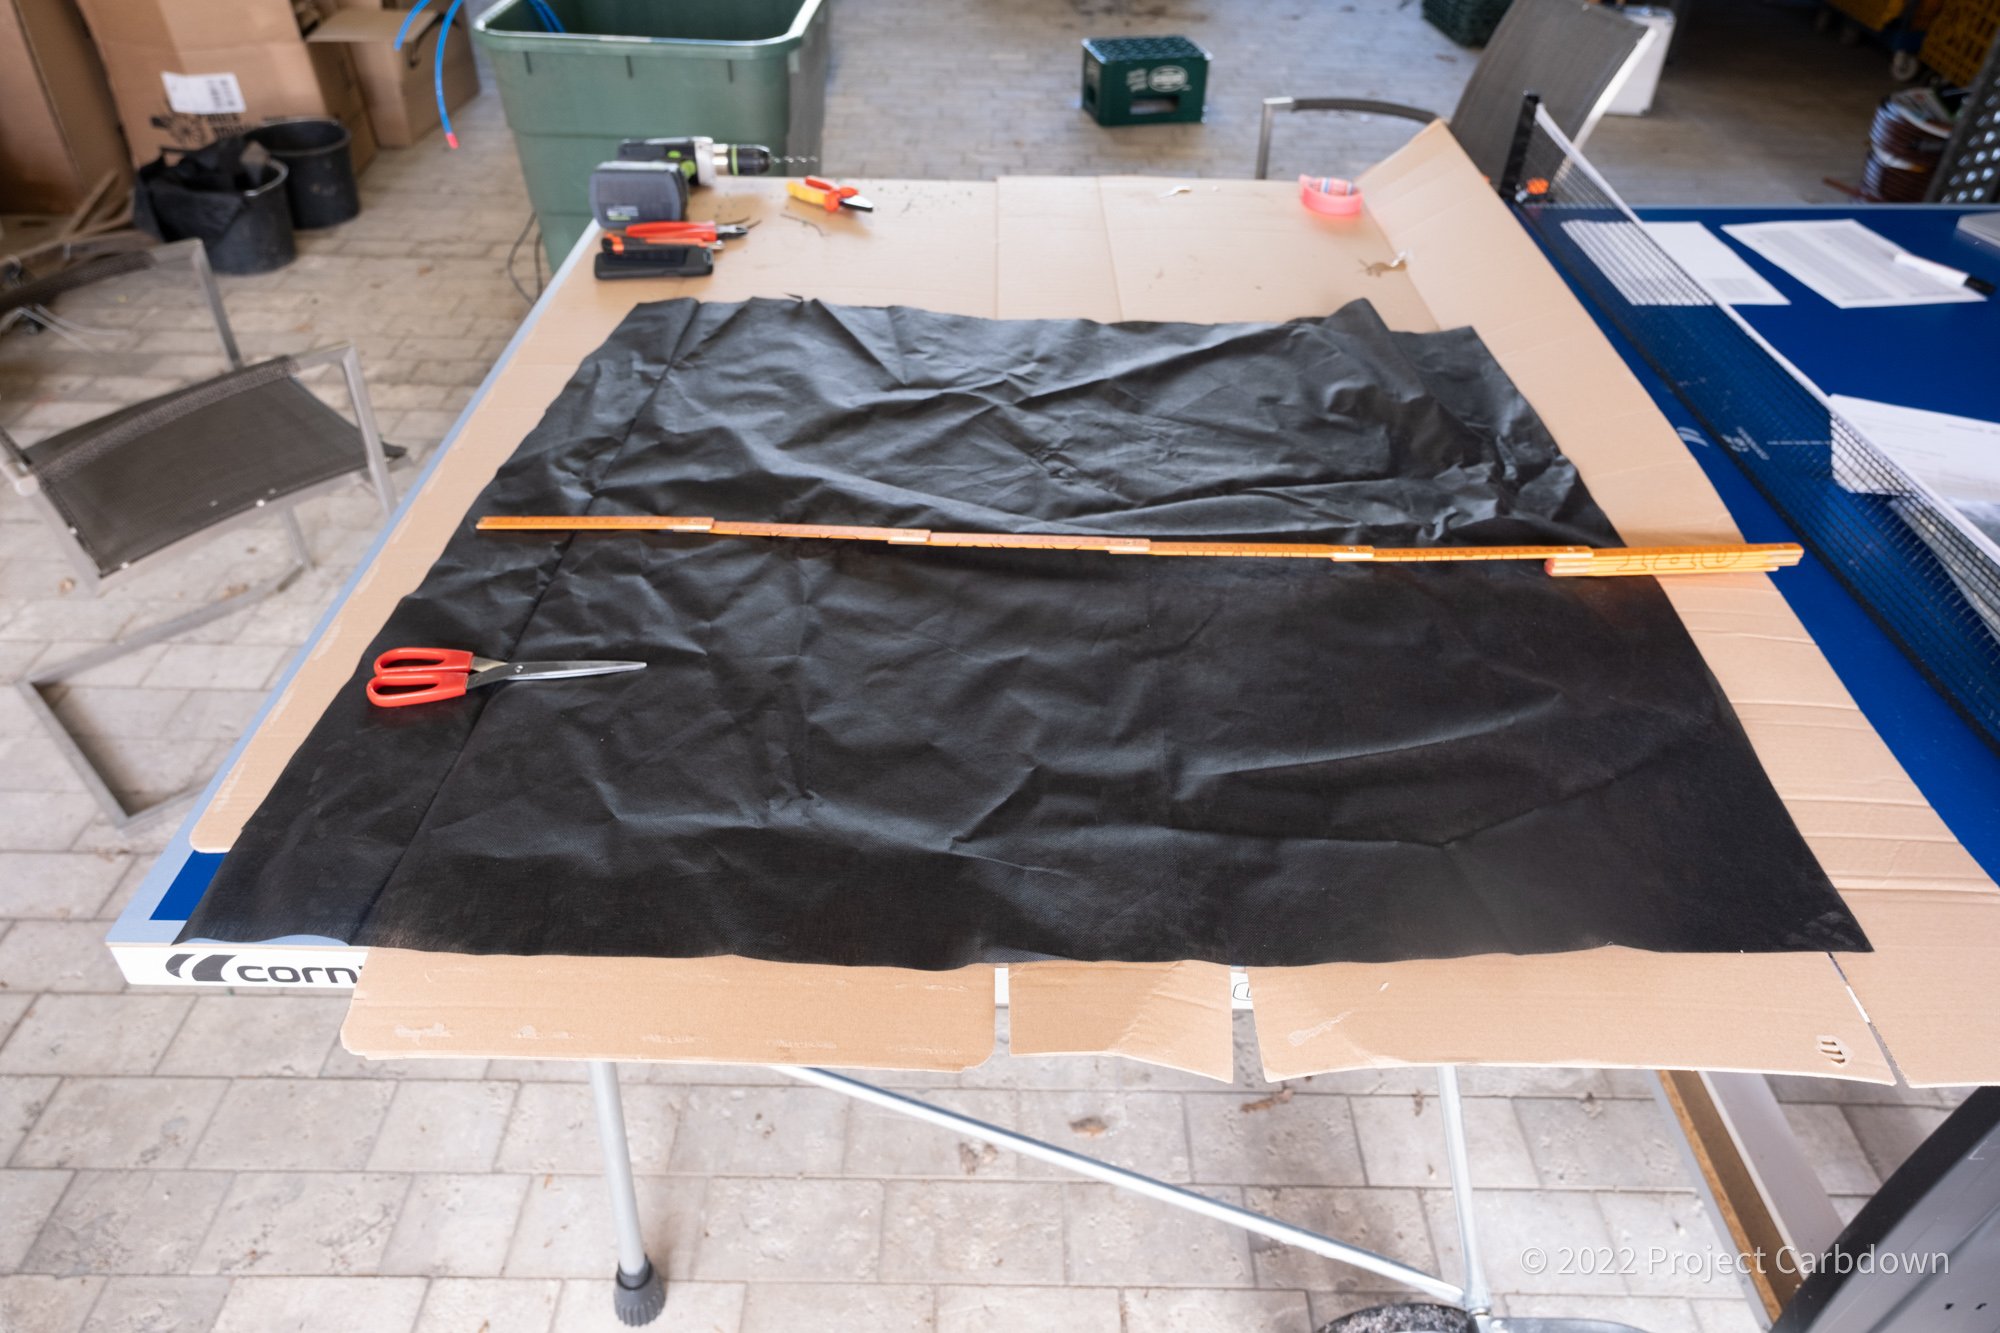
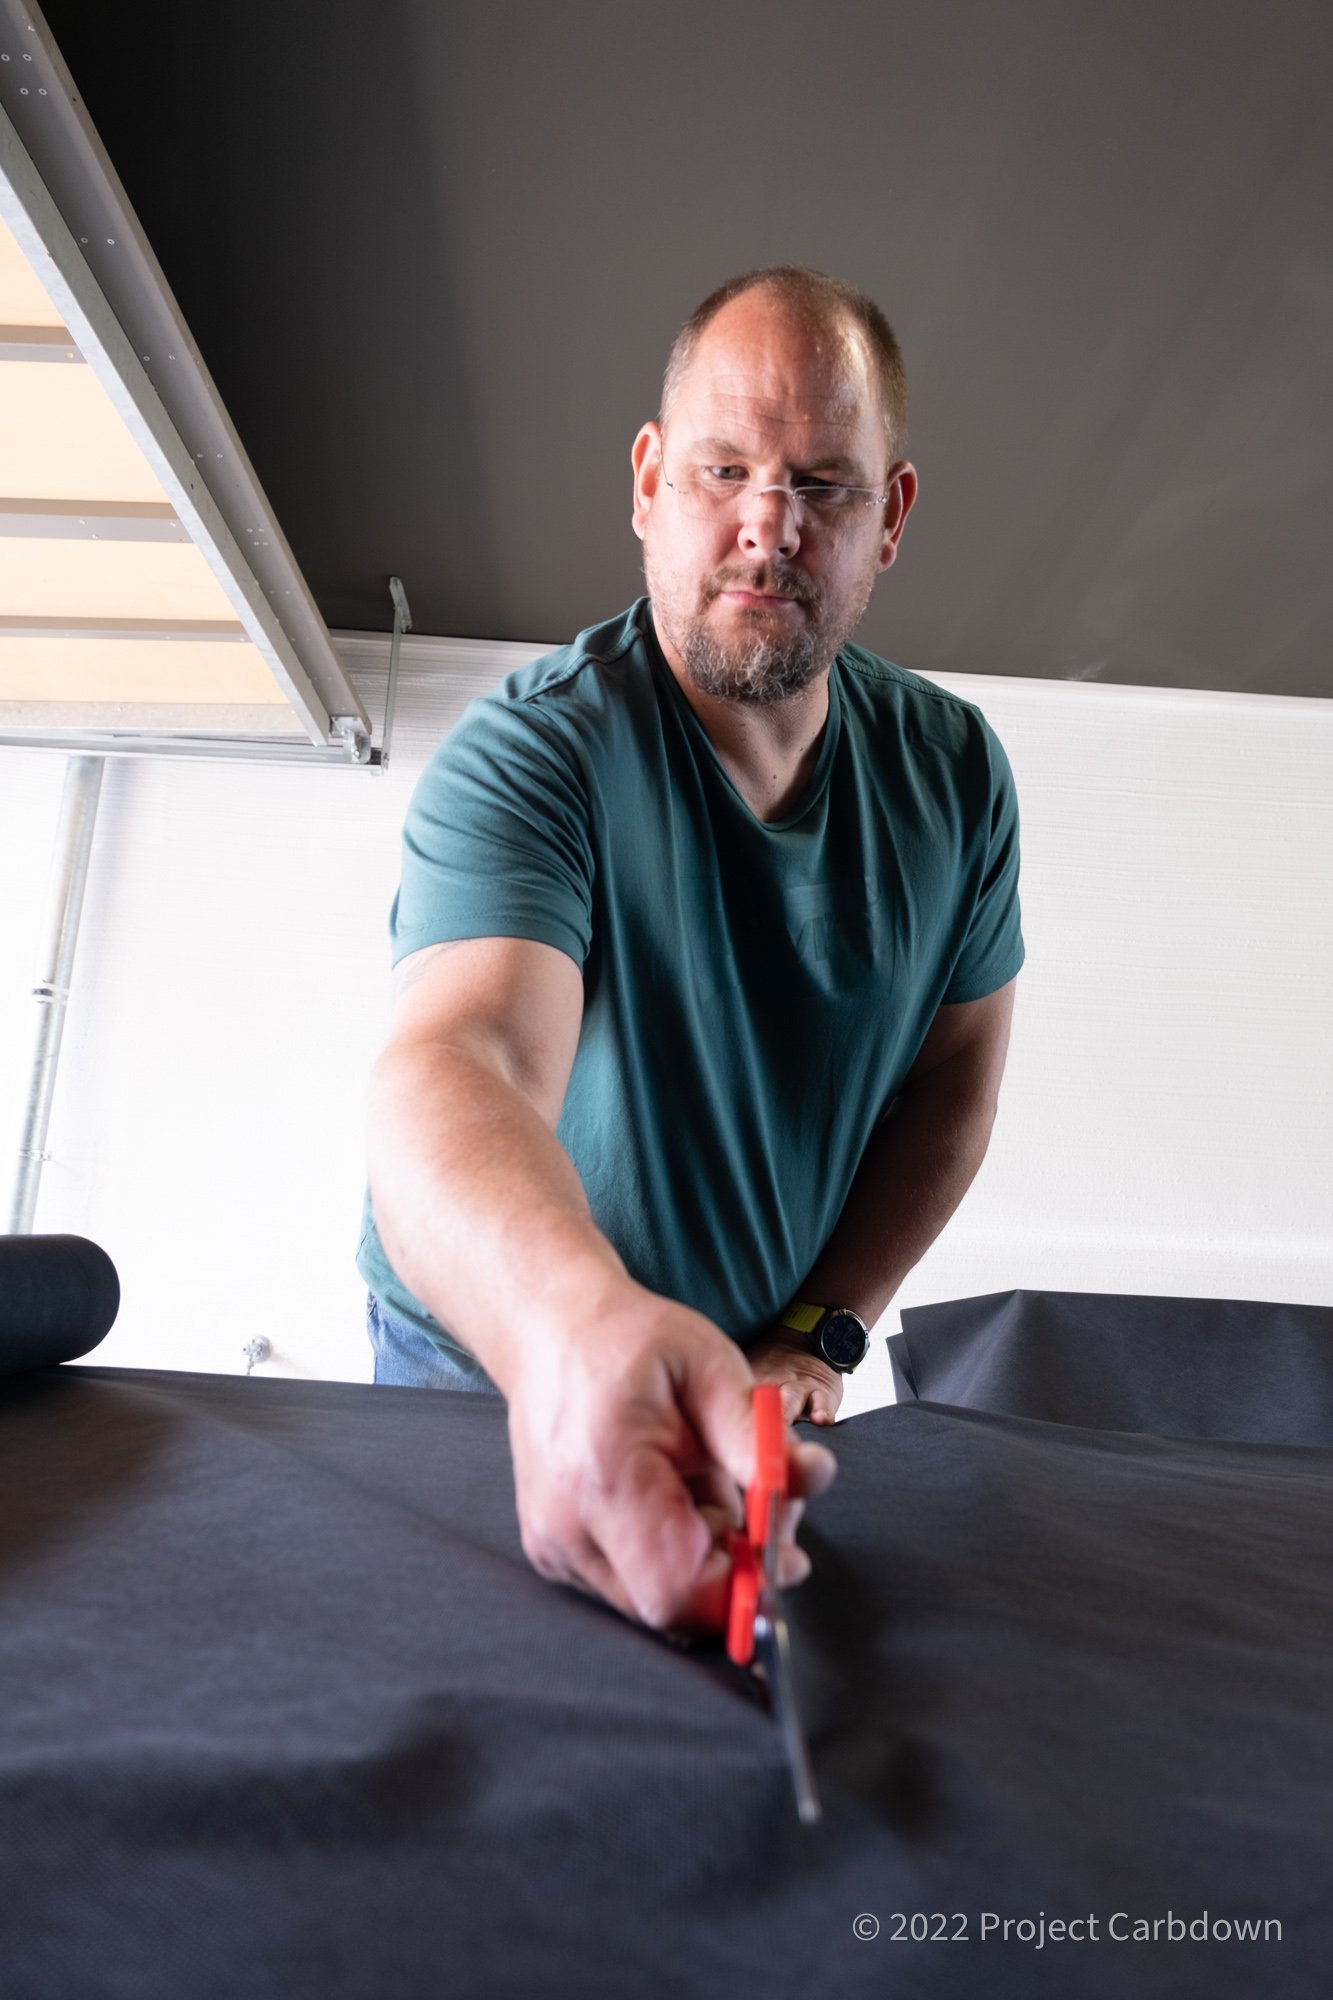
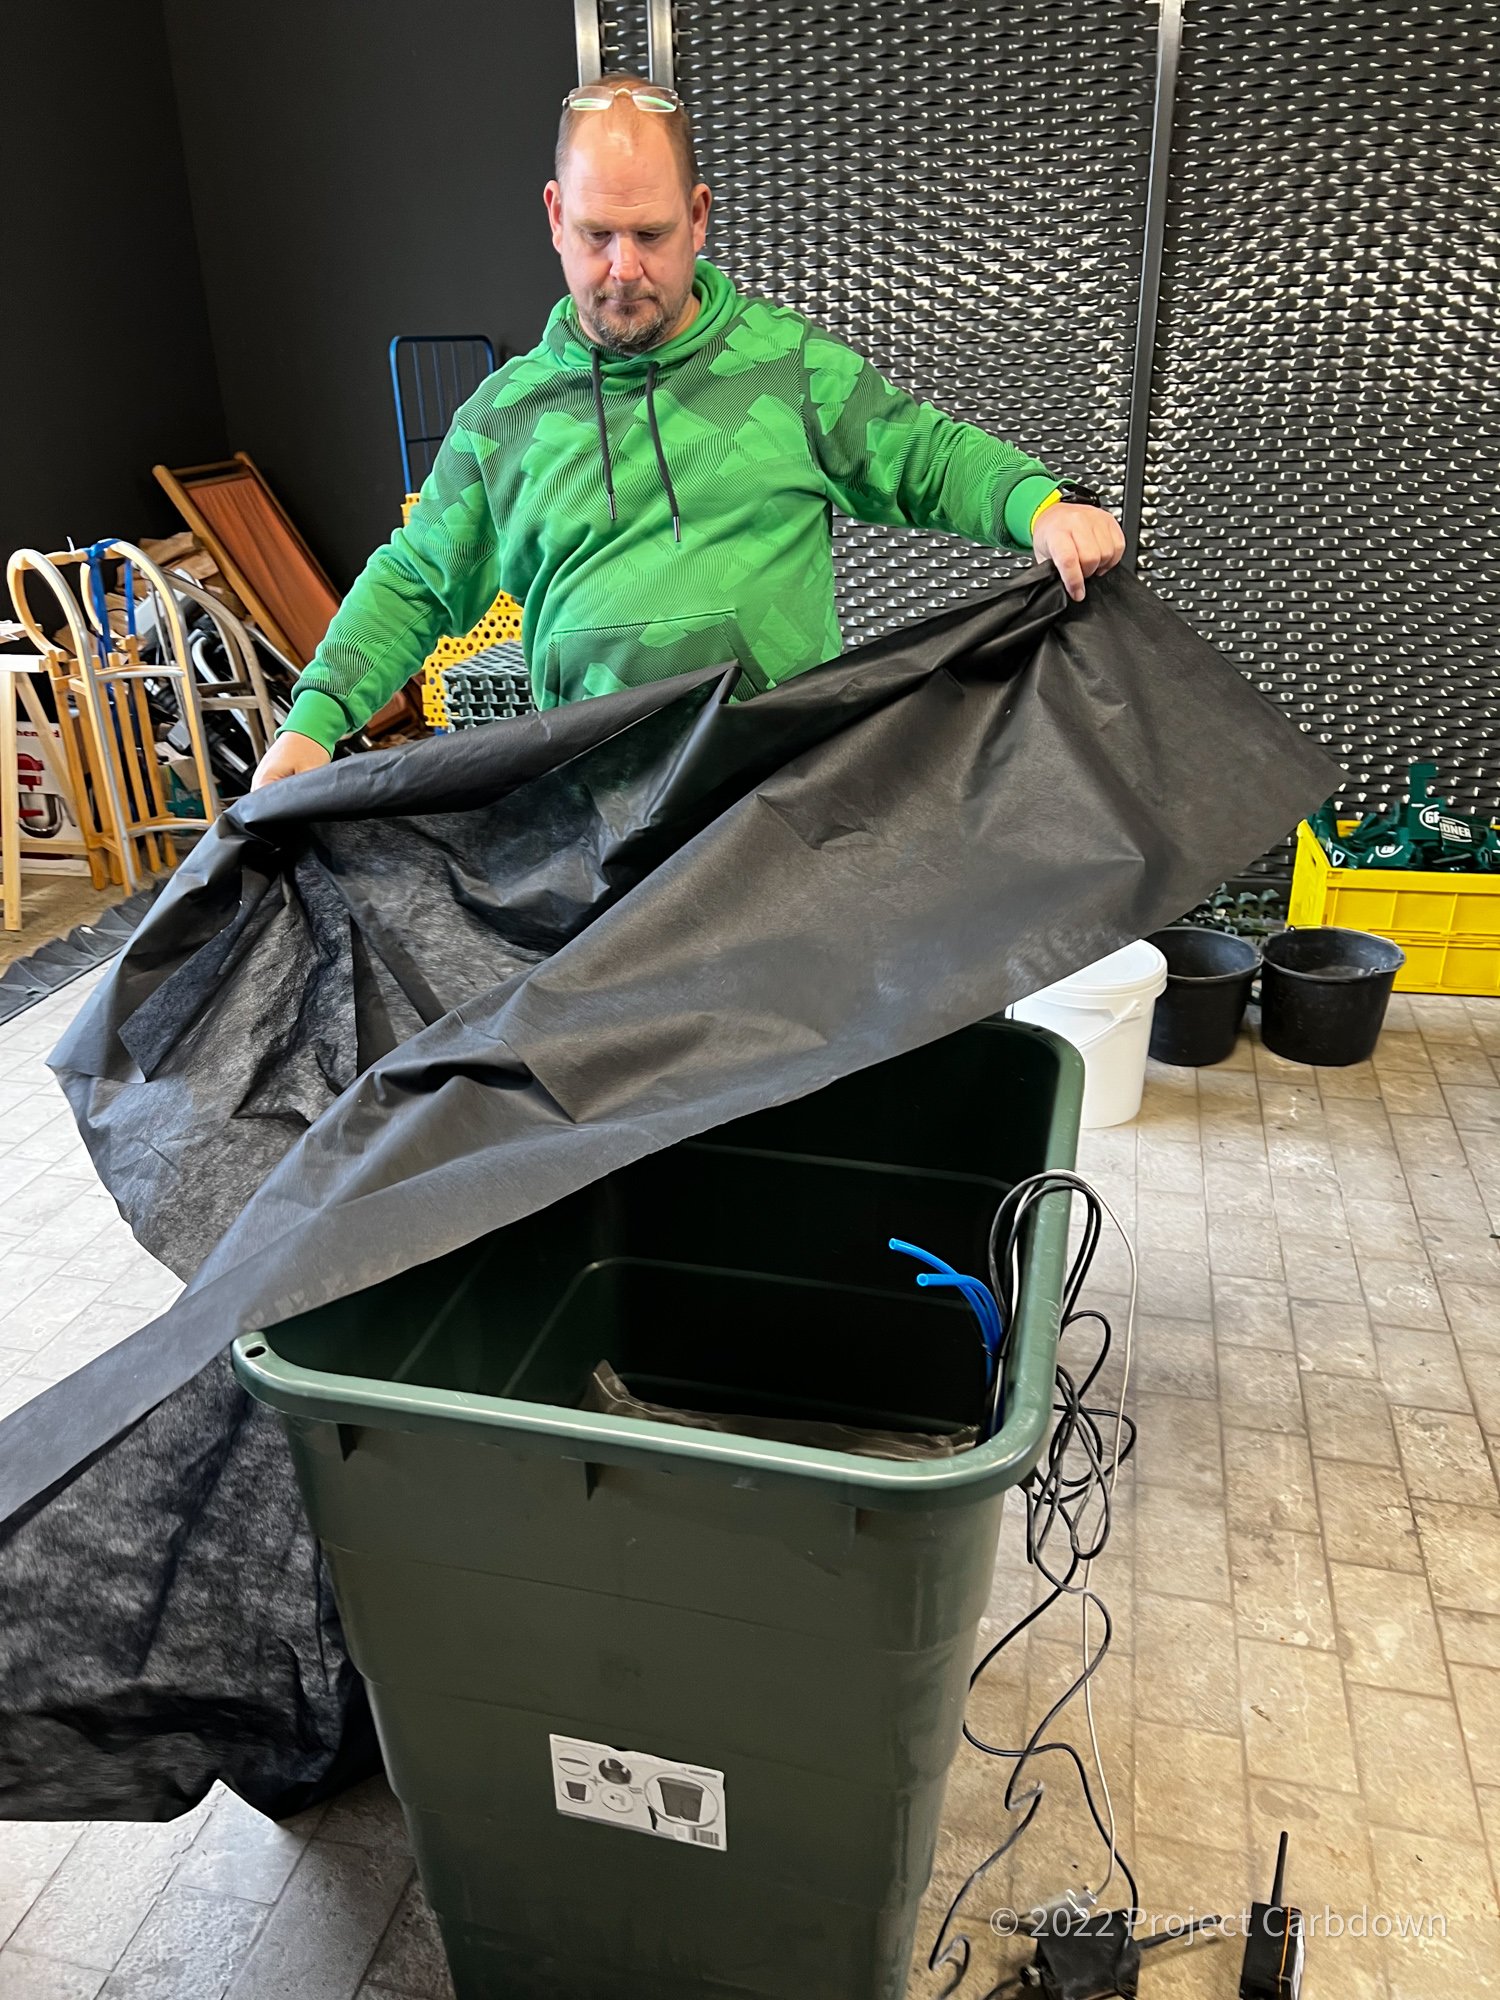
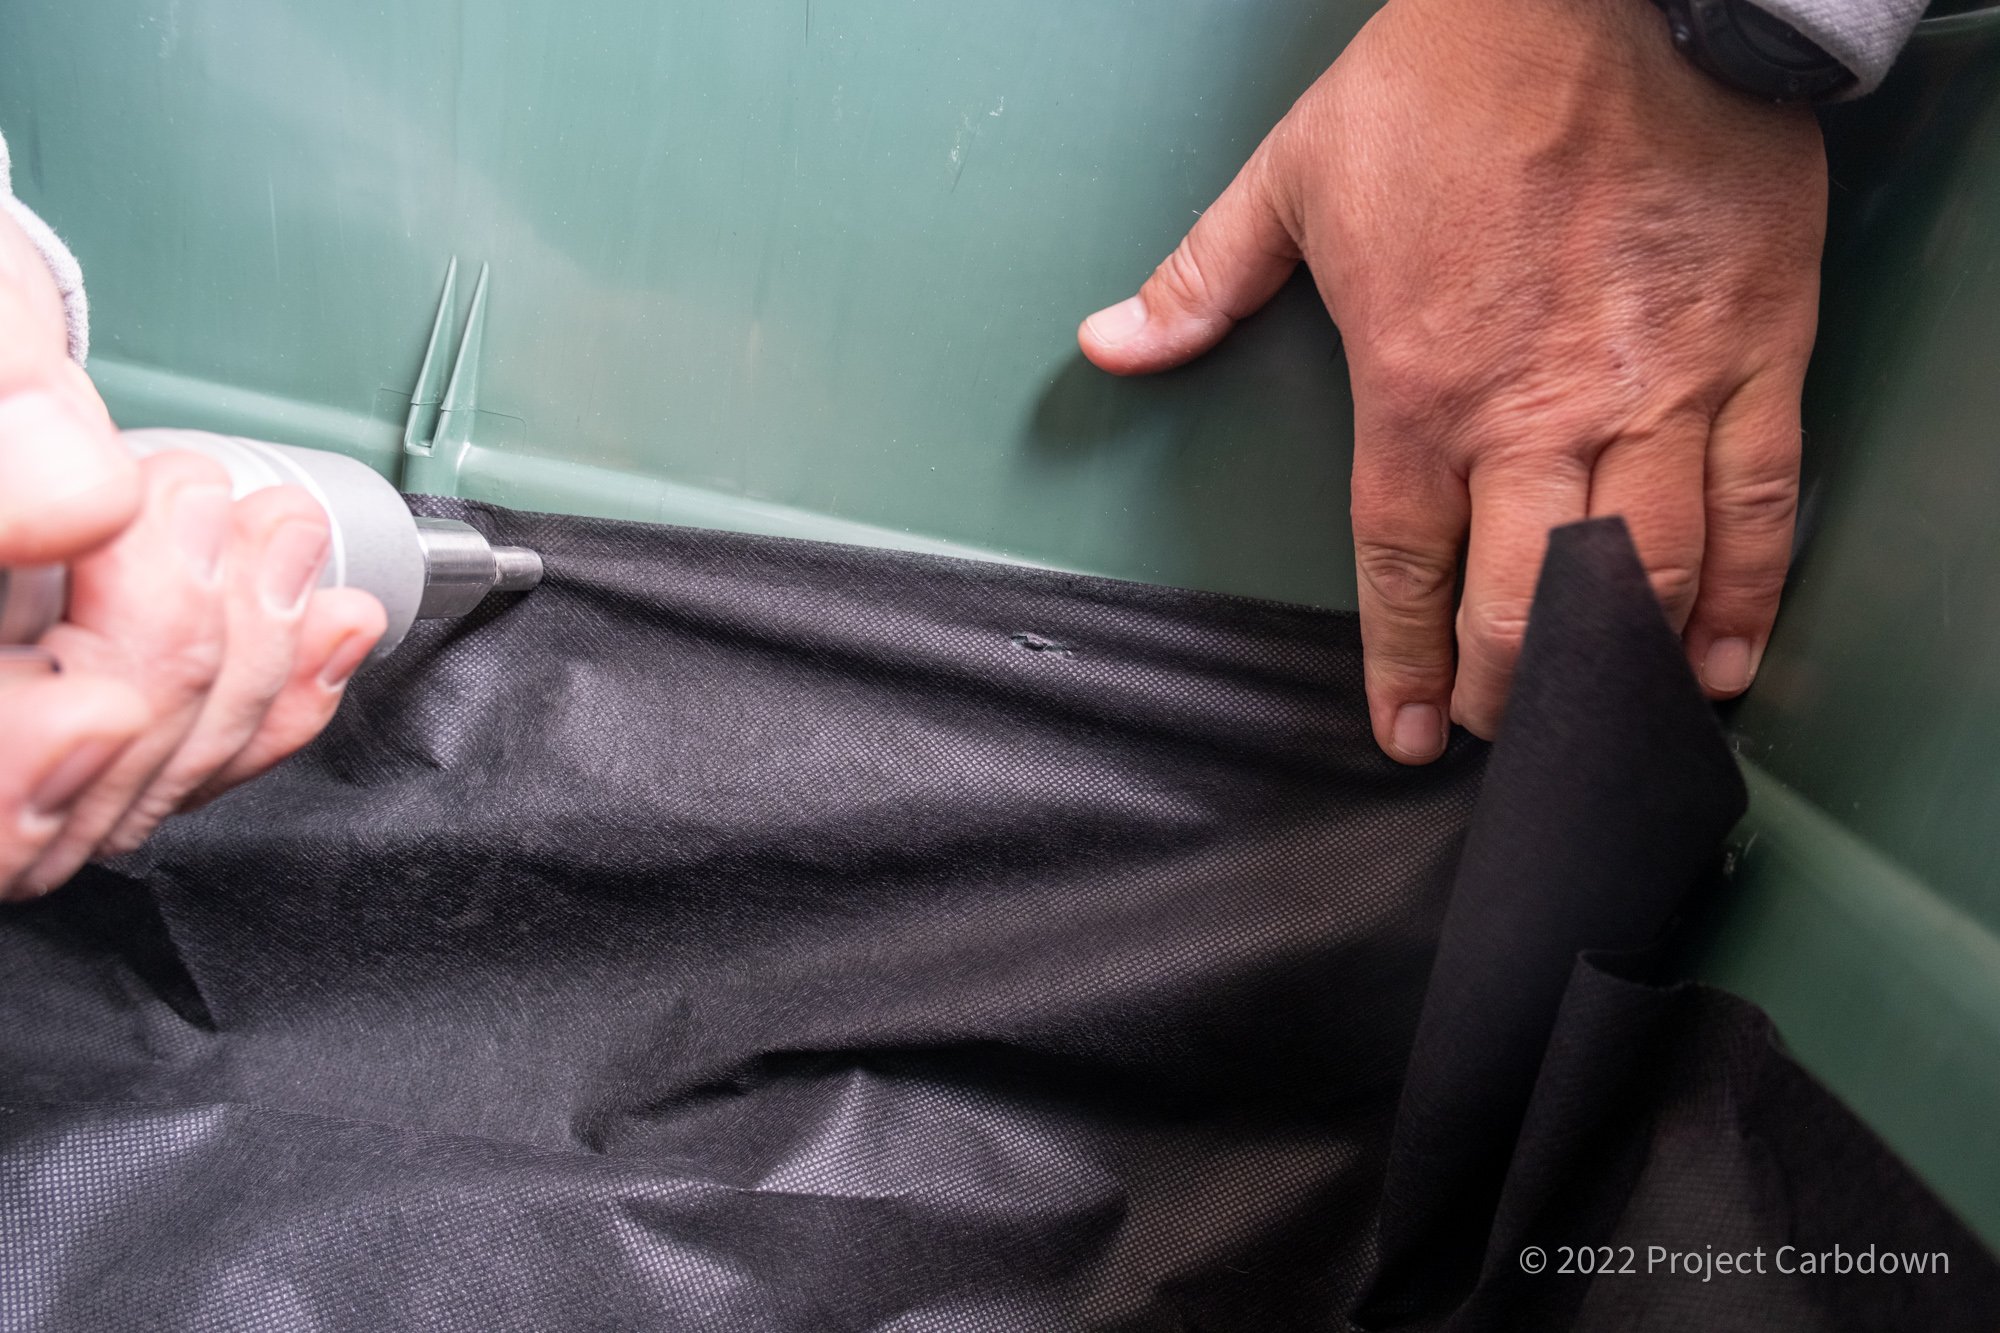
On top of this sturdy base we added a plastic plate to distribute the weight. A metal wire mesh and a thin root fleece (which was later welded to the walls of the tank using ultra-sonic-plastic-welding) made sure that no soil would reach the tank.
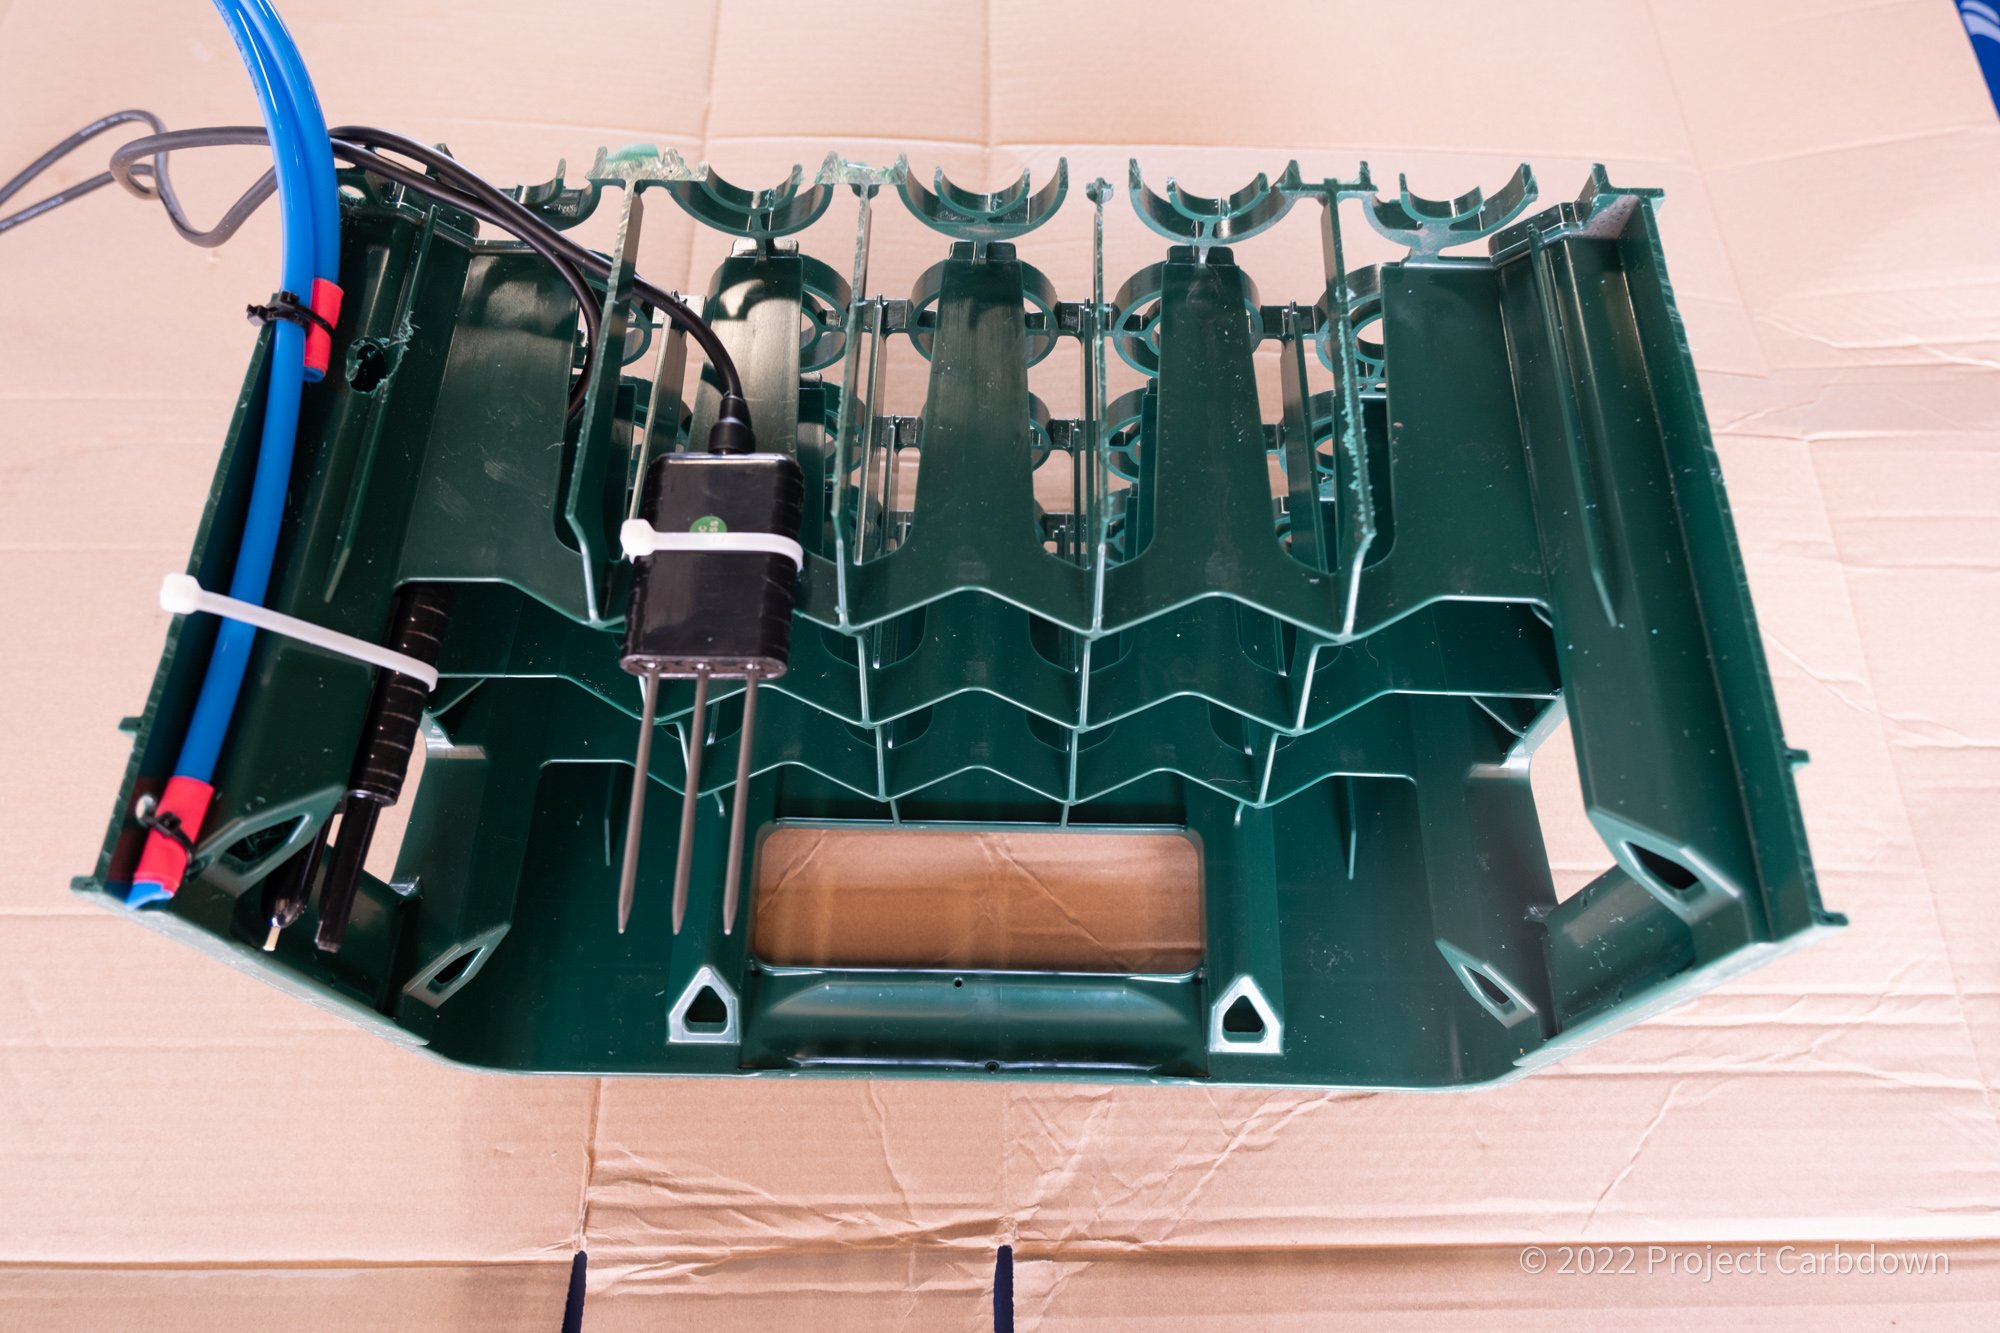
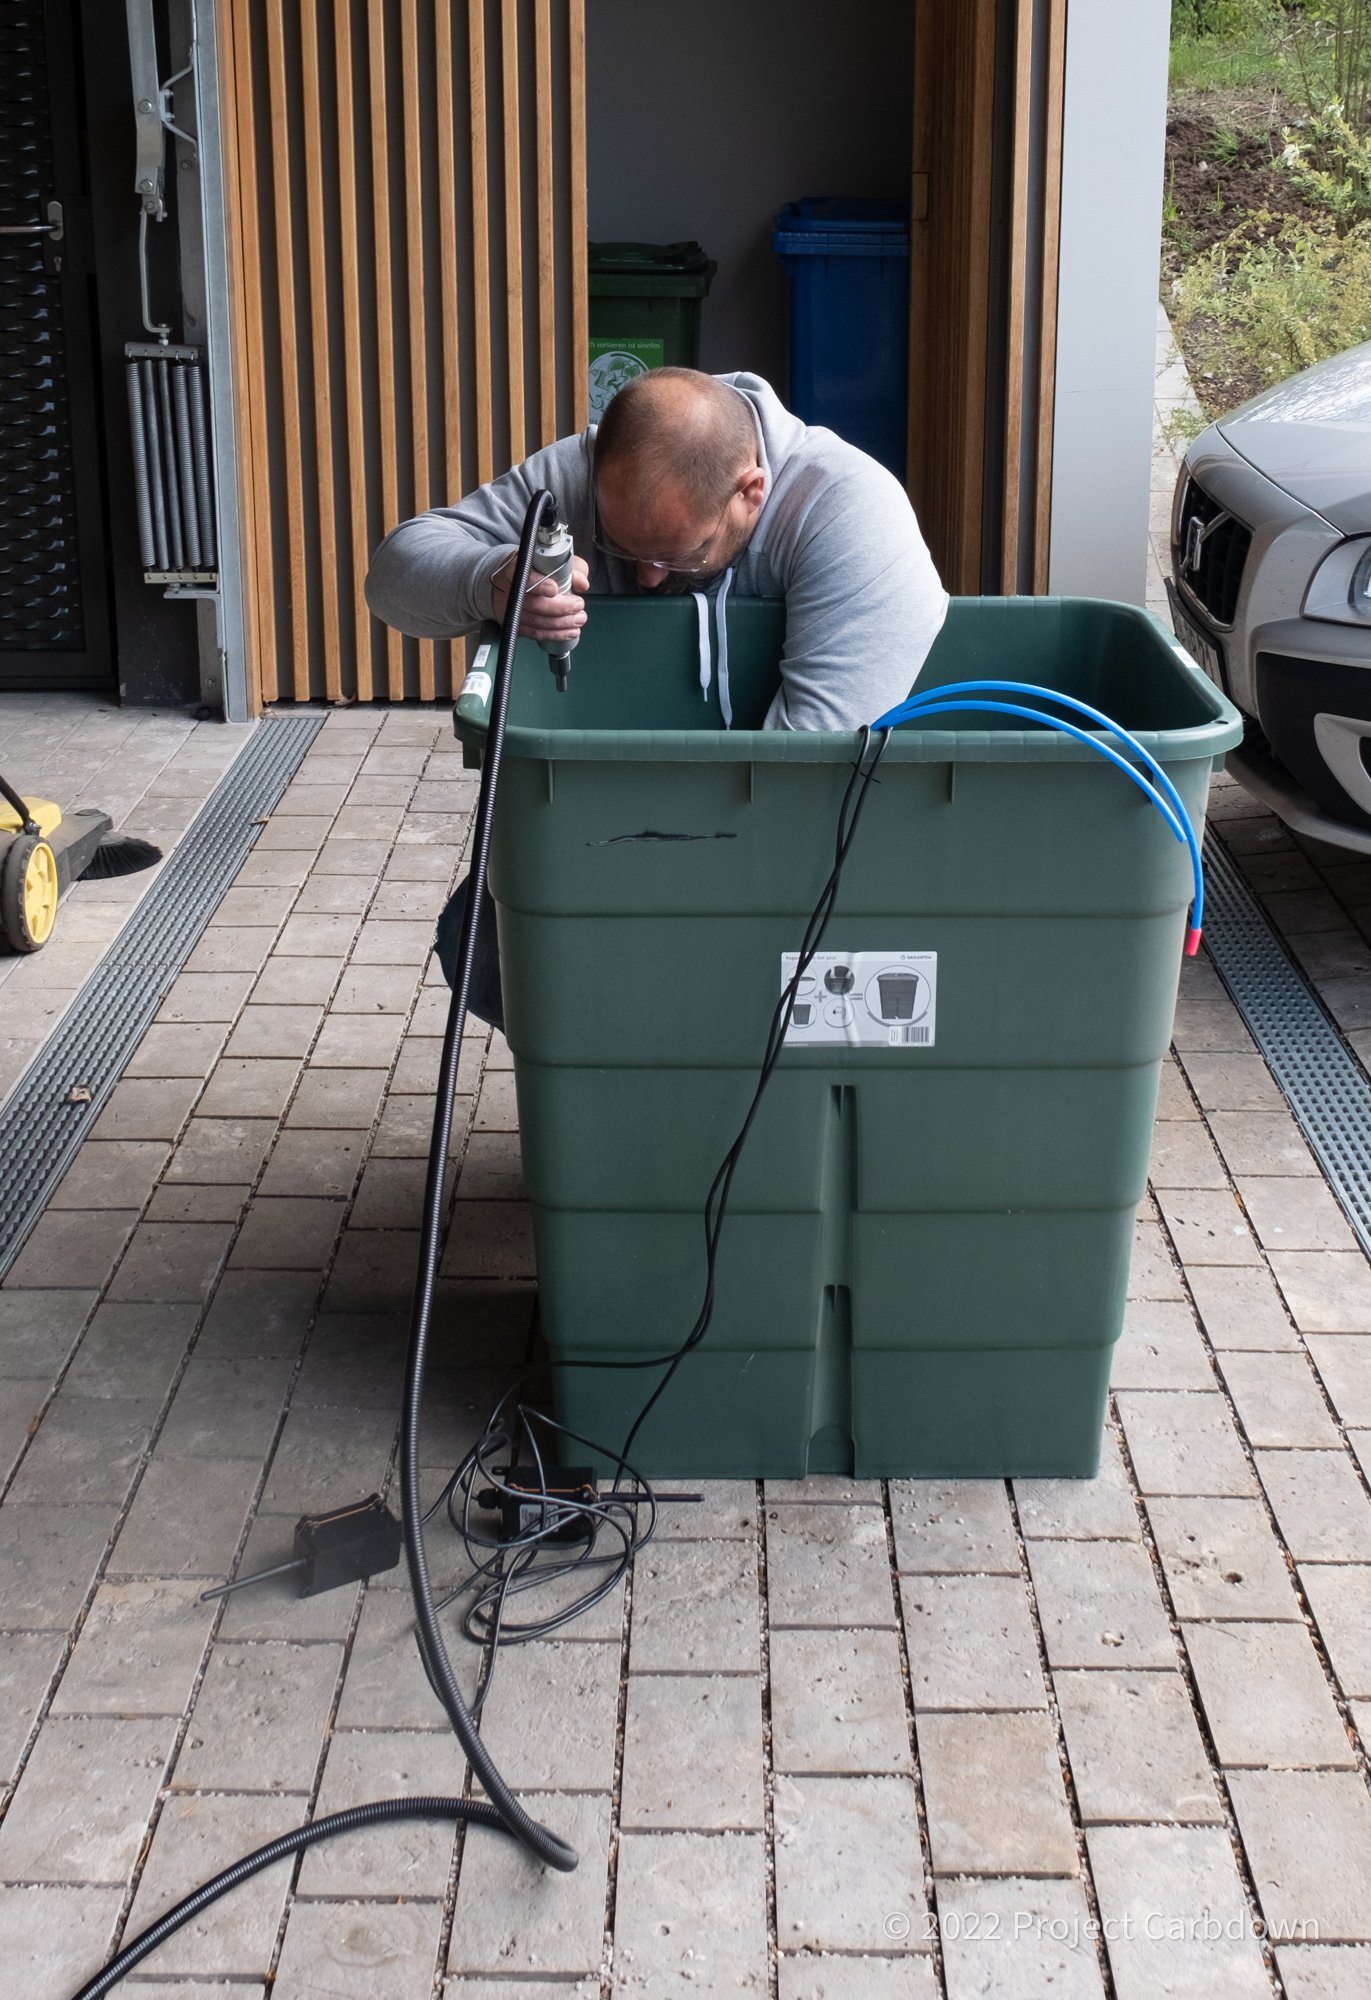
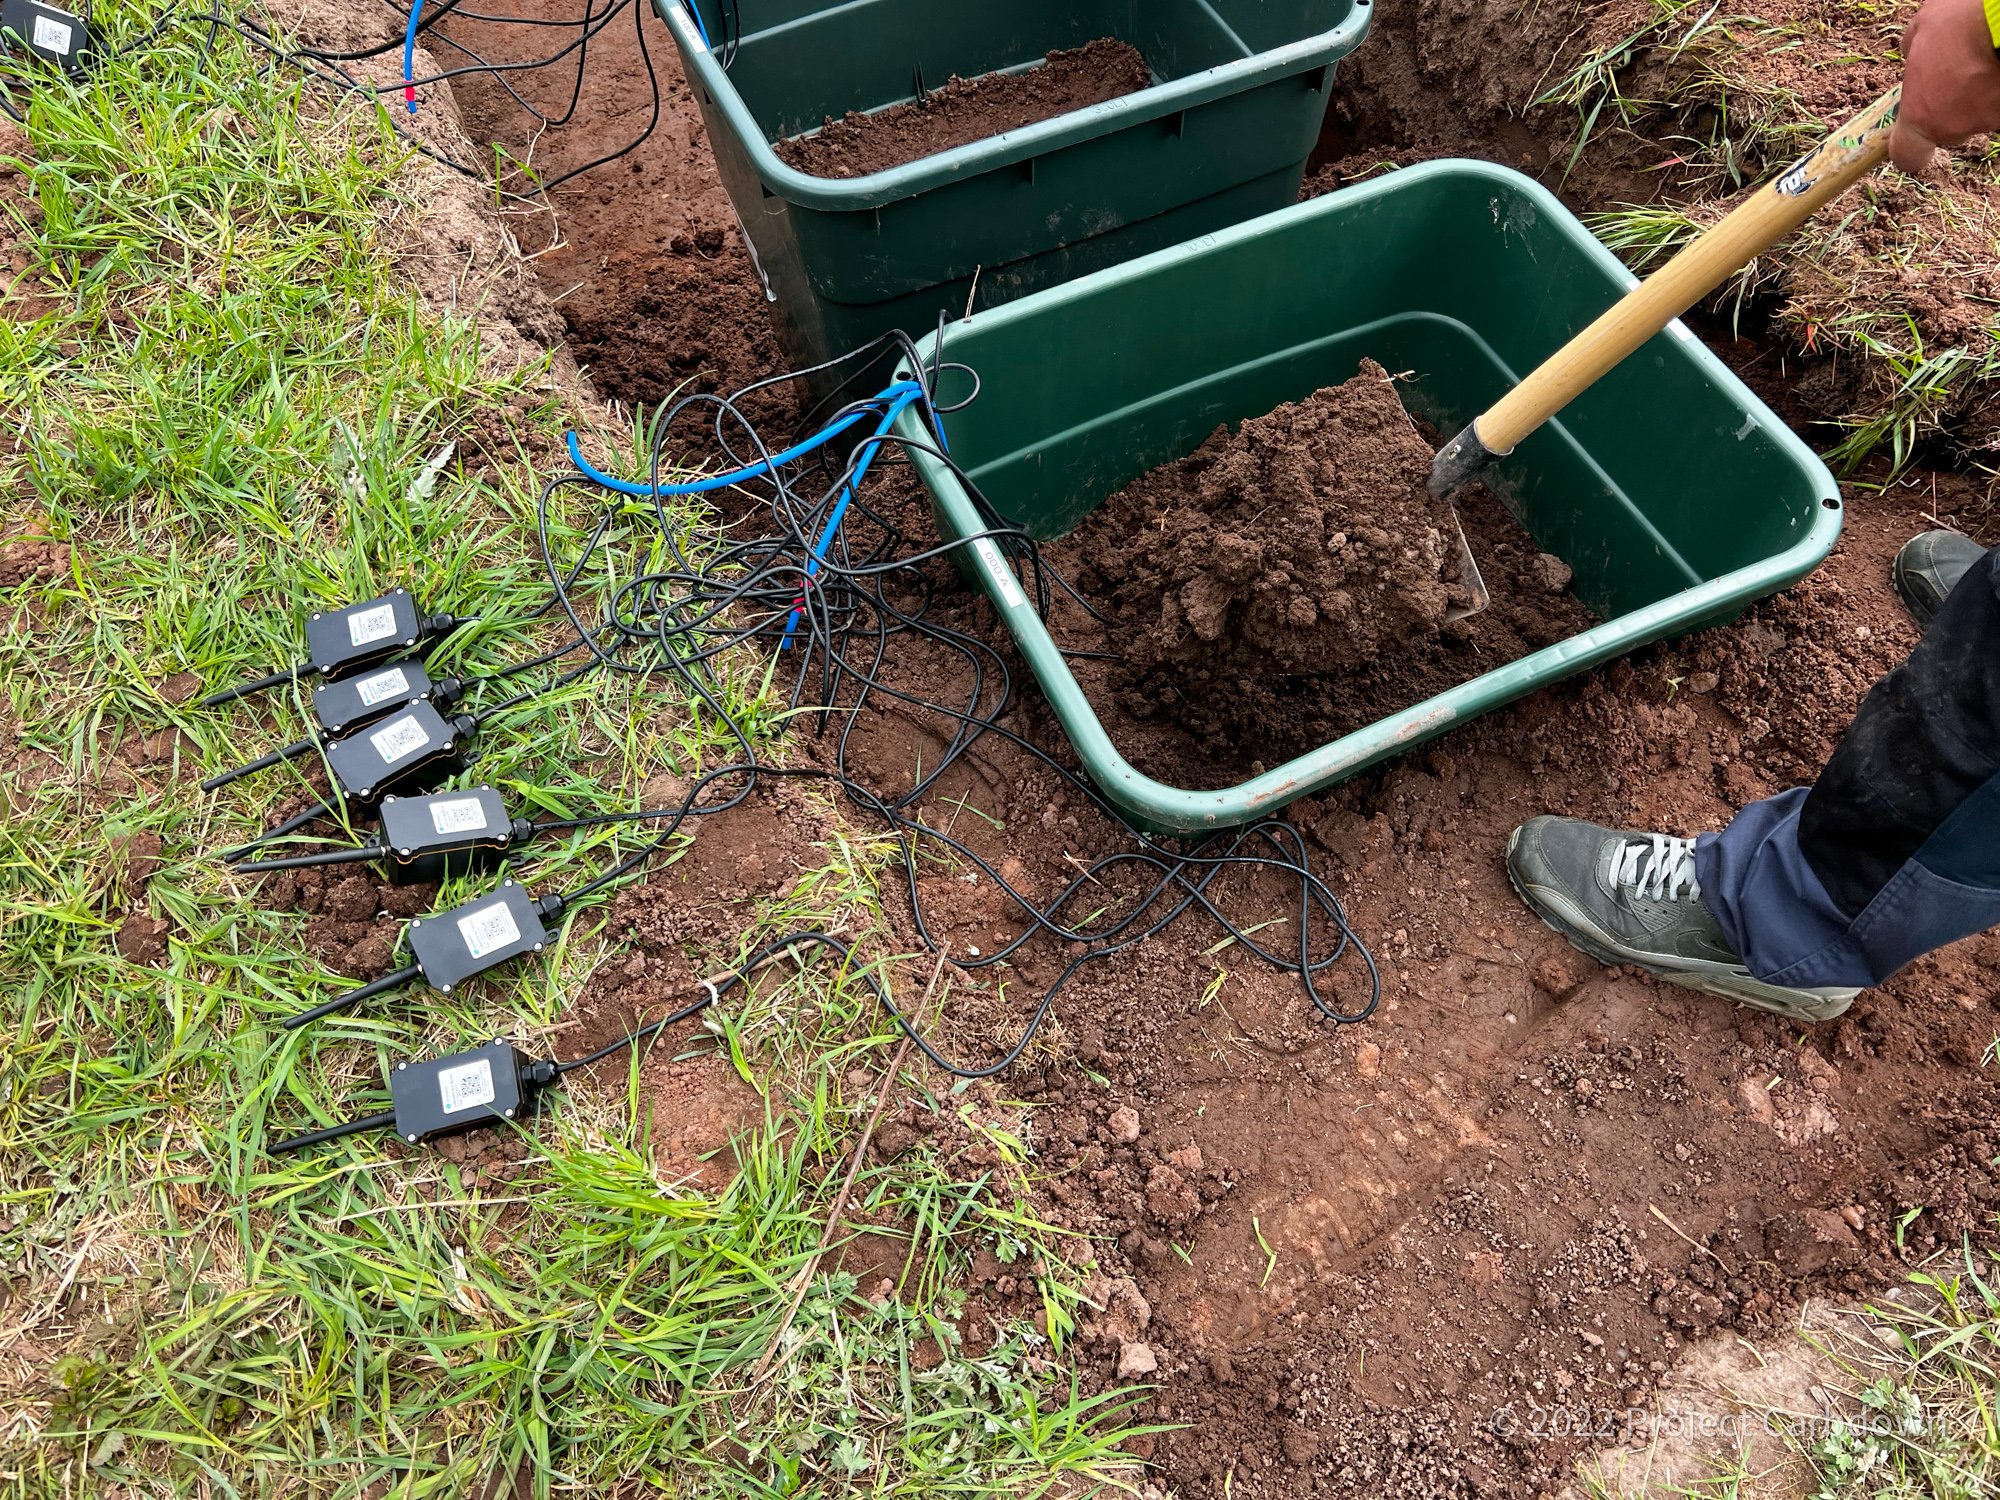
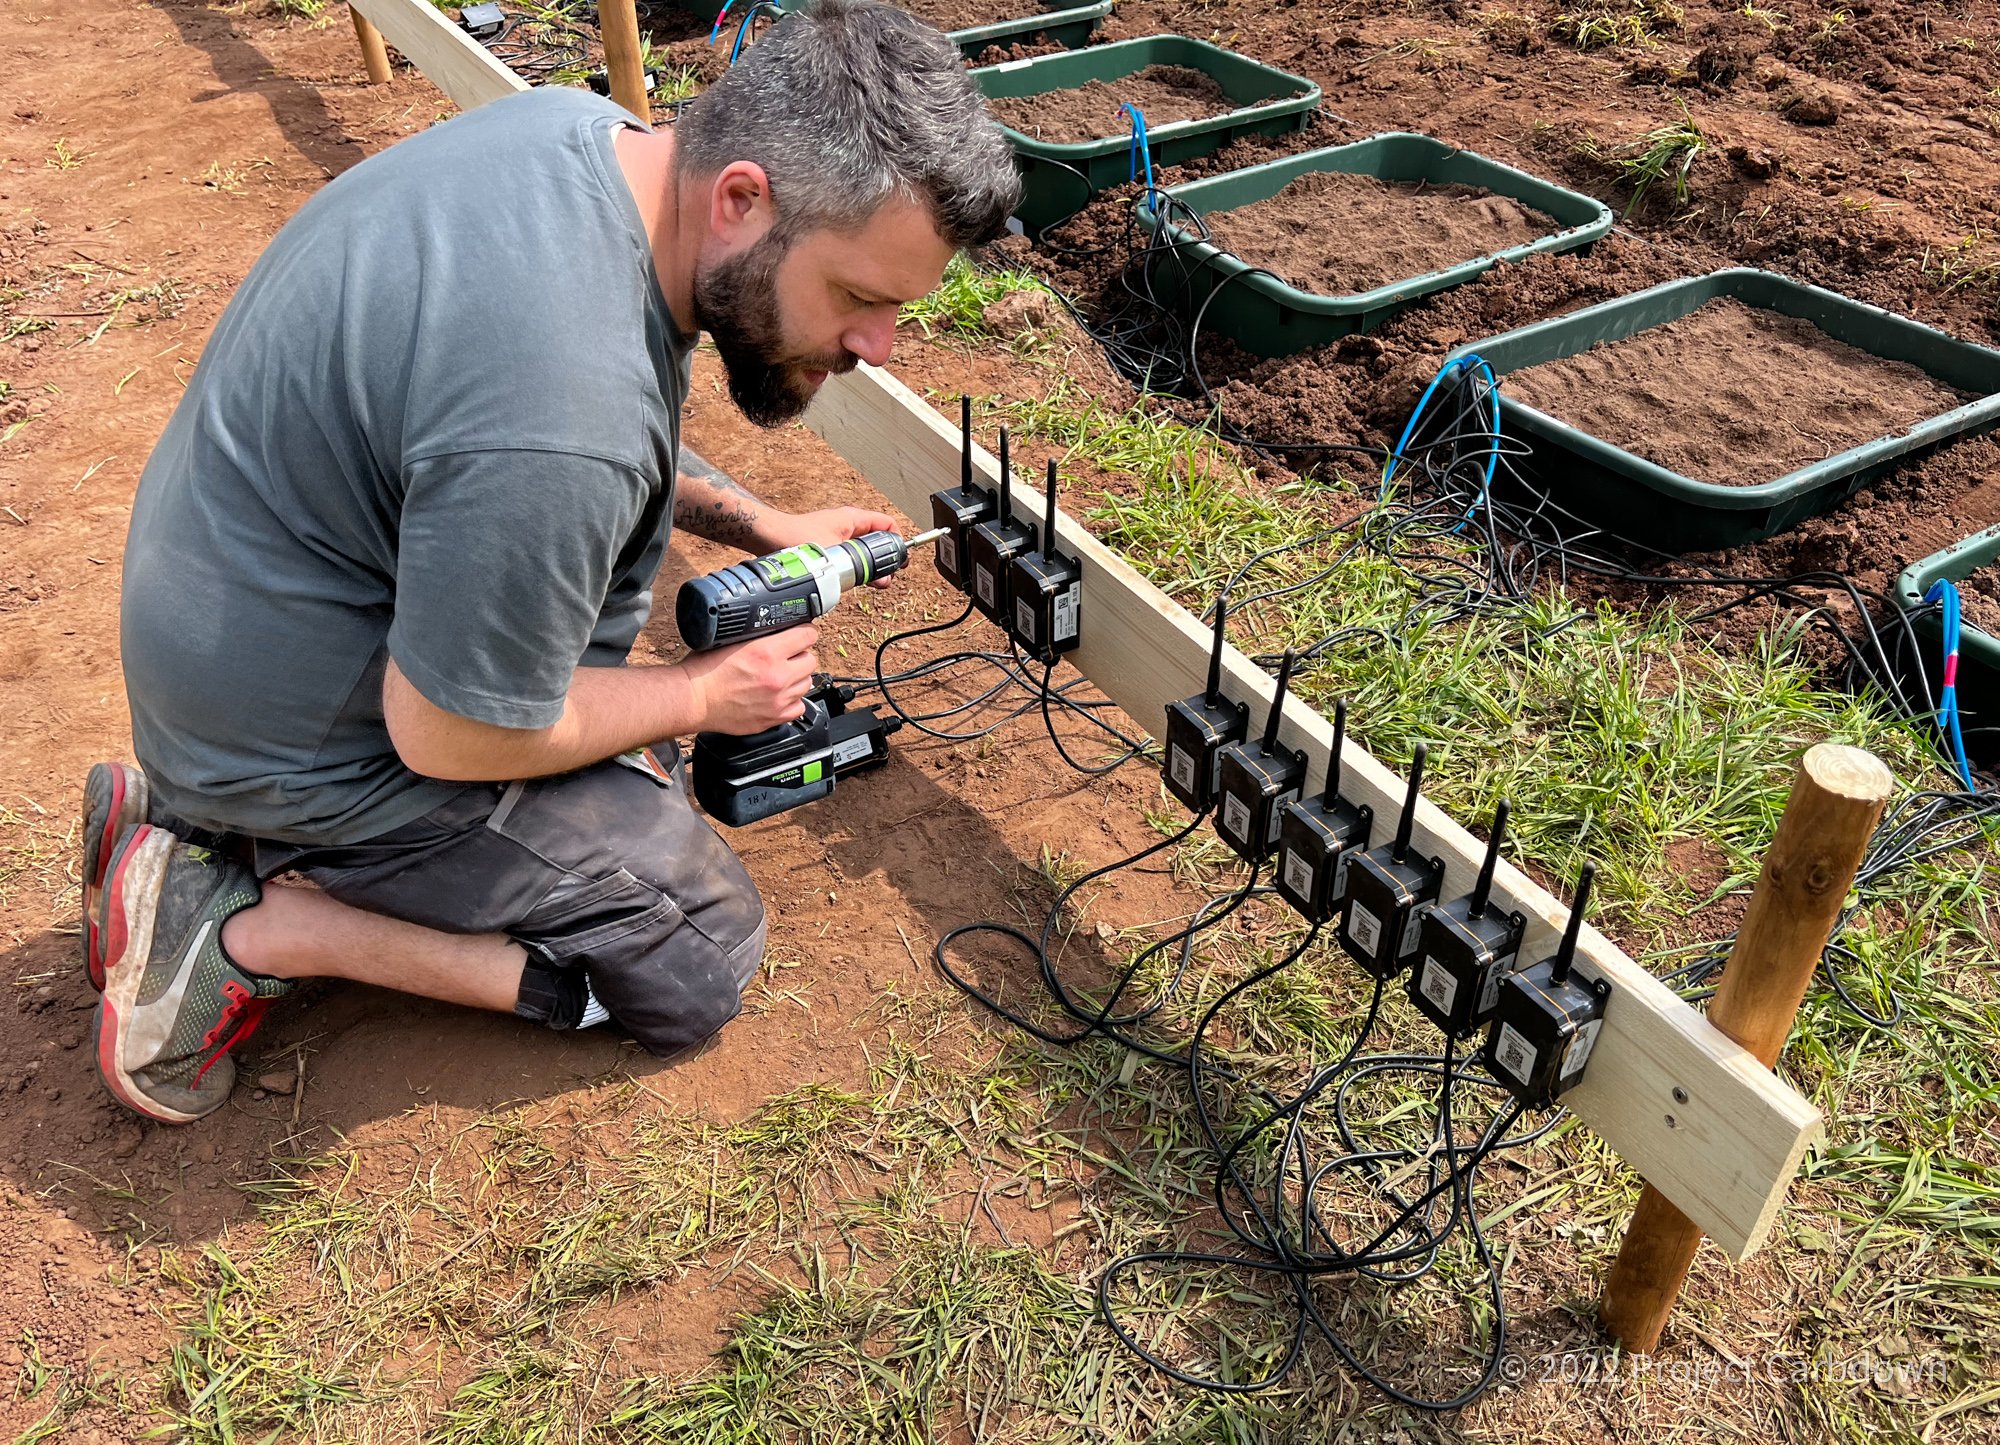
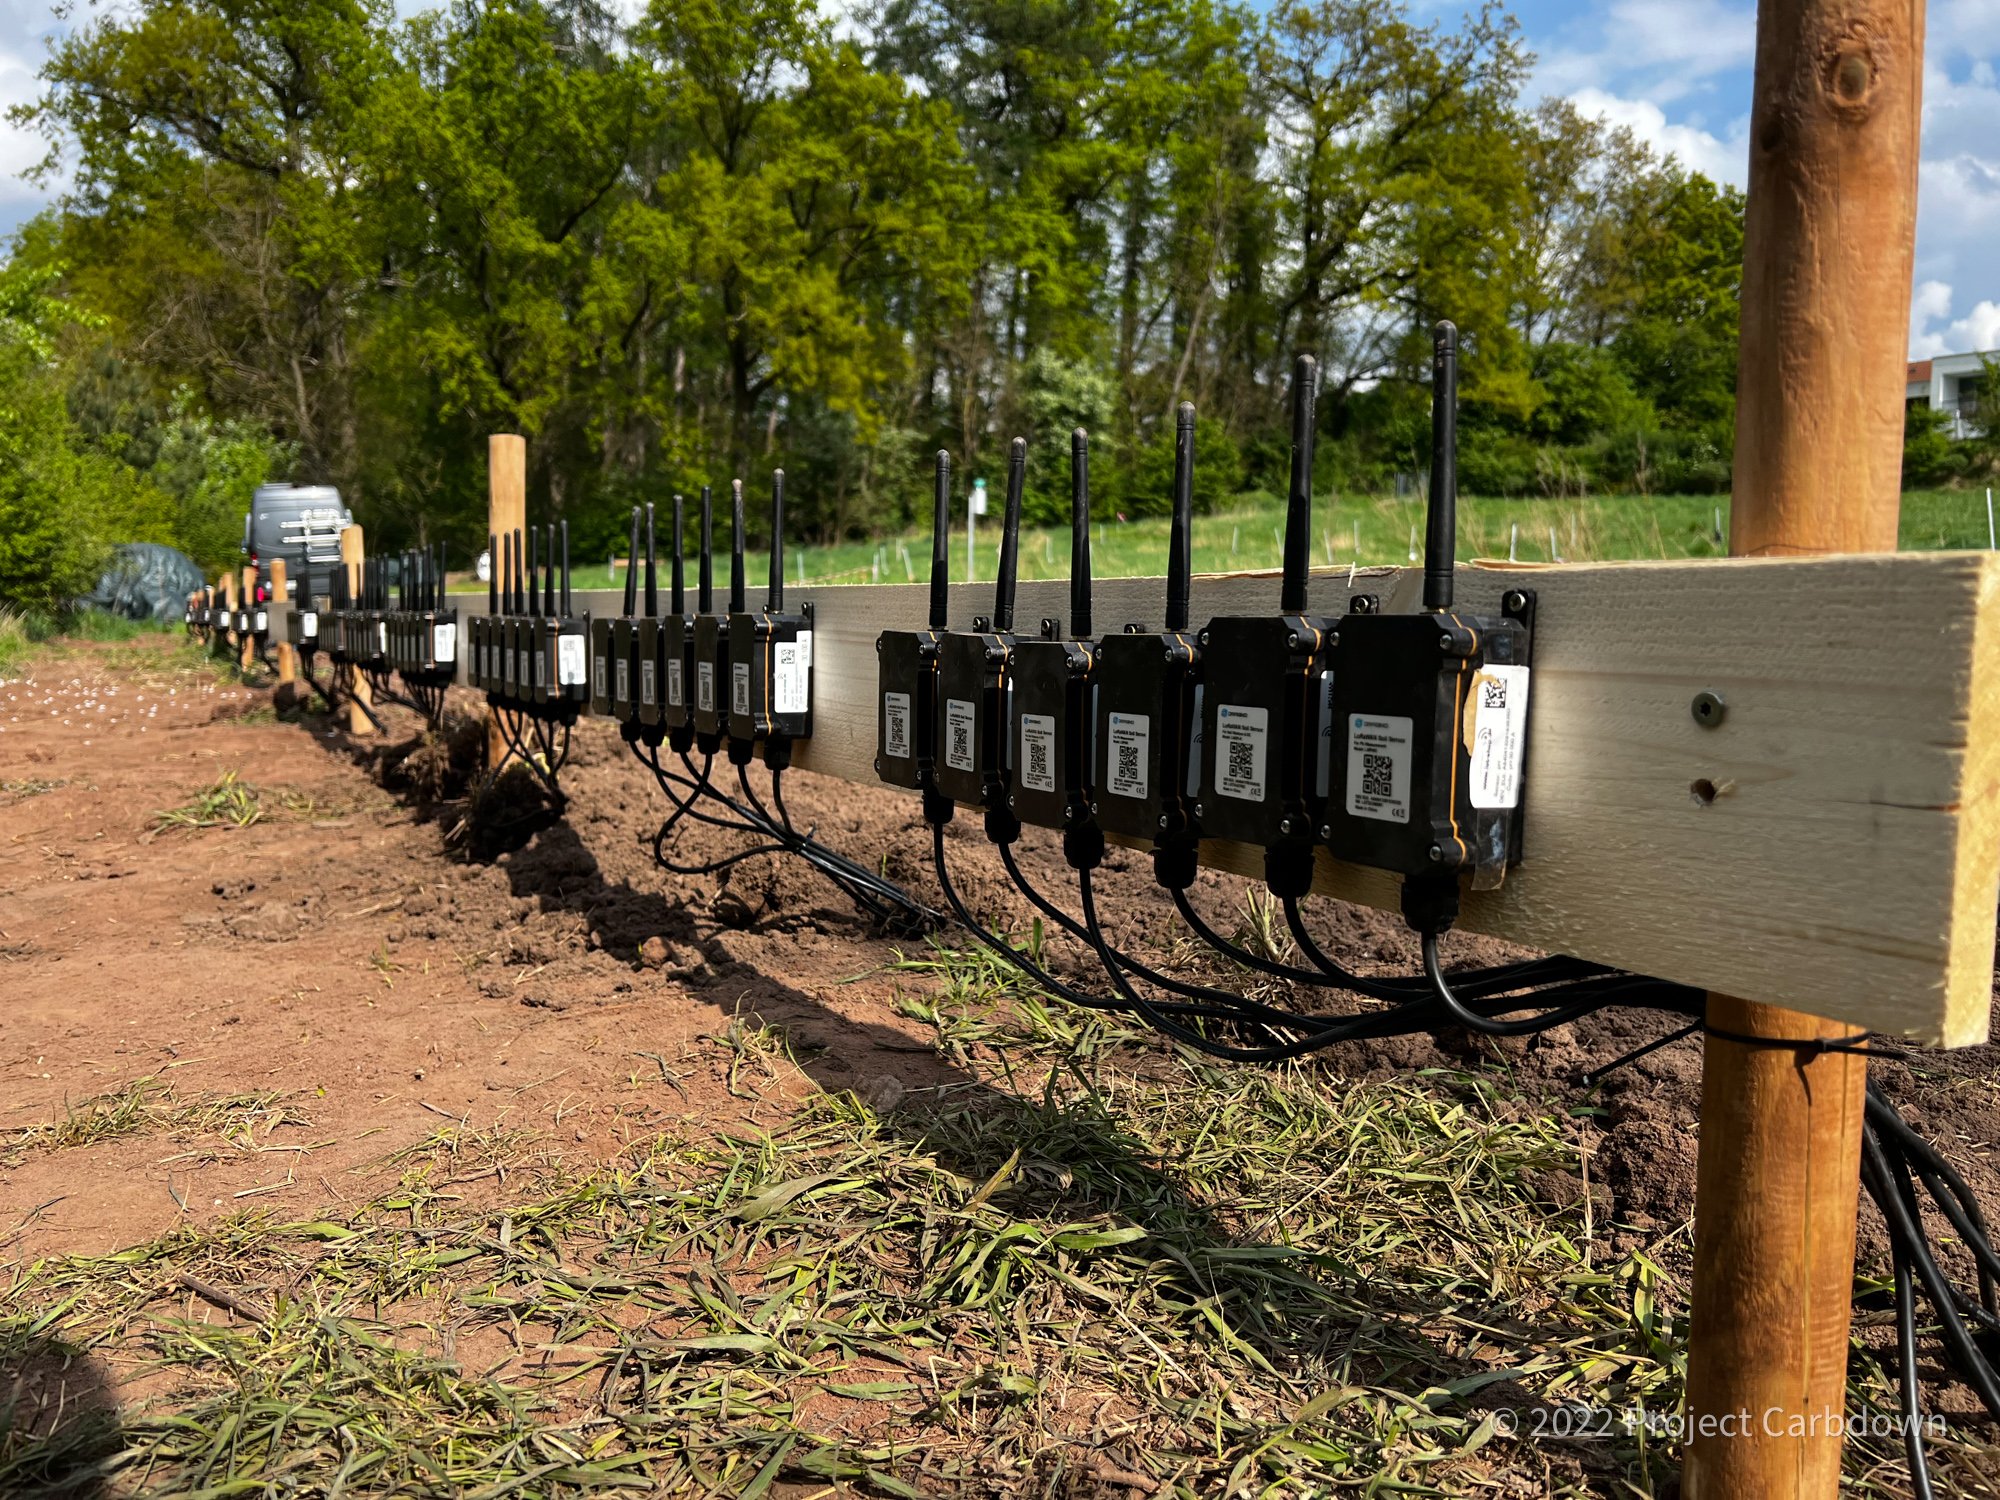
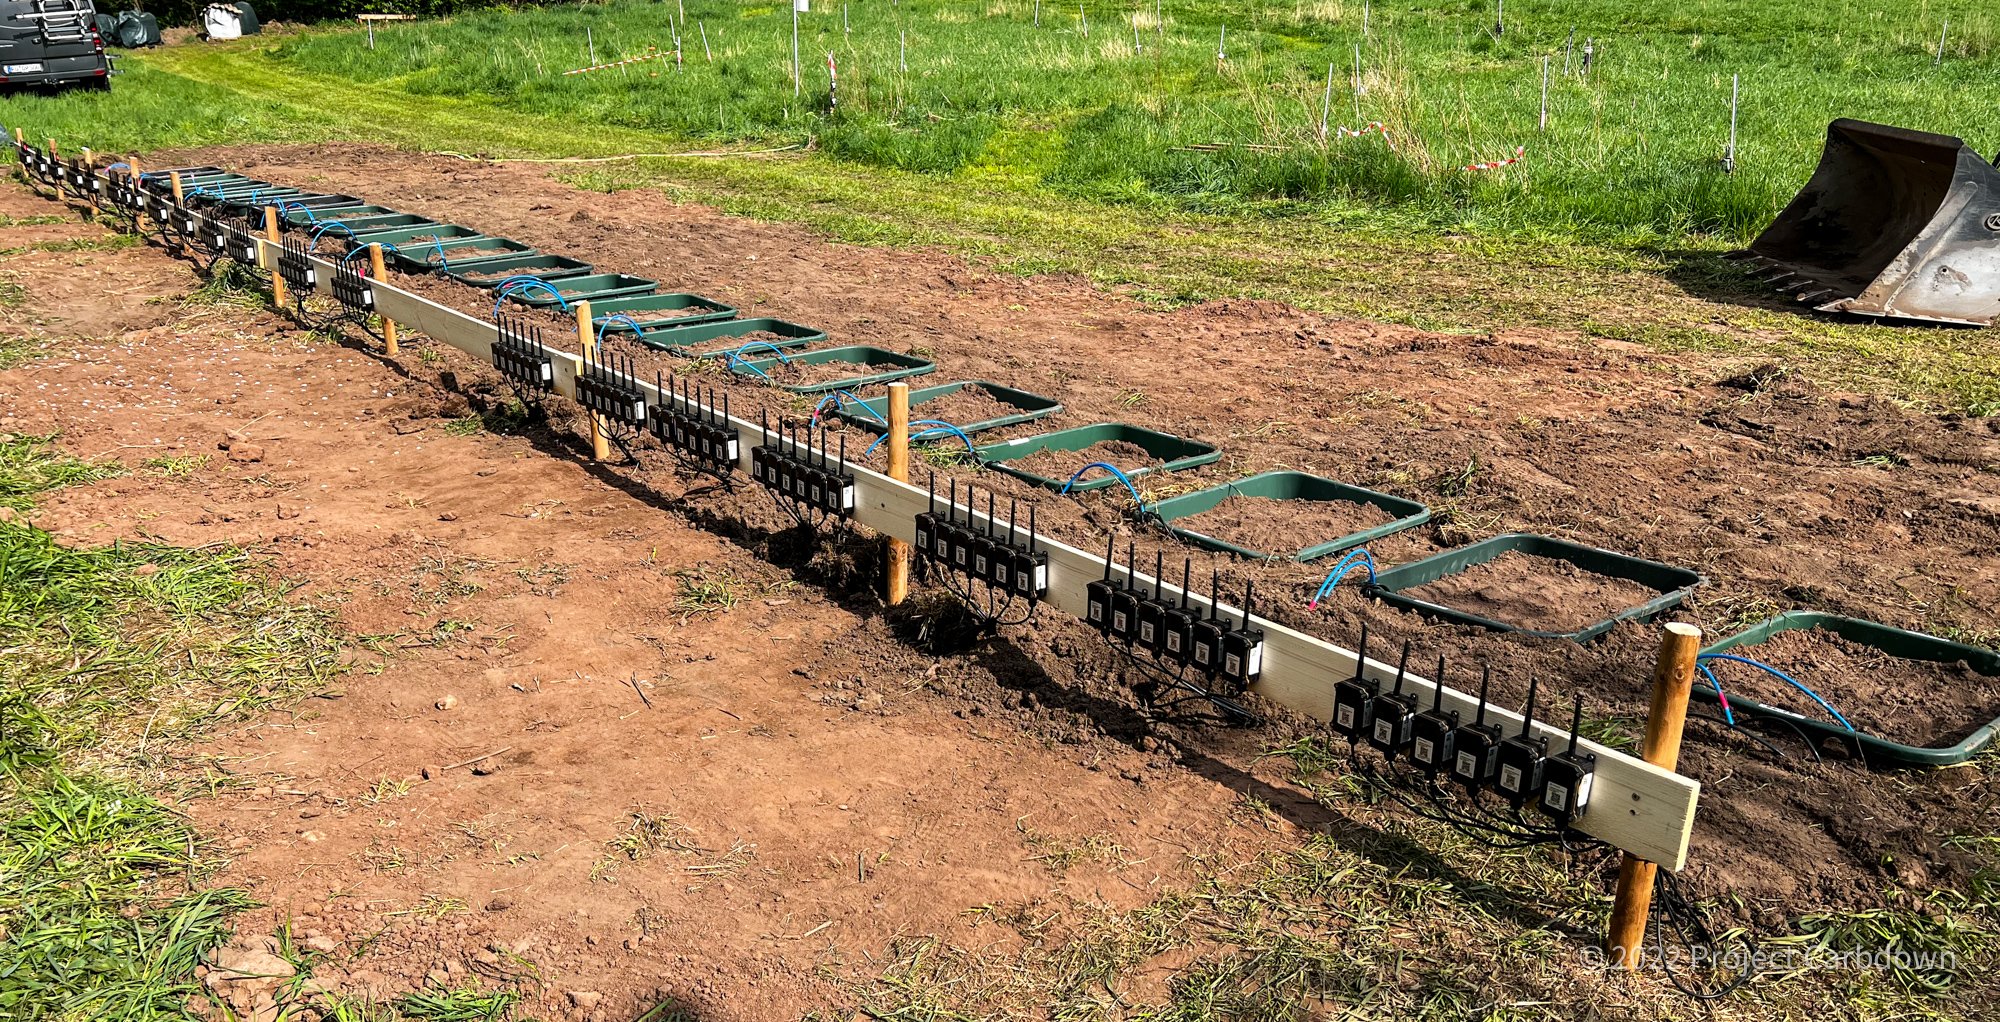
The next step was to find out how to put our instruments and sensors into the crates and pots. We prepared 120 electronic sensors for soil pH, moisture and conductivity monitoring (from Dragino) that we ordered from iot-shop.de (read their article about our project). Three cameras (from Ubiquity) allow us to look into the tanks and three CO₂ meters (from MileSight) measure the CO₂ content of the air in the tanks. Each tank also needed two pipes for pumping out the water from the tank.
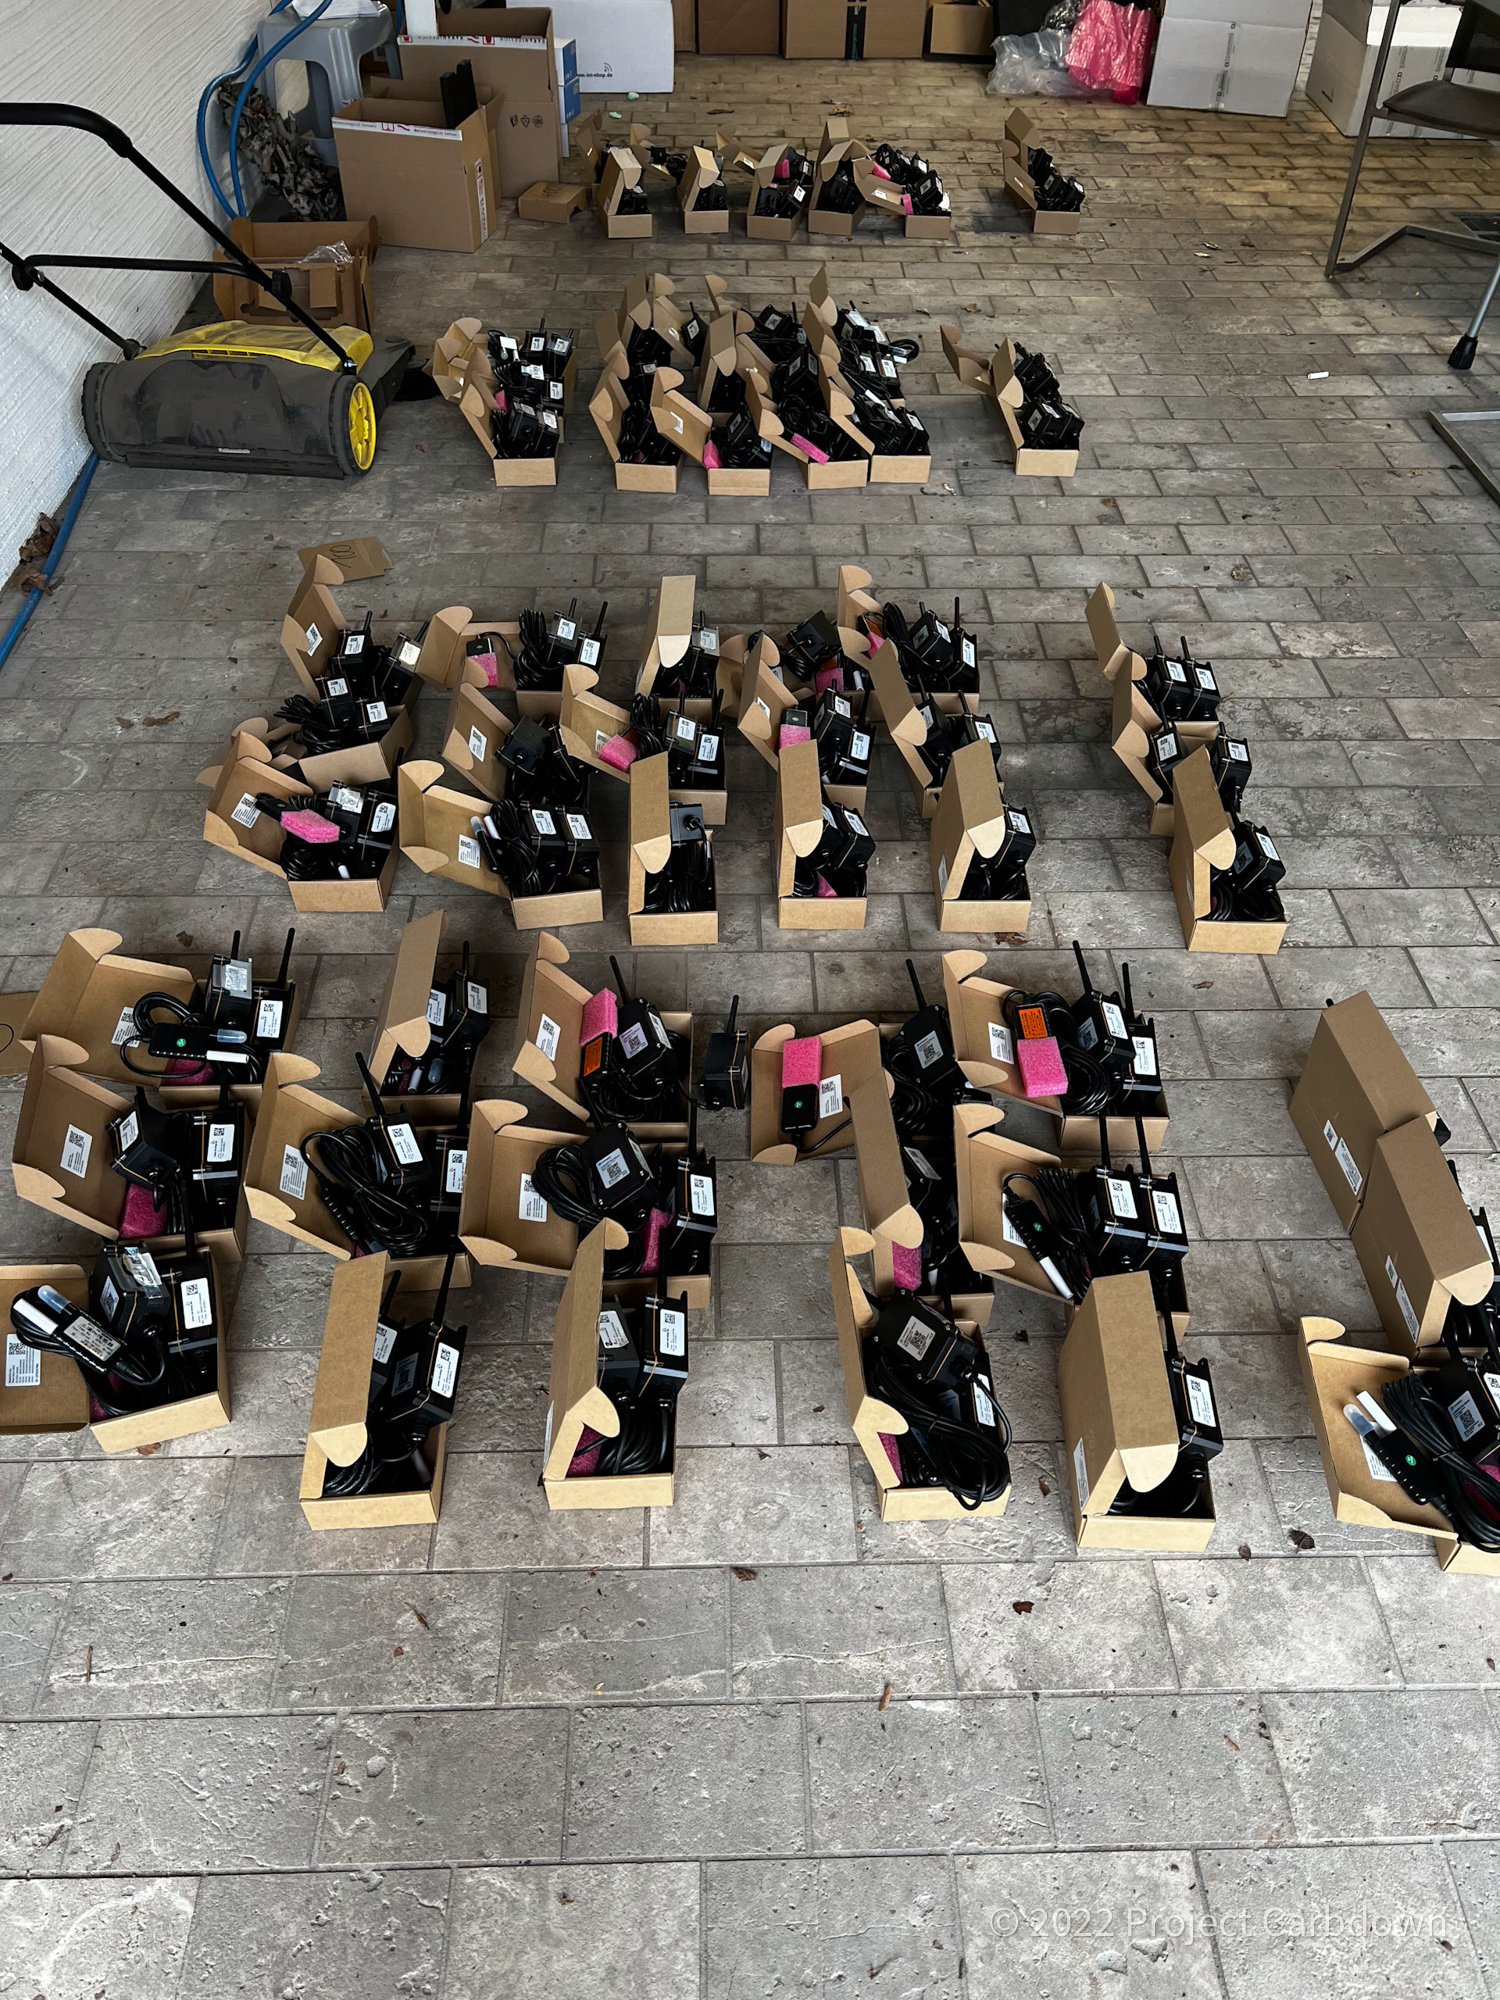
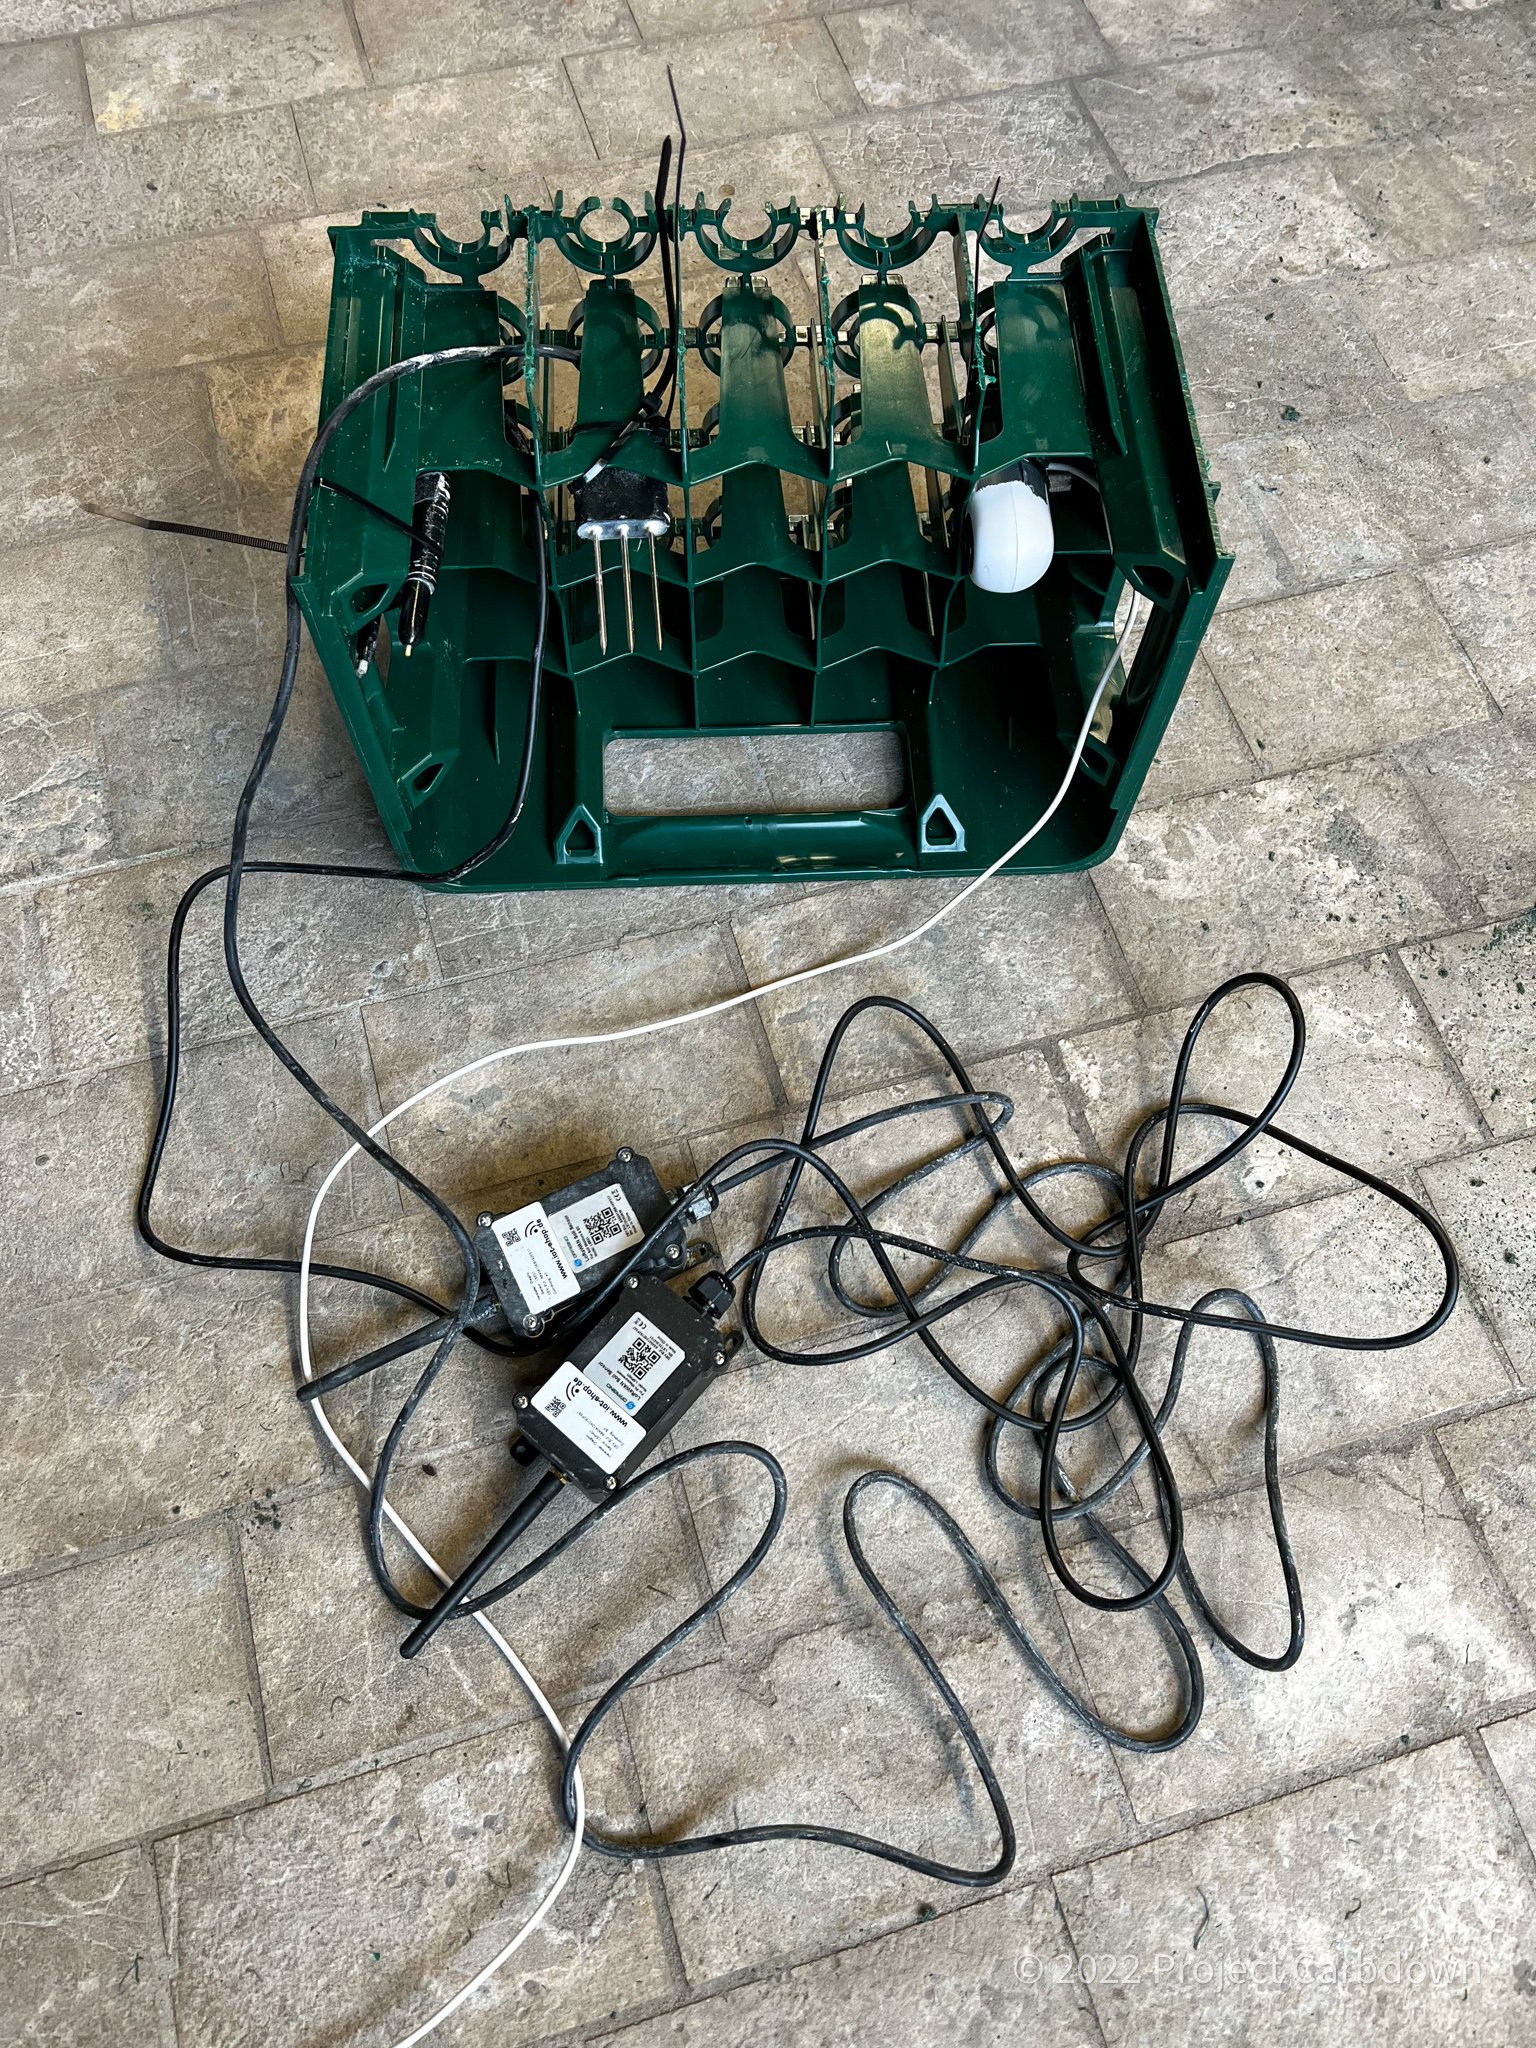

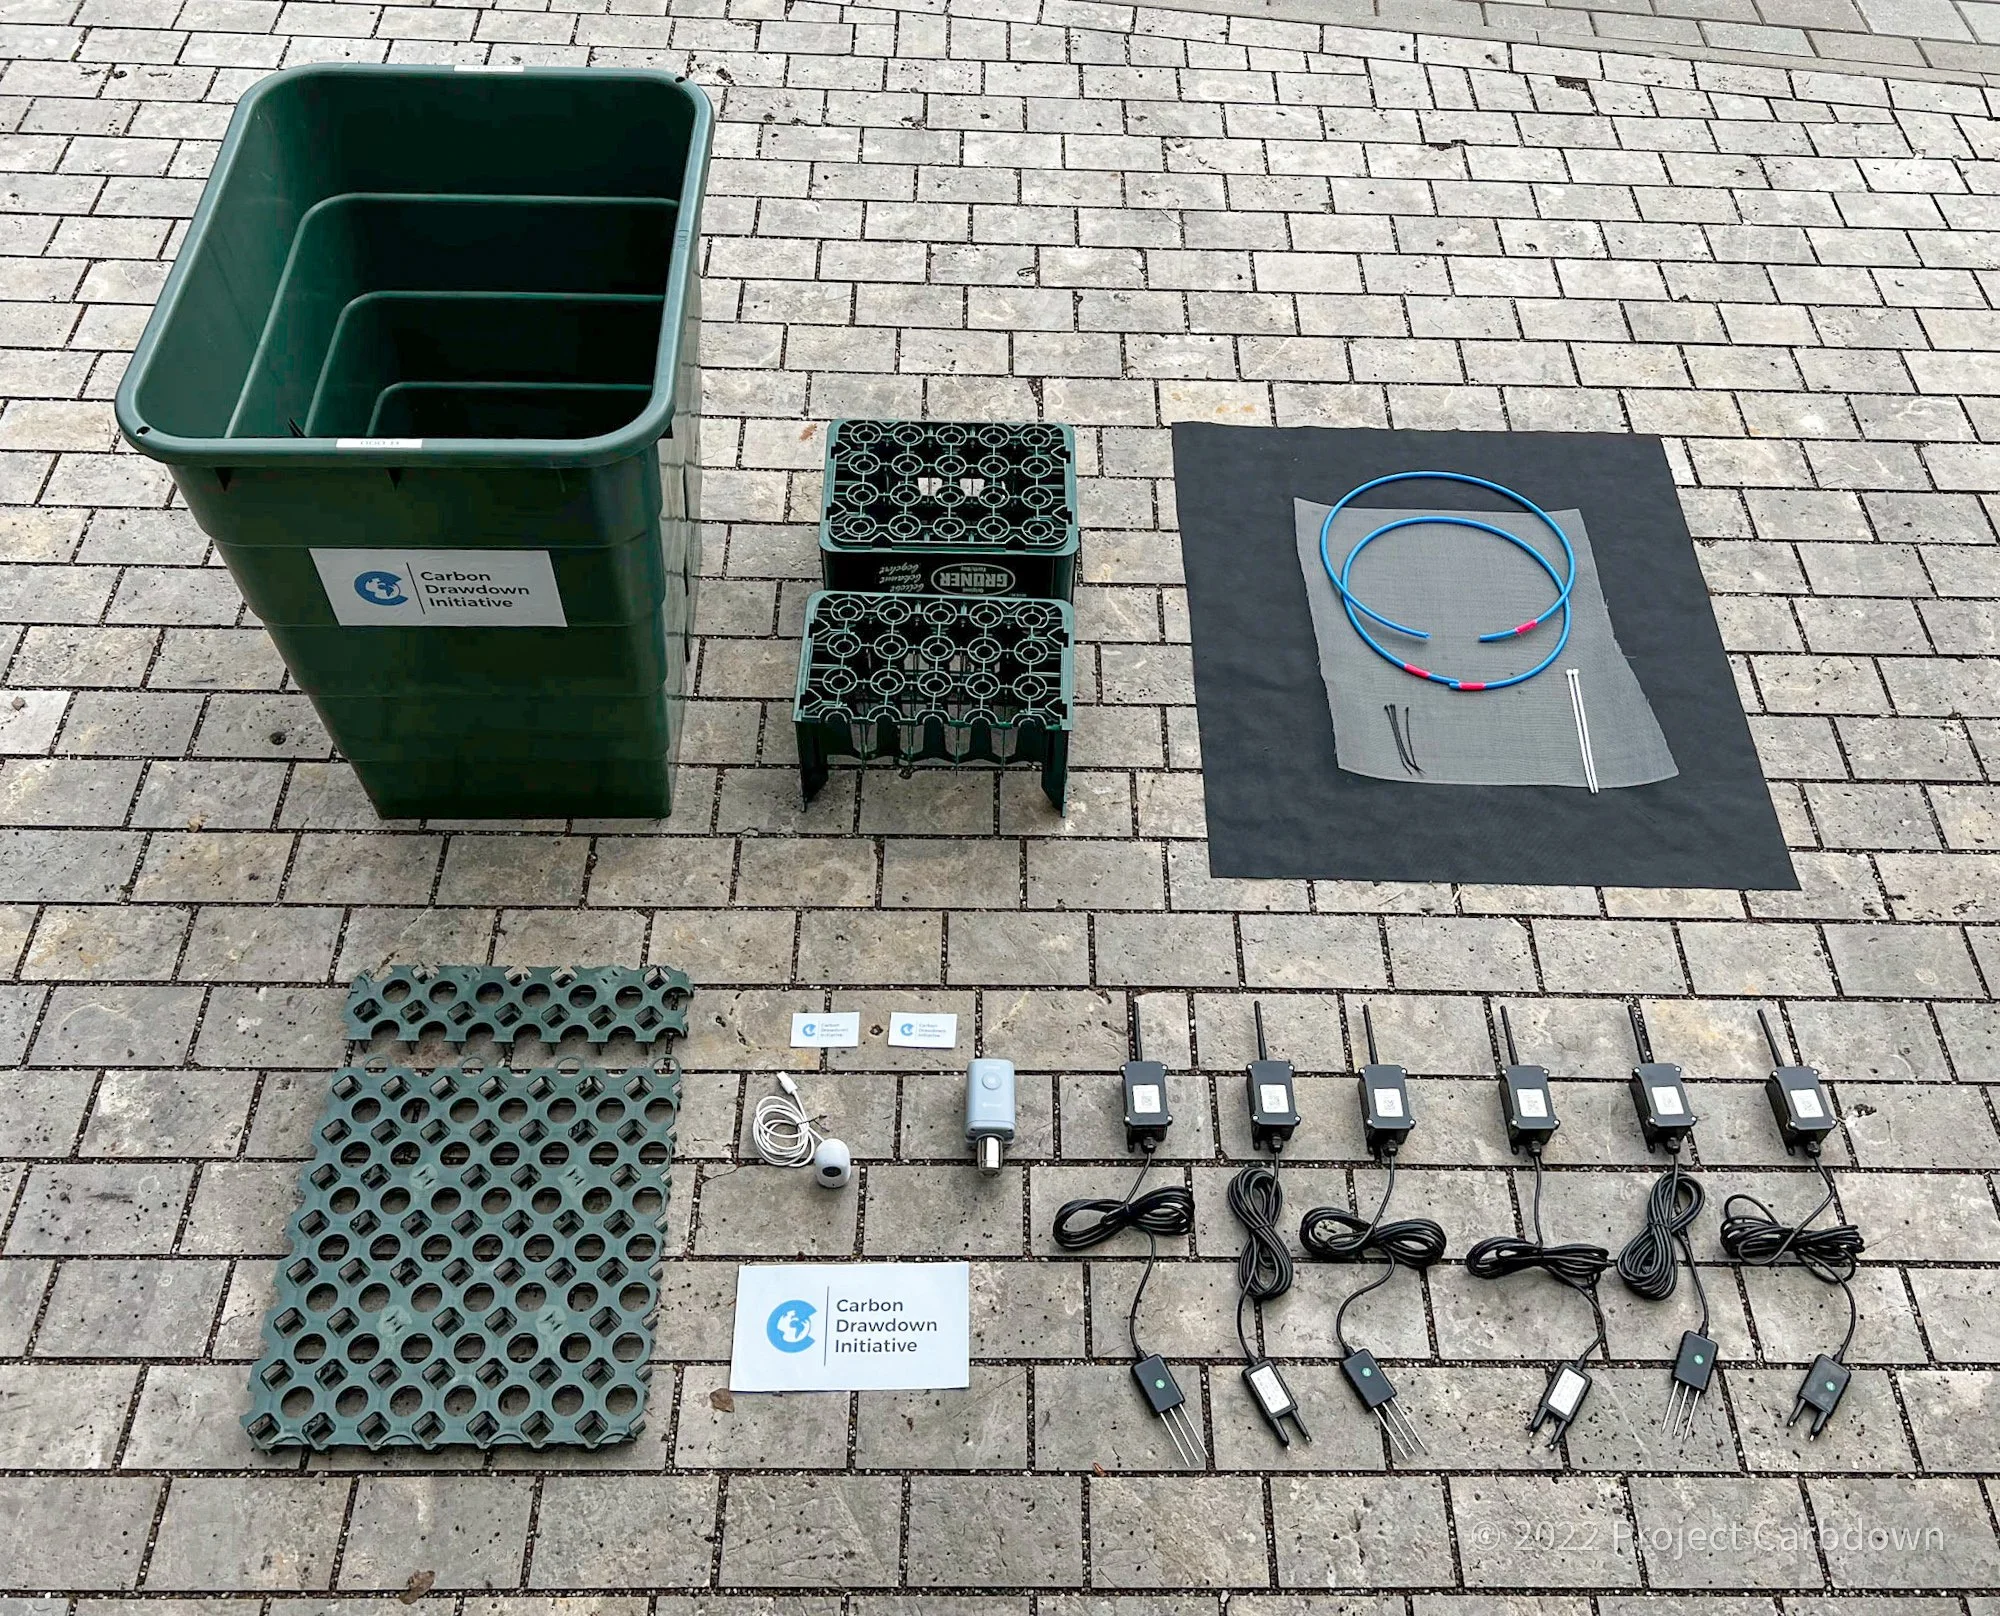
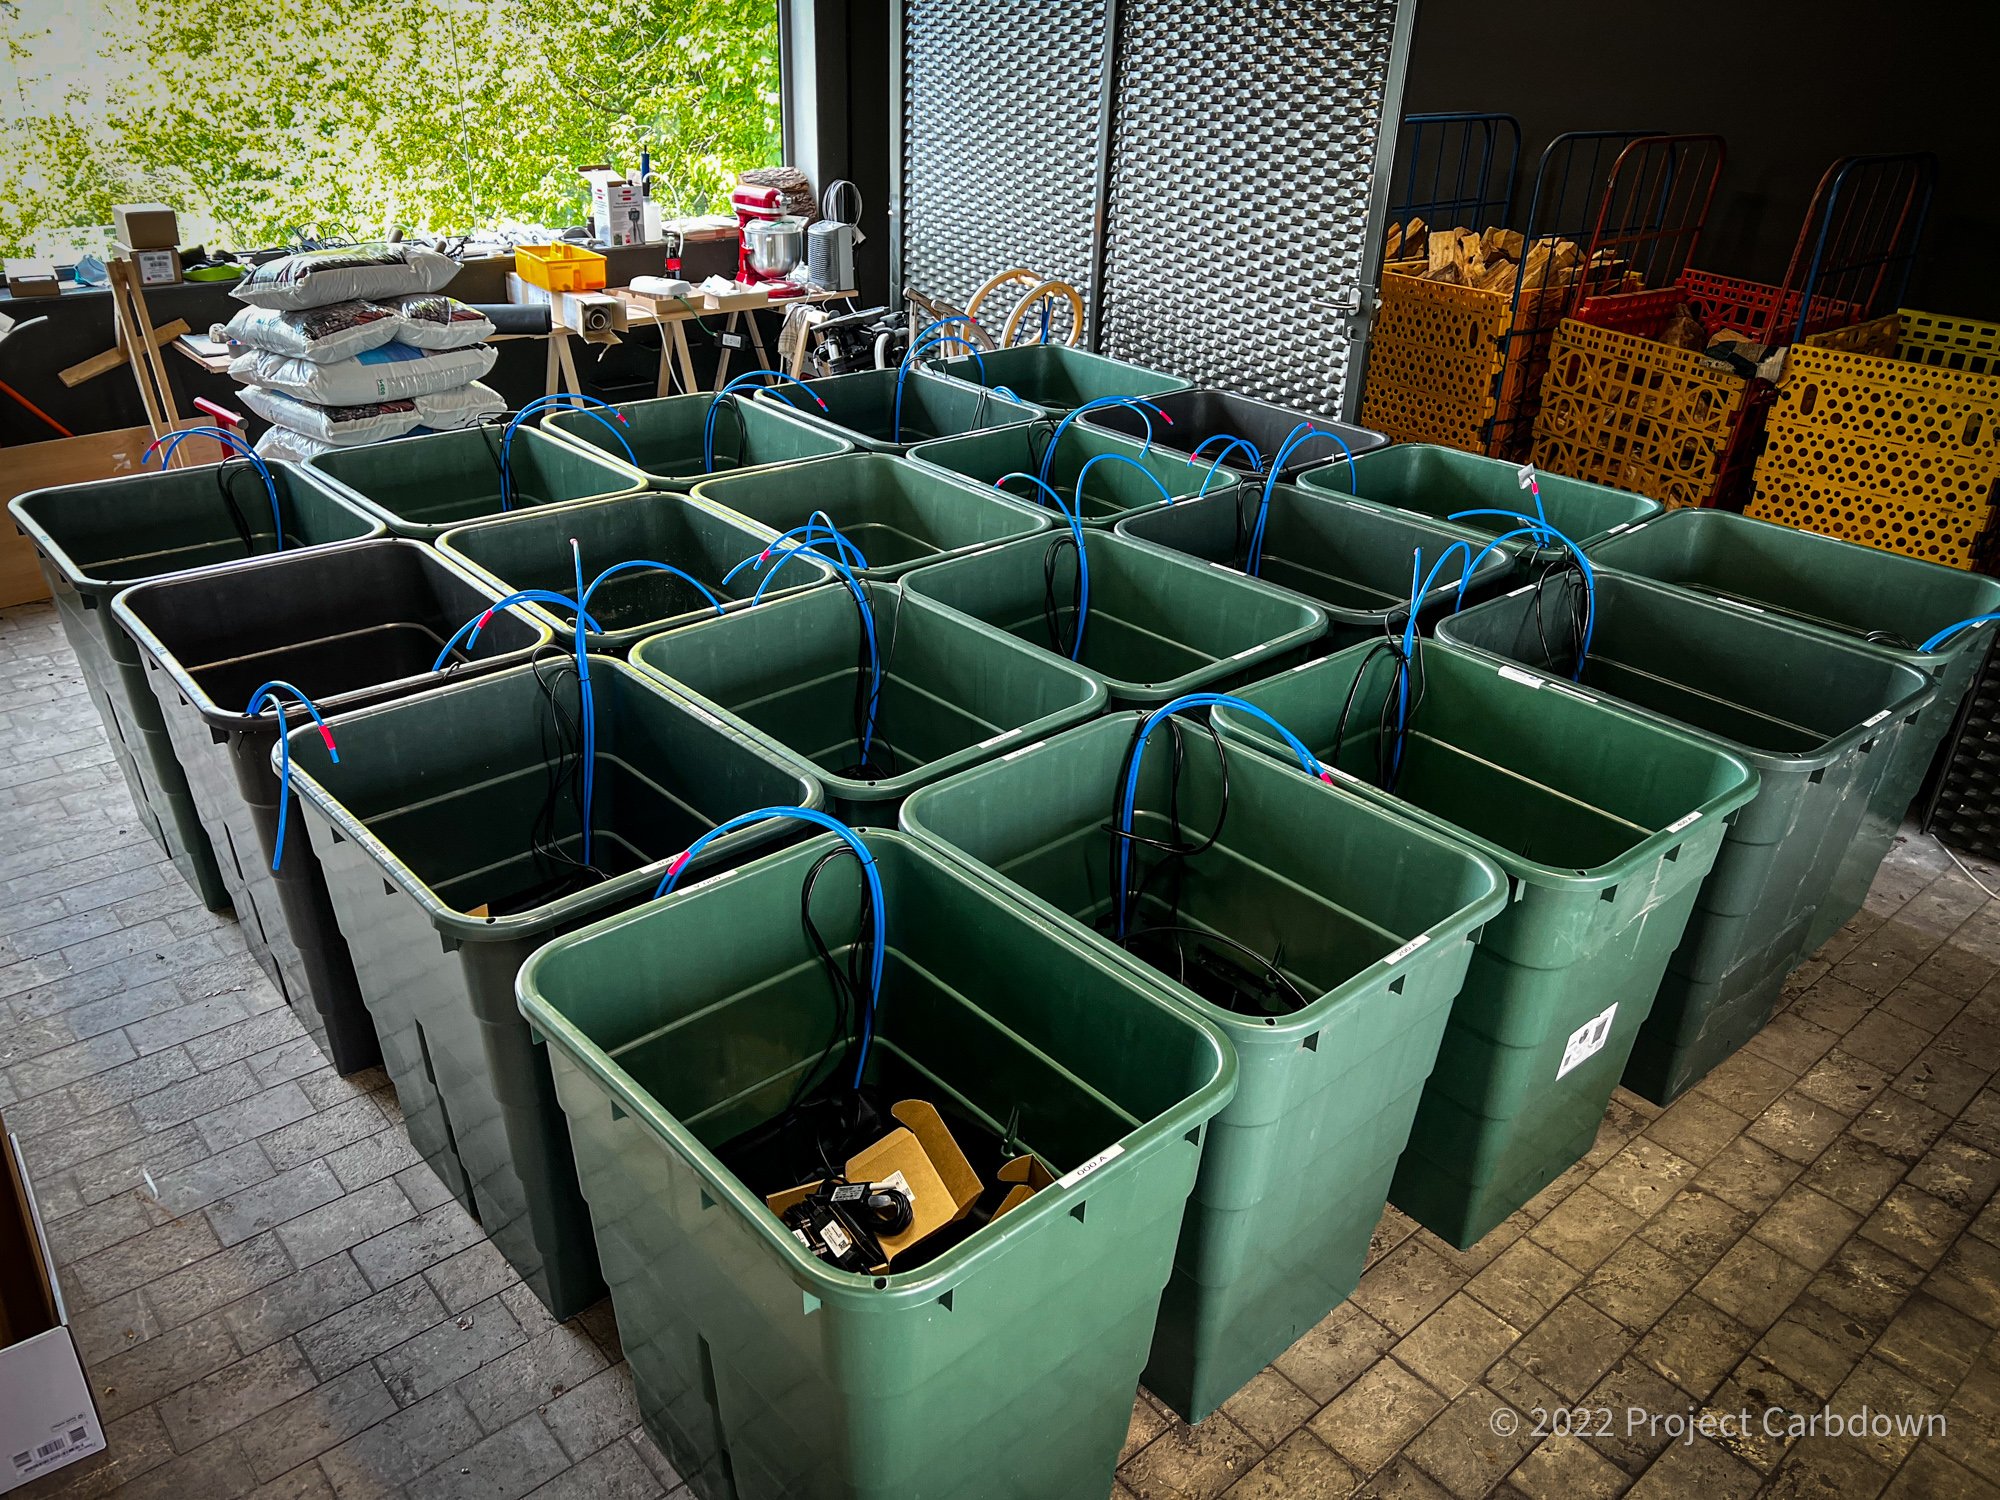
Finally, after a few weeks of fumbling around, we finally knew how to build the lysimeters. Here are all parts of one lysimeter. Total cost of the non-electronic parts is below €100, plus €1000 for the electronics.
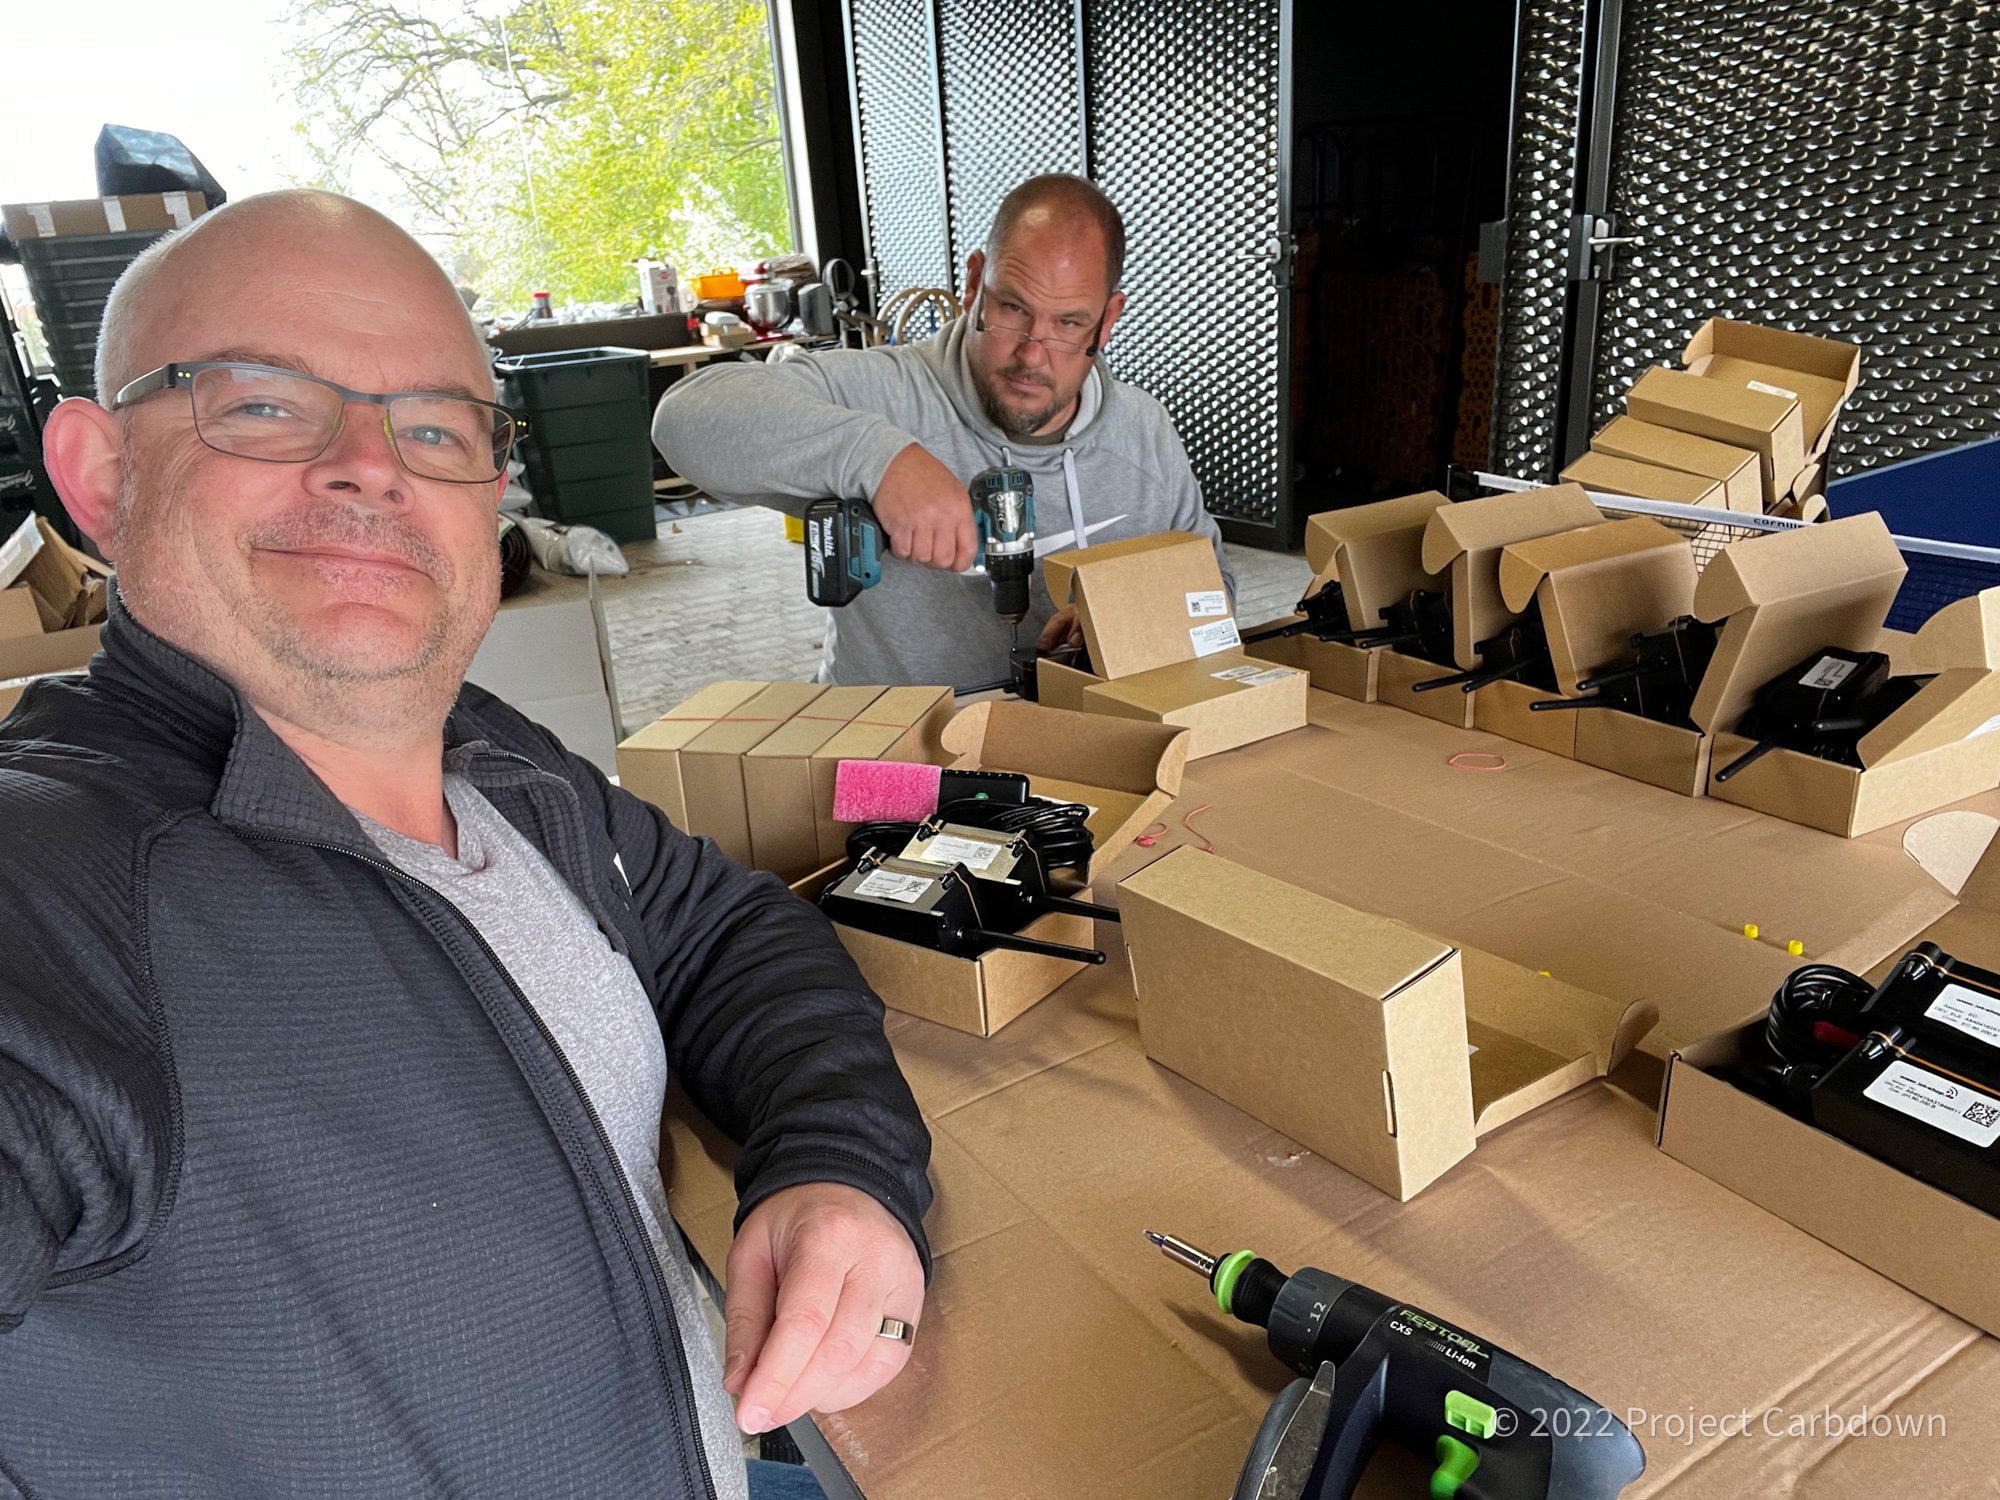
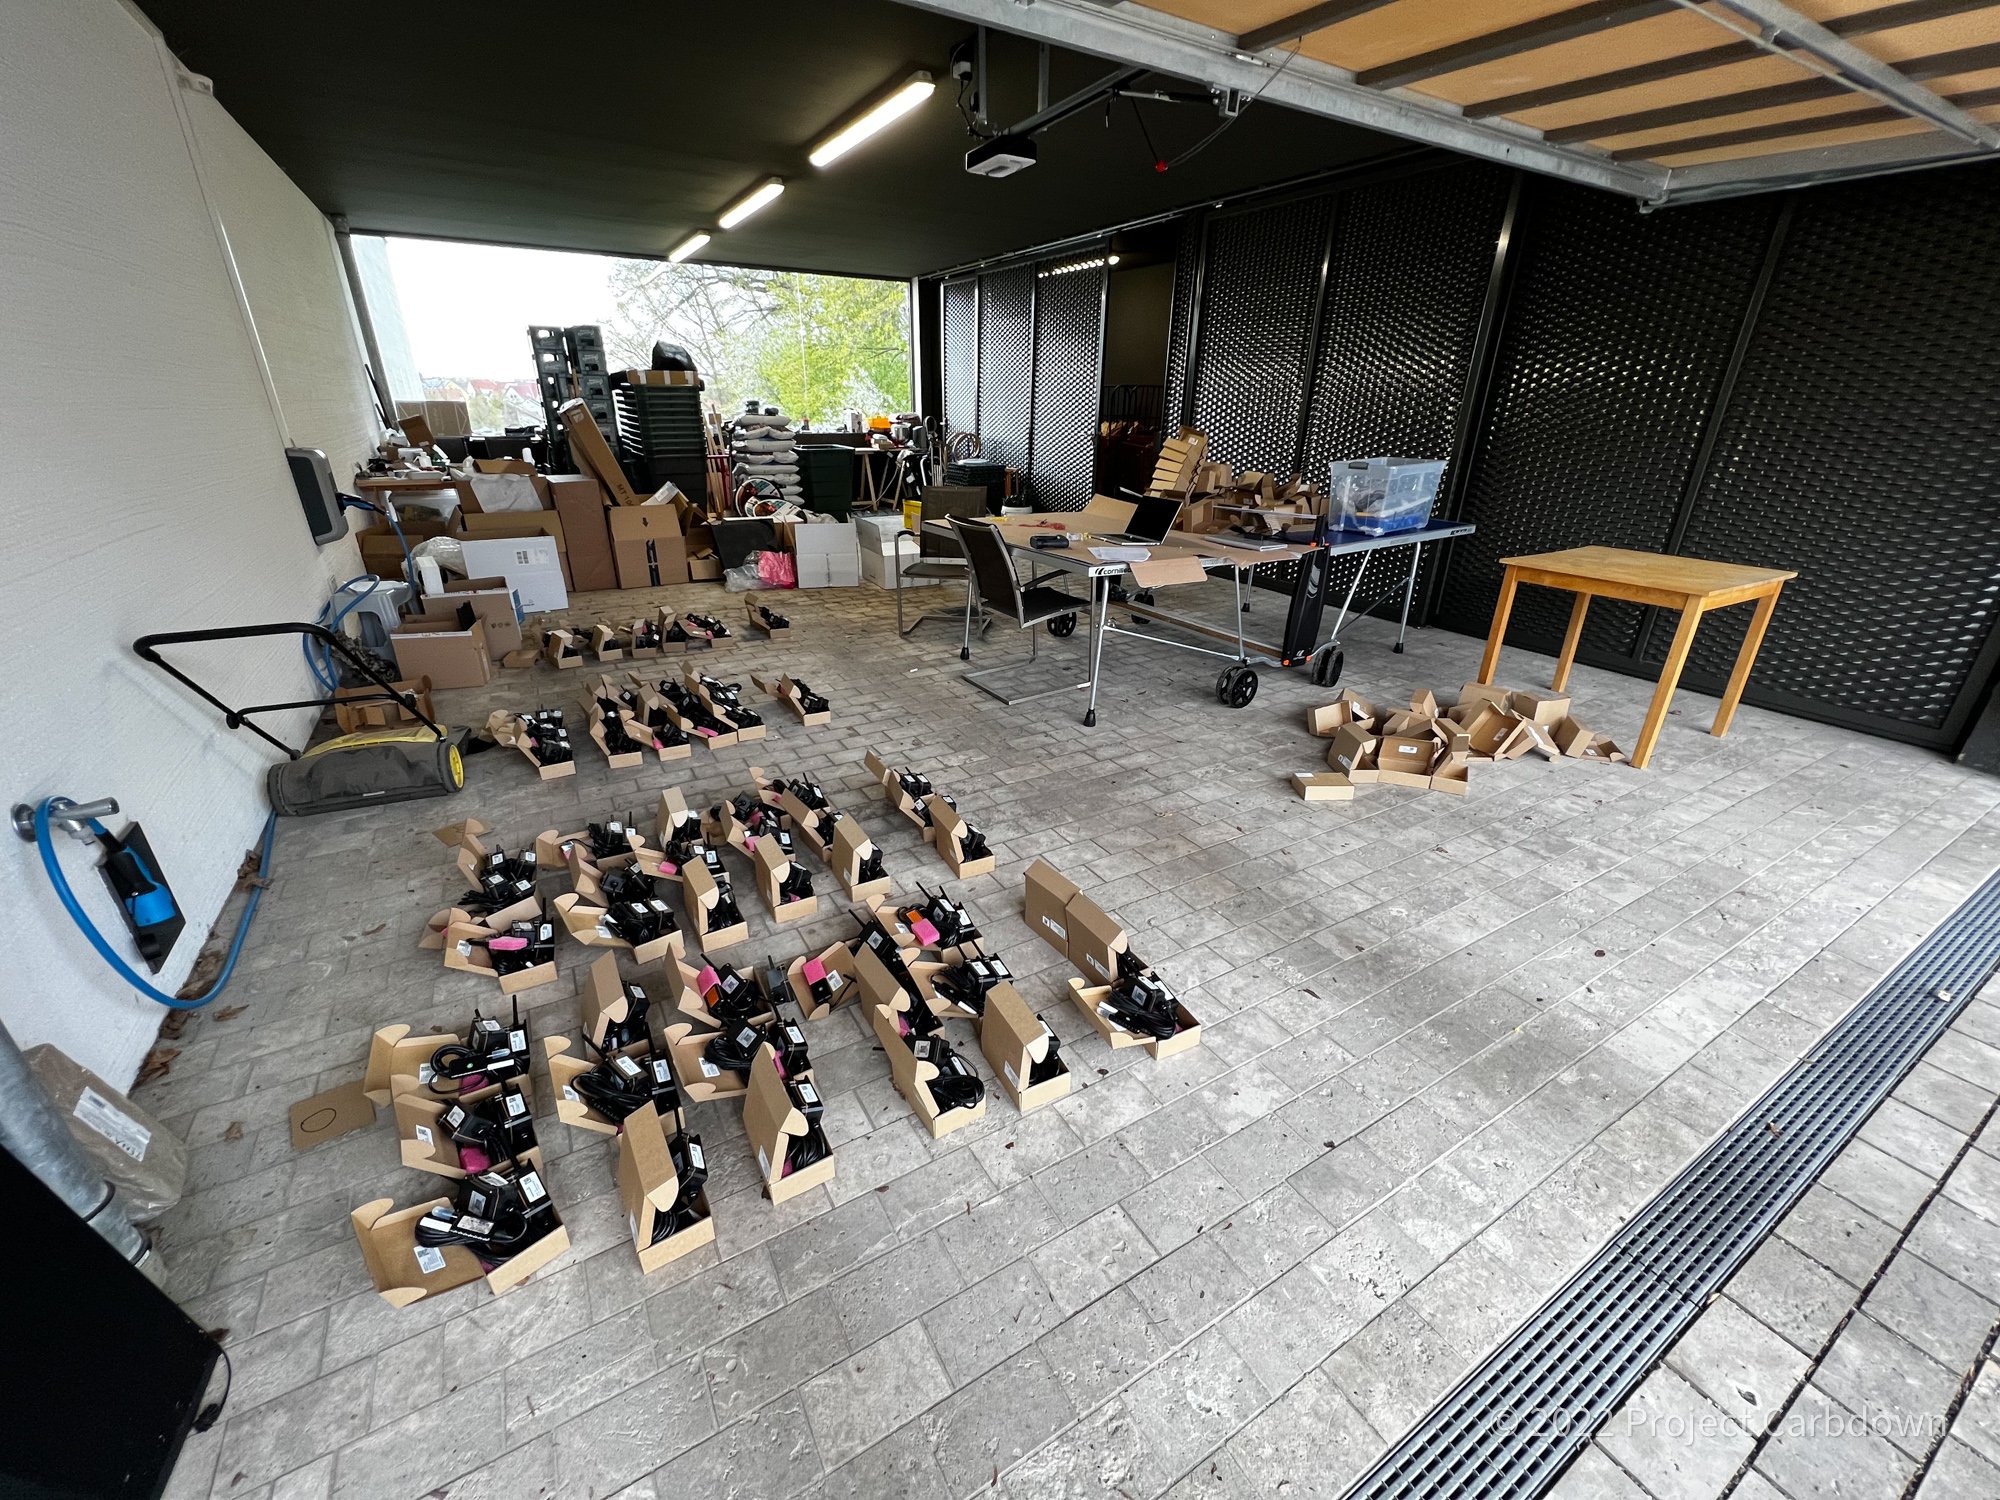
Early May we built all 20 lysimeters in 3 days:
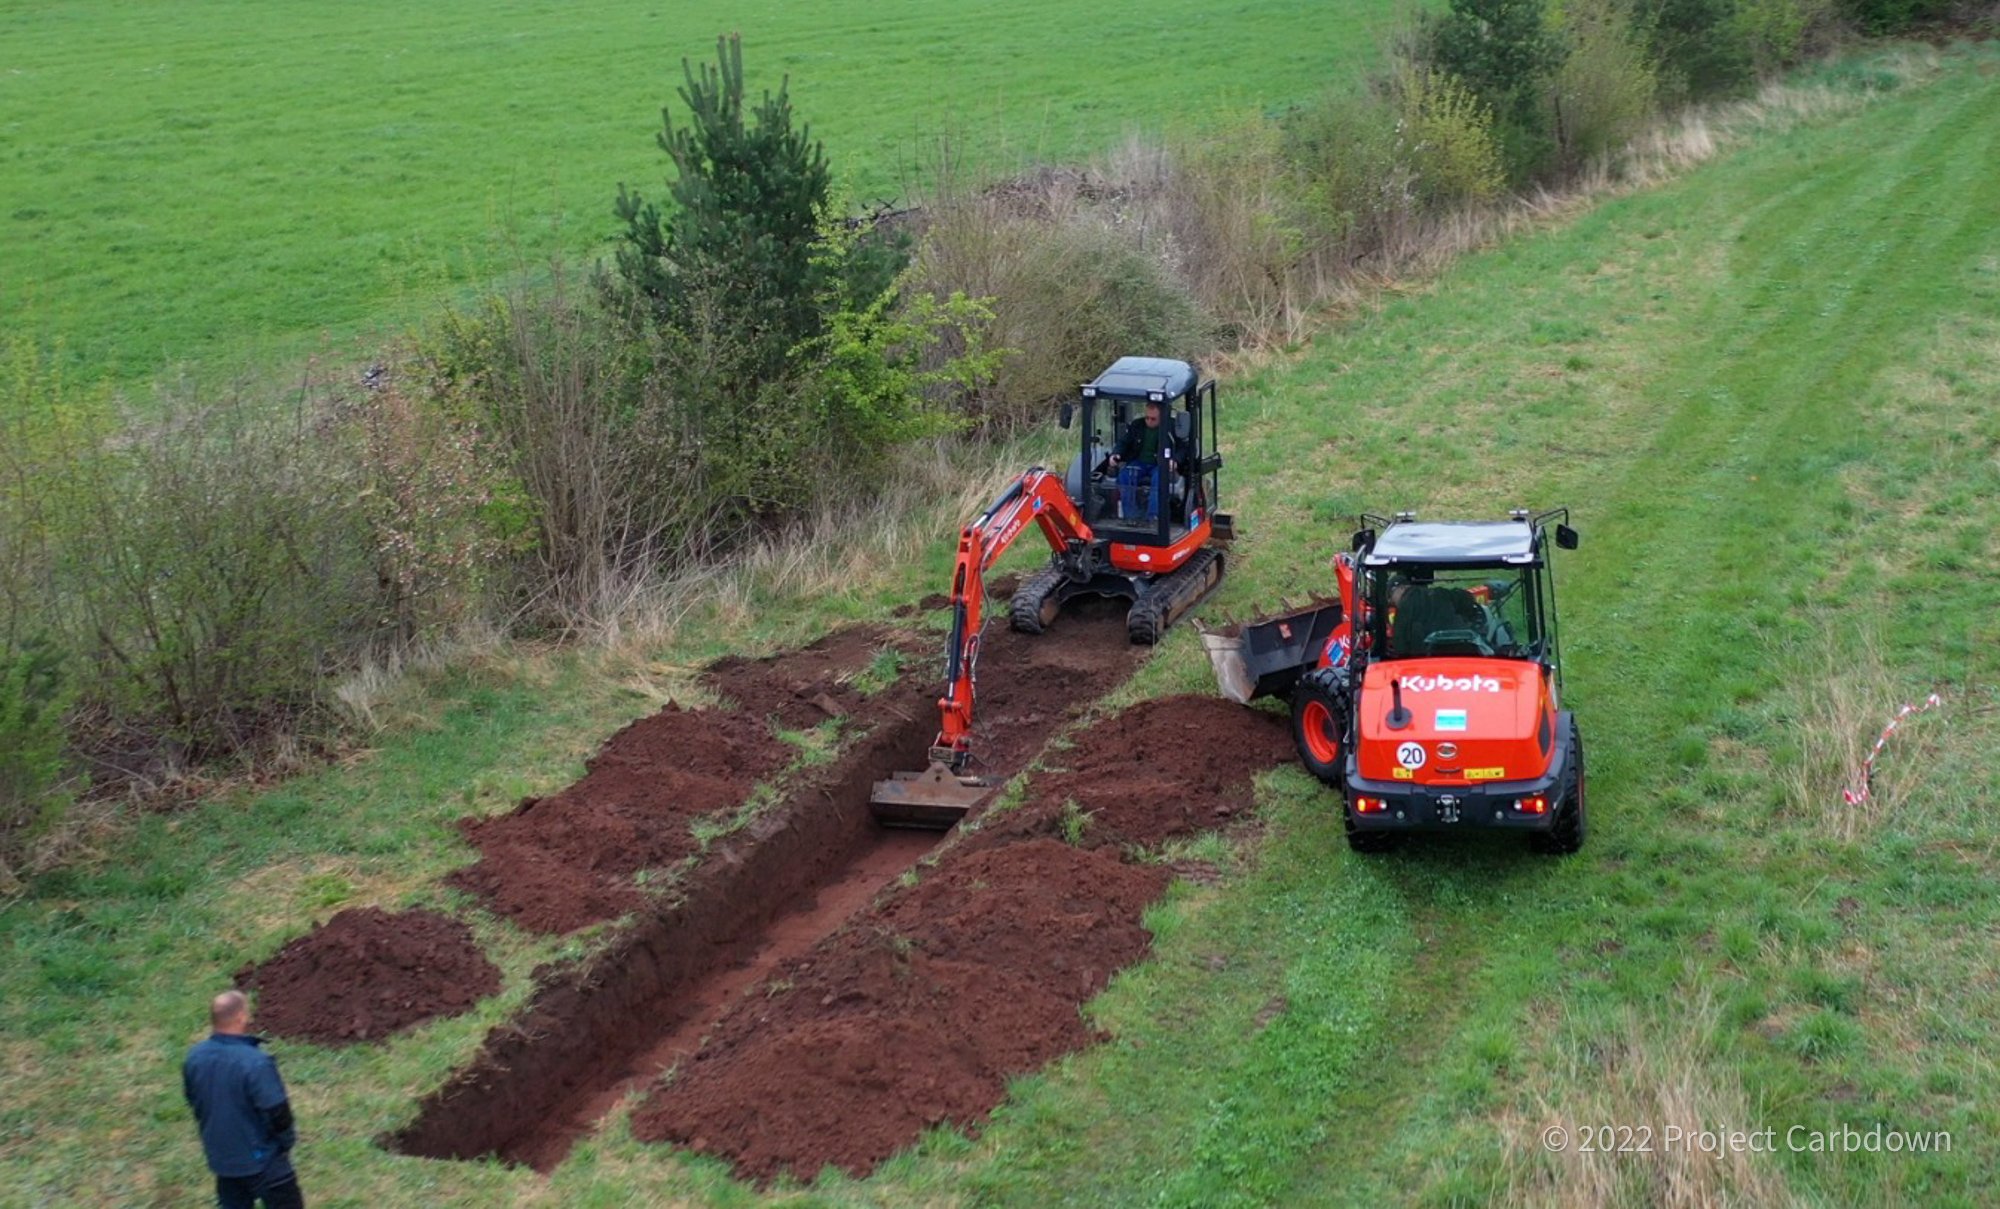
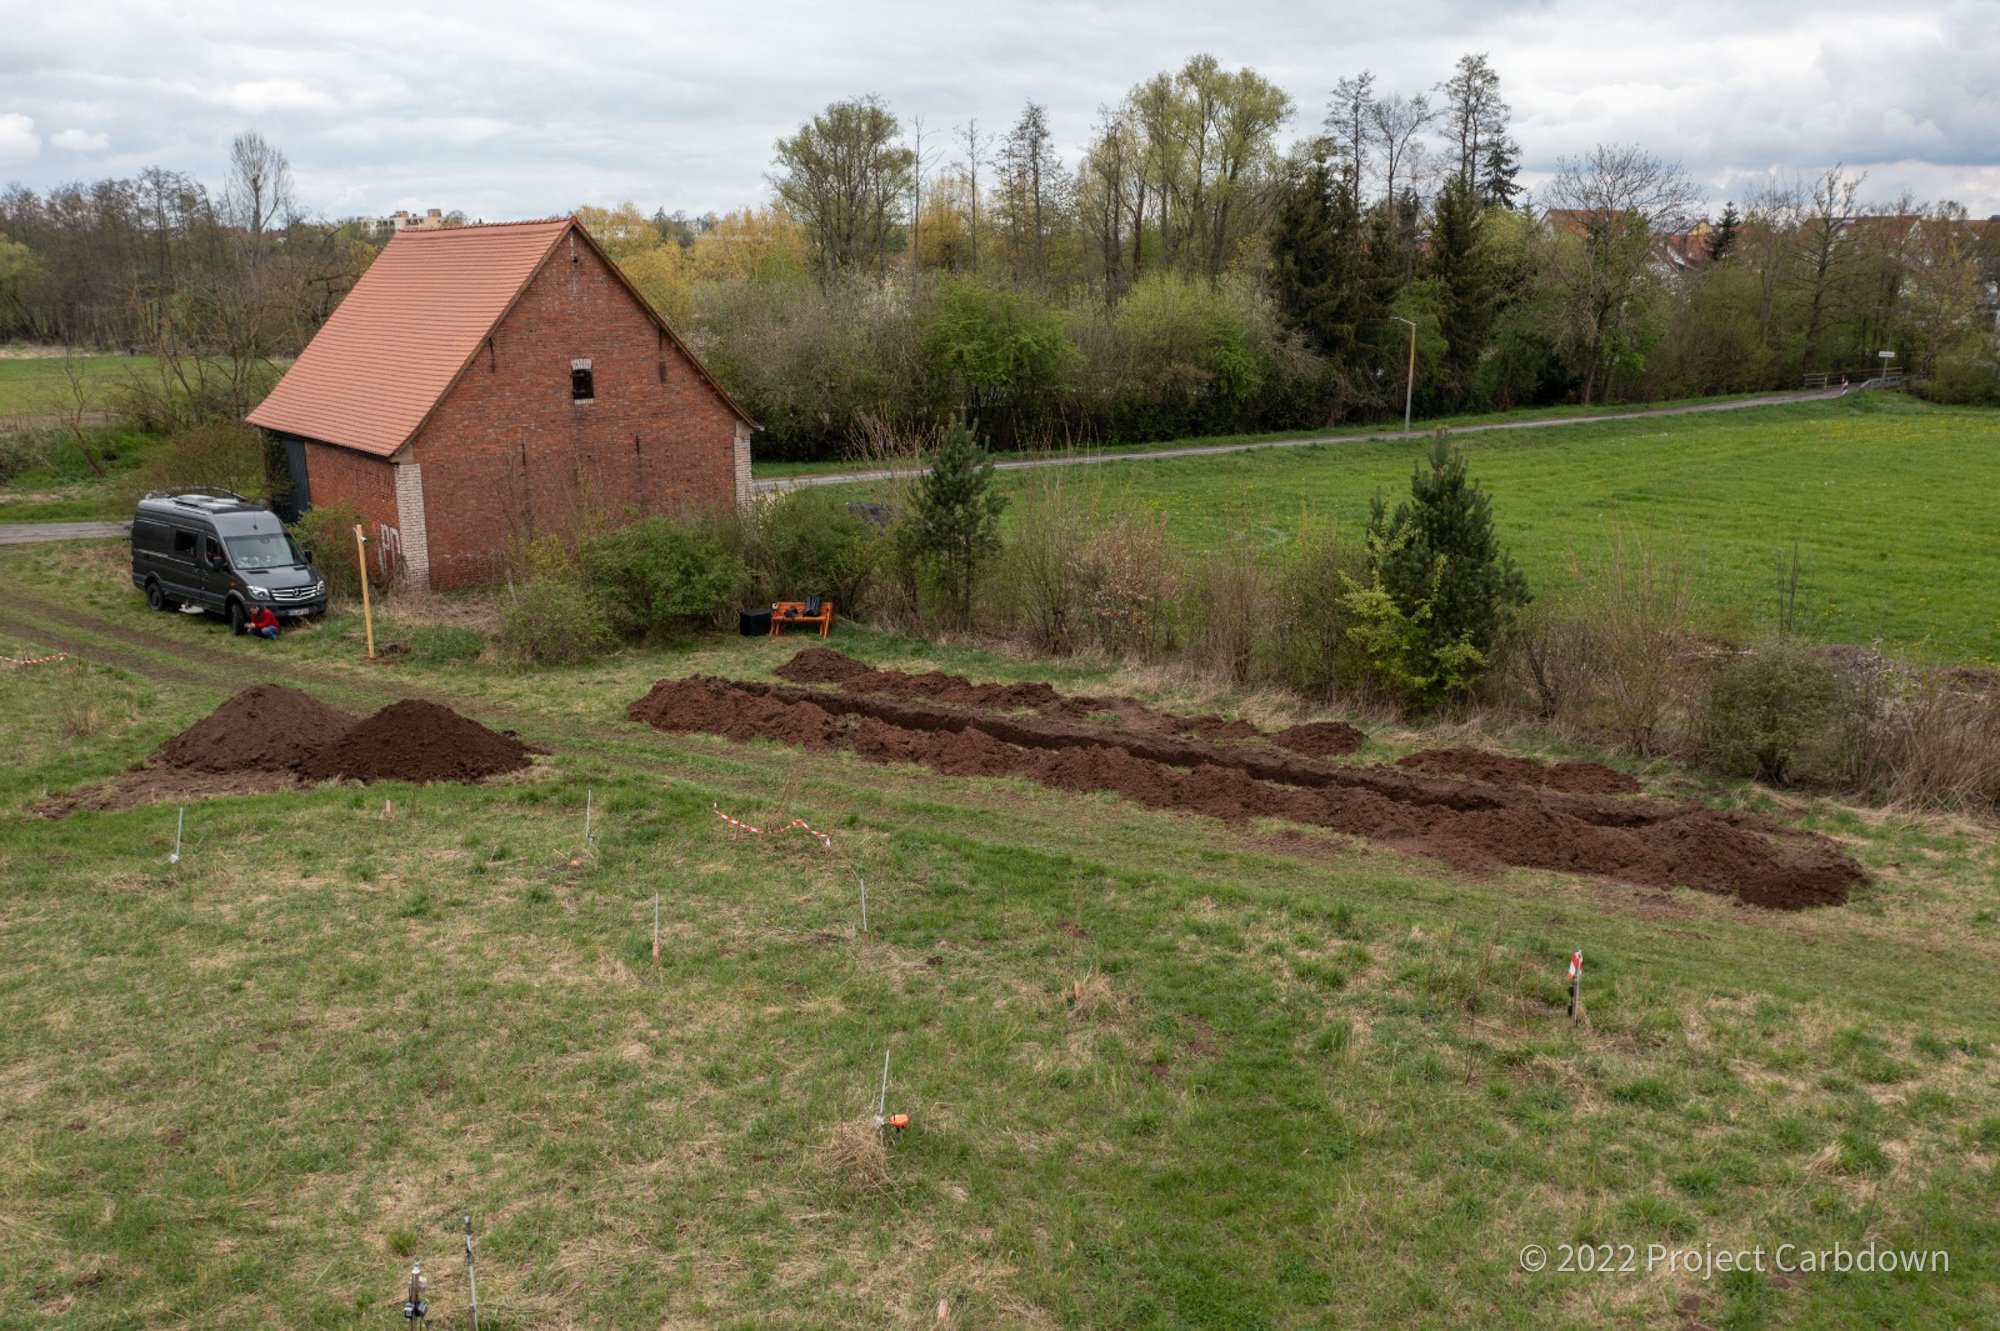
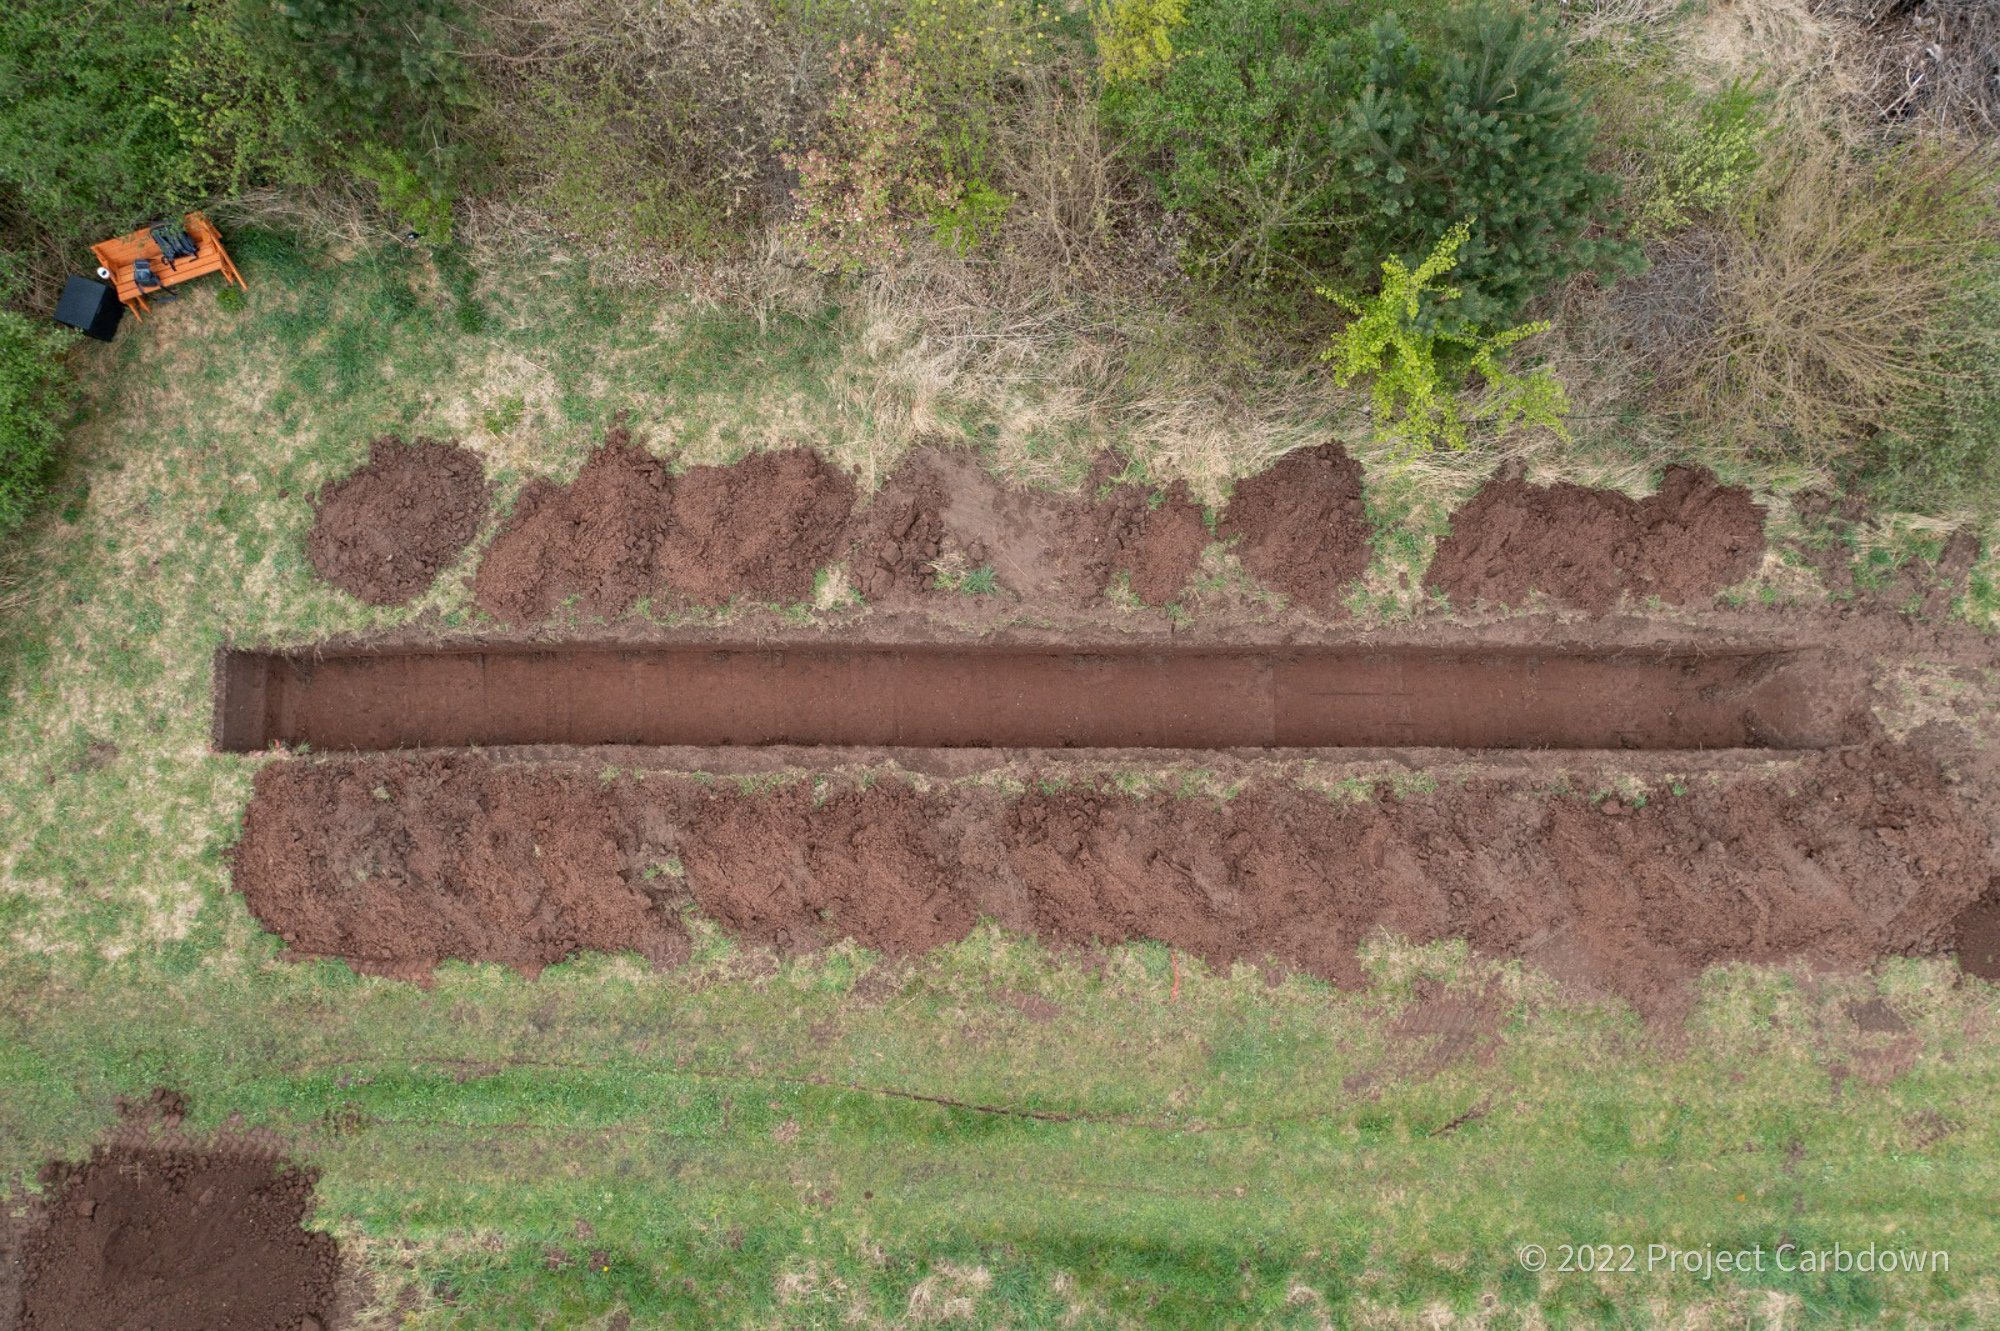
Preparing The field
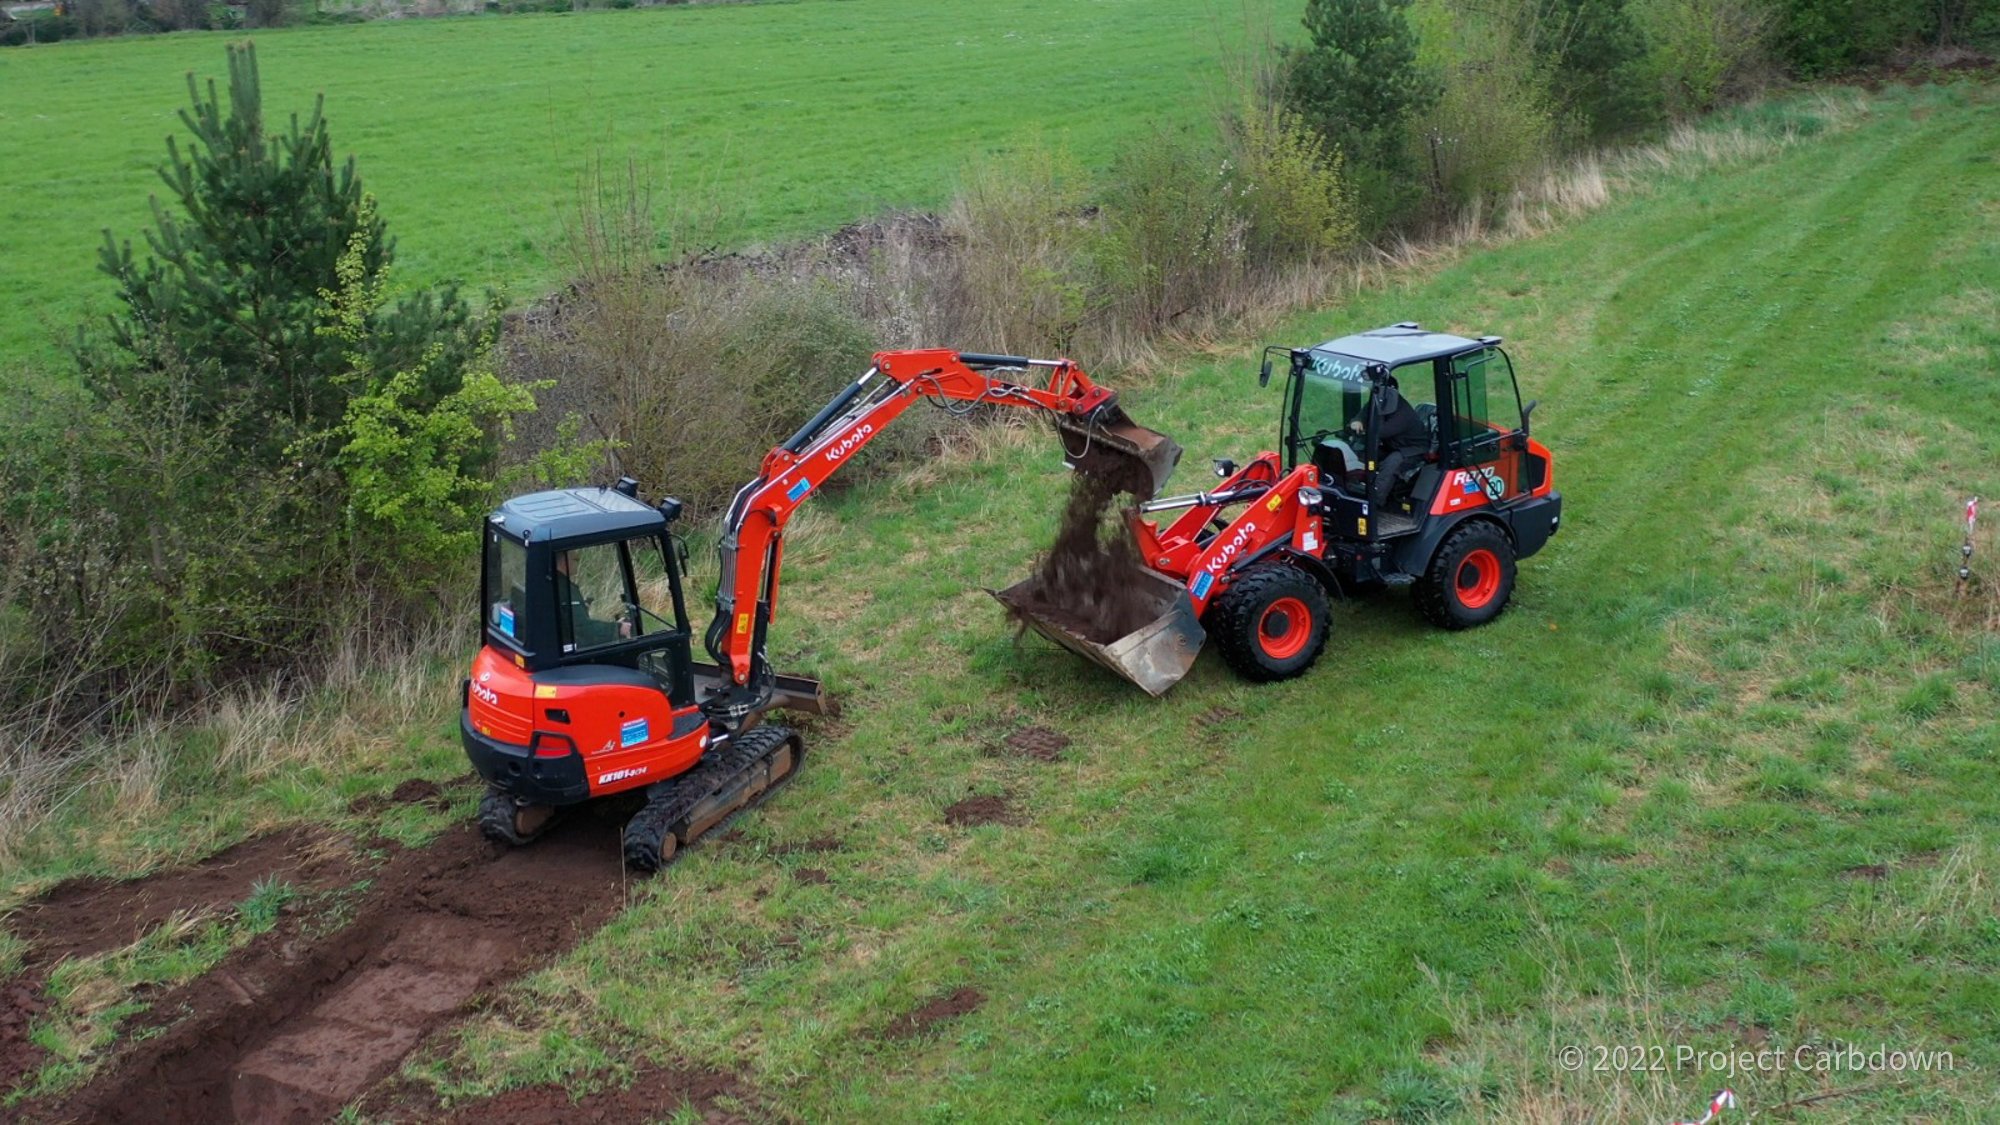
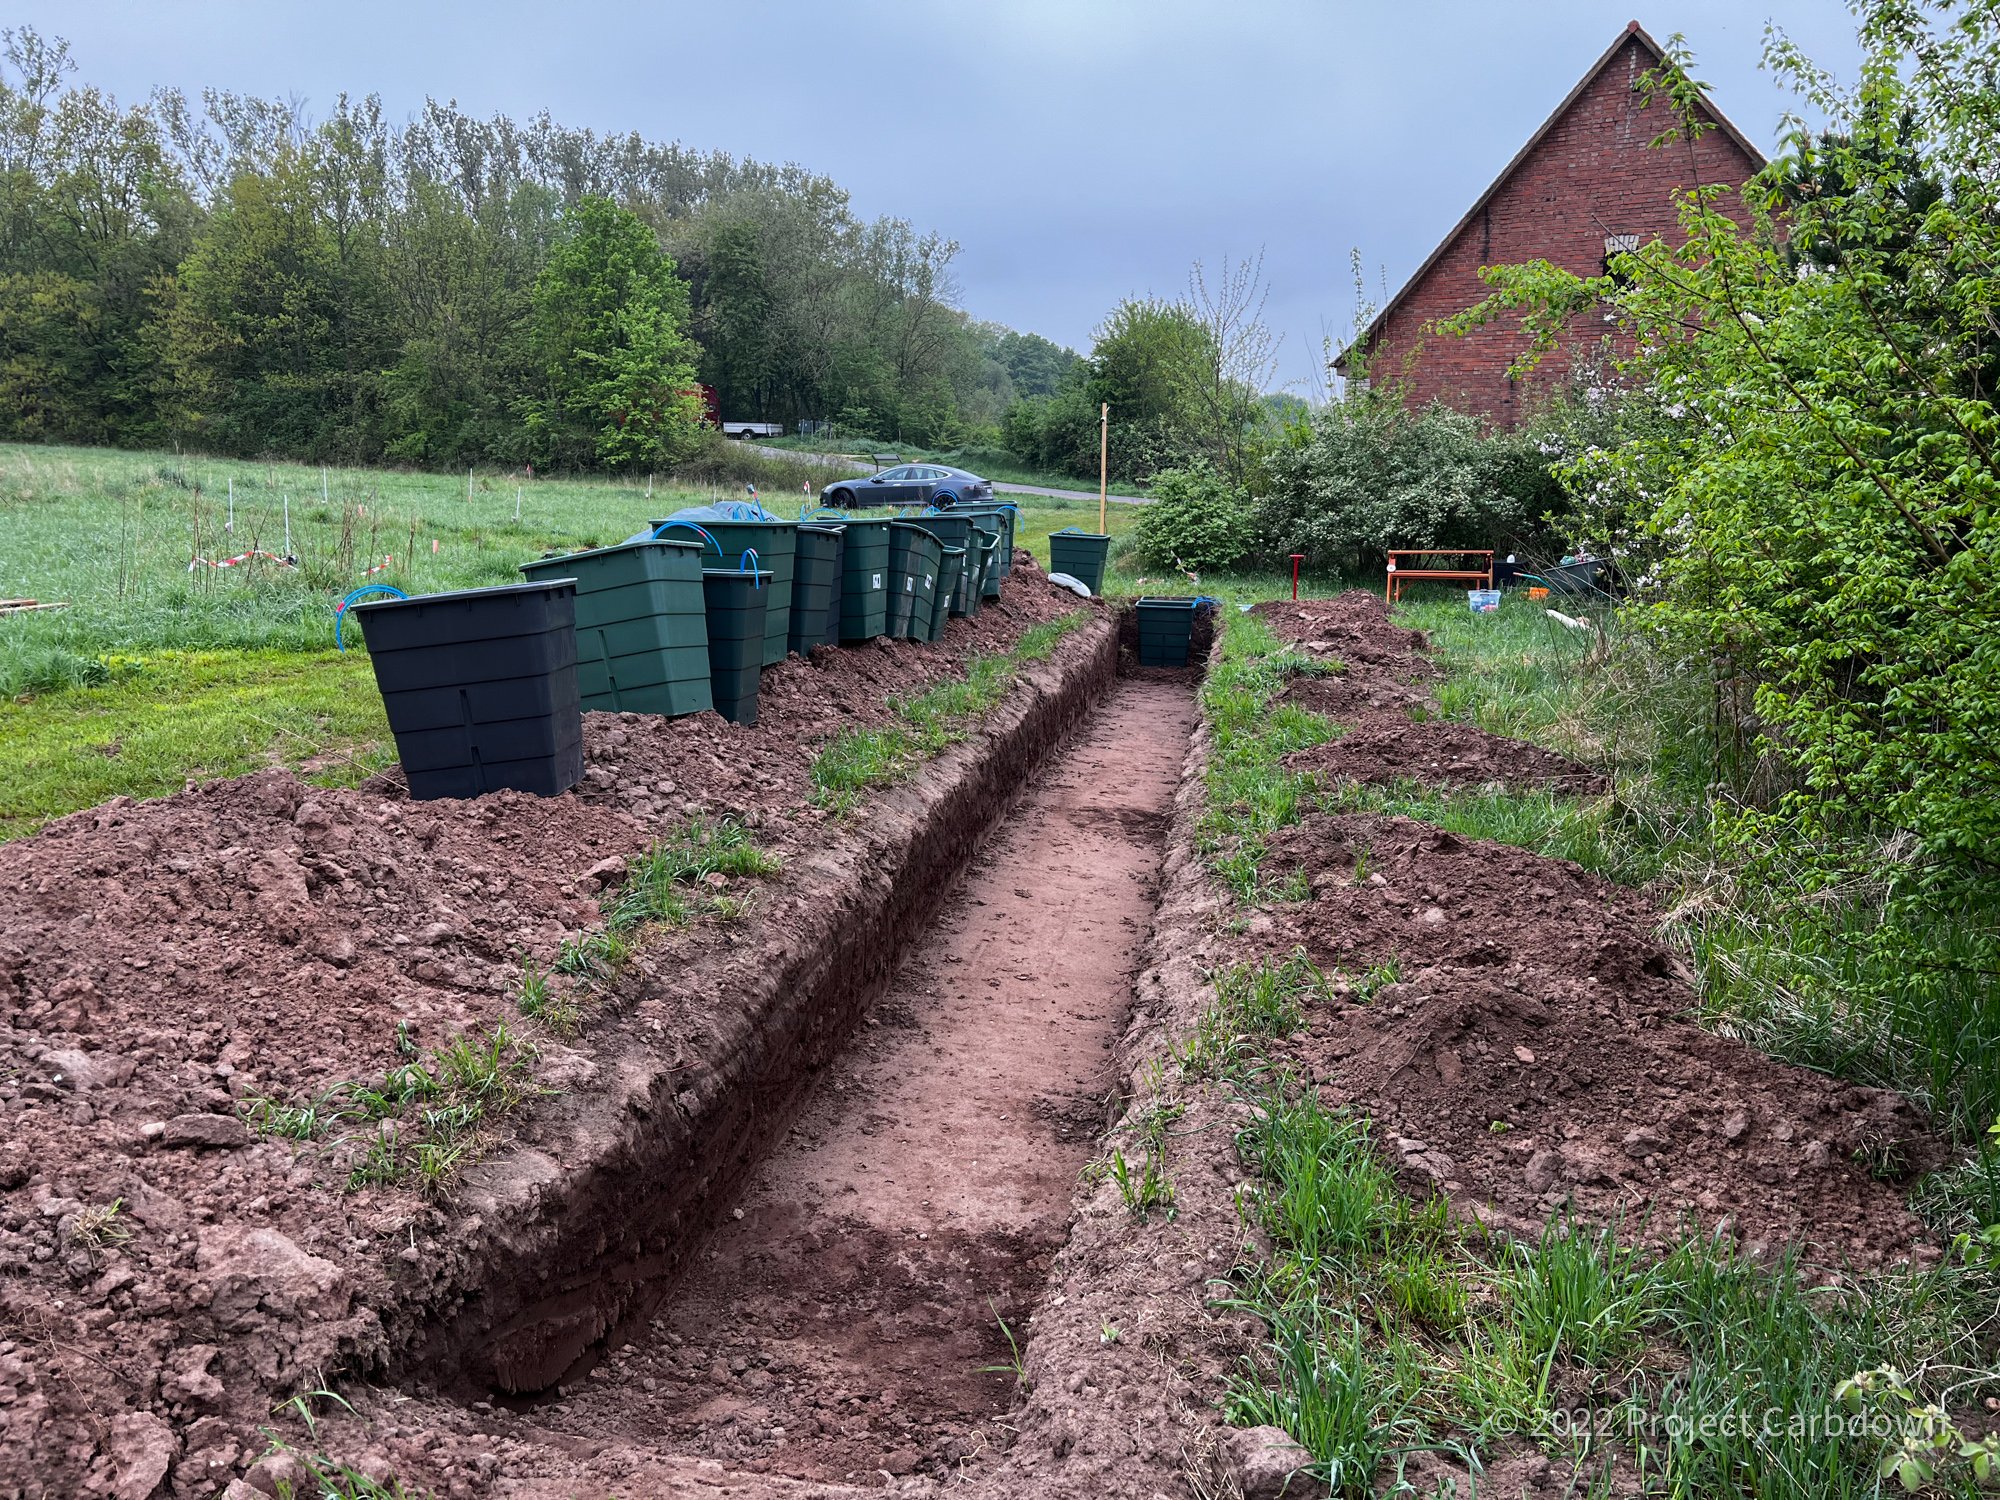
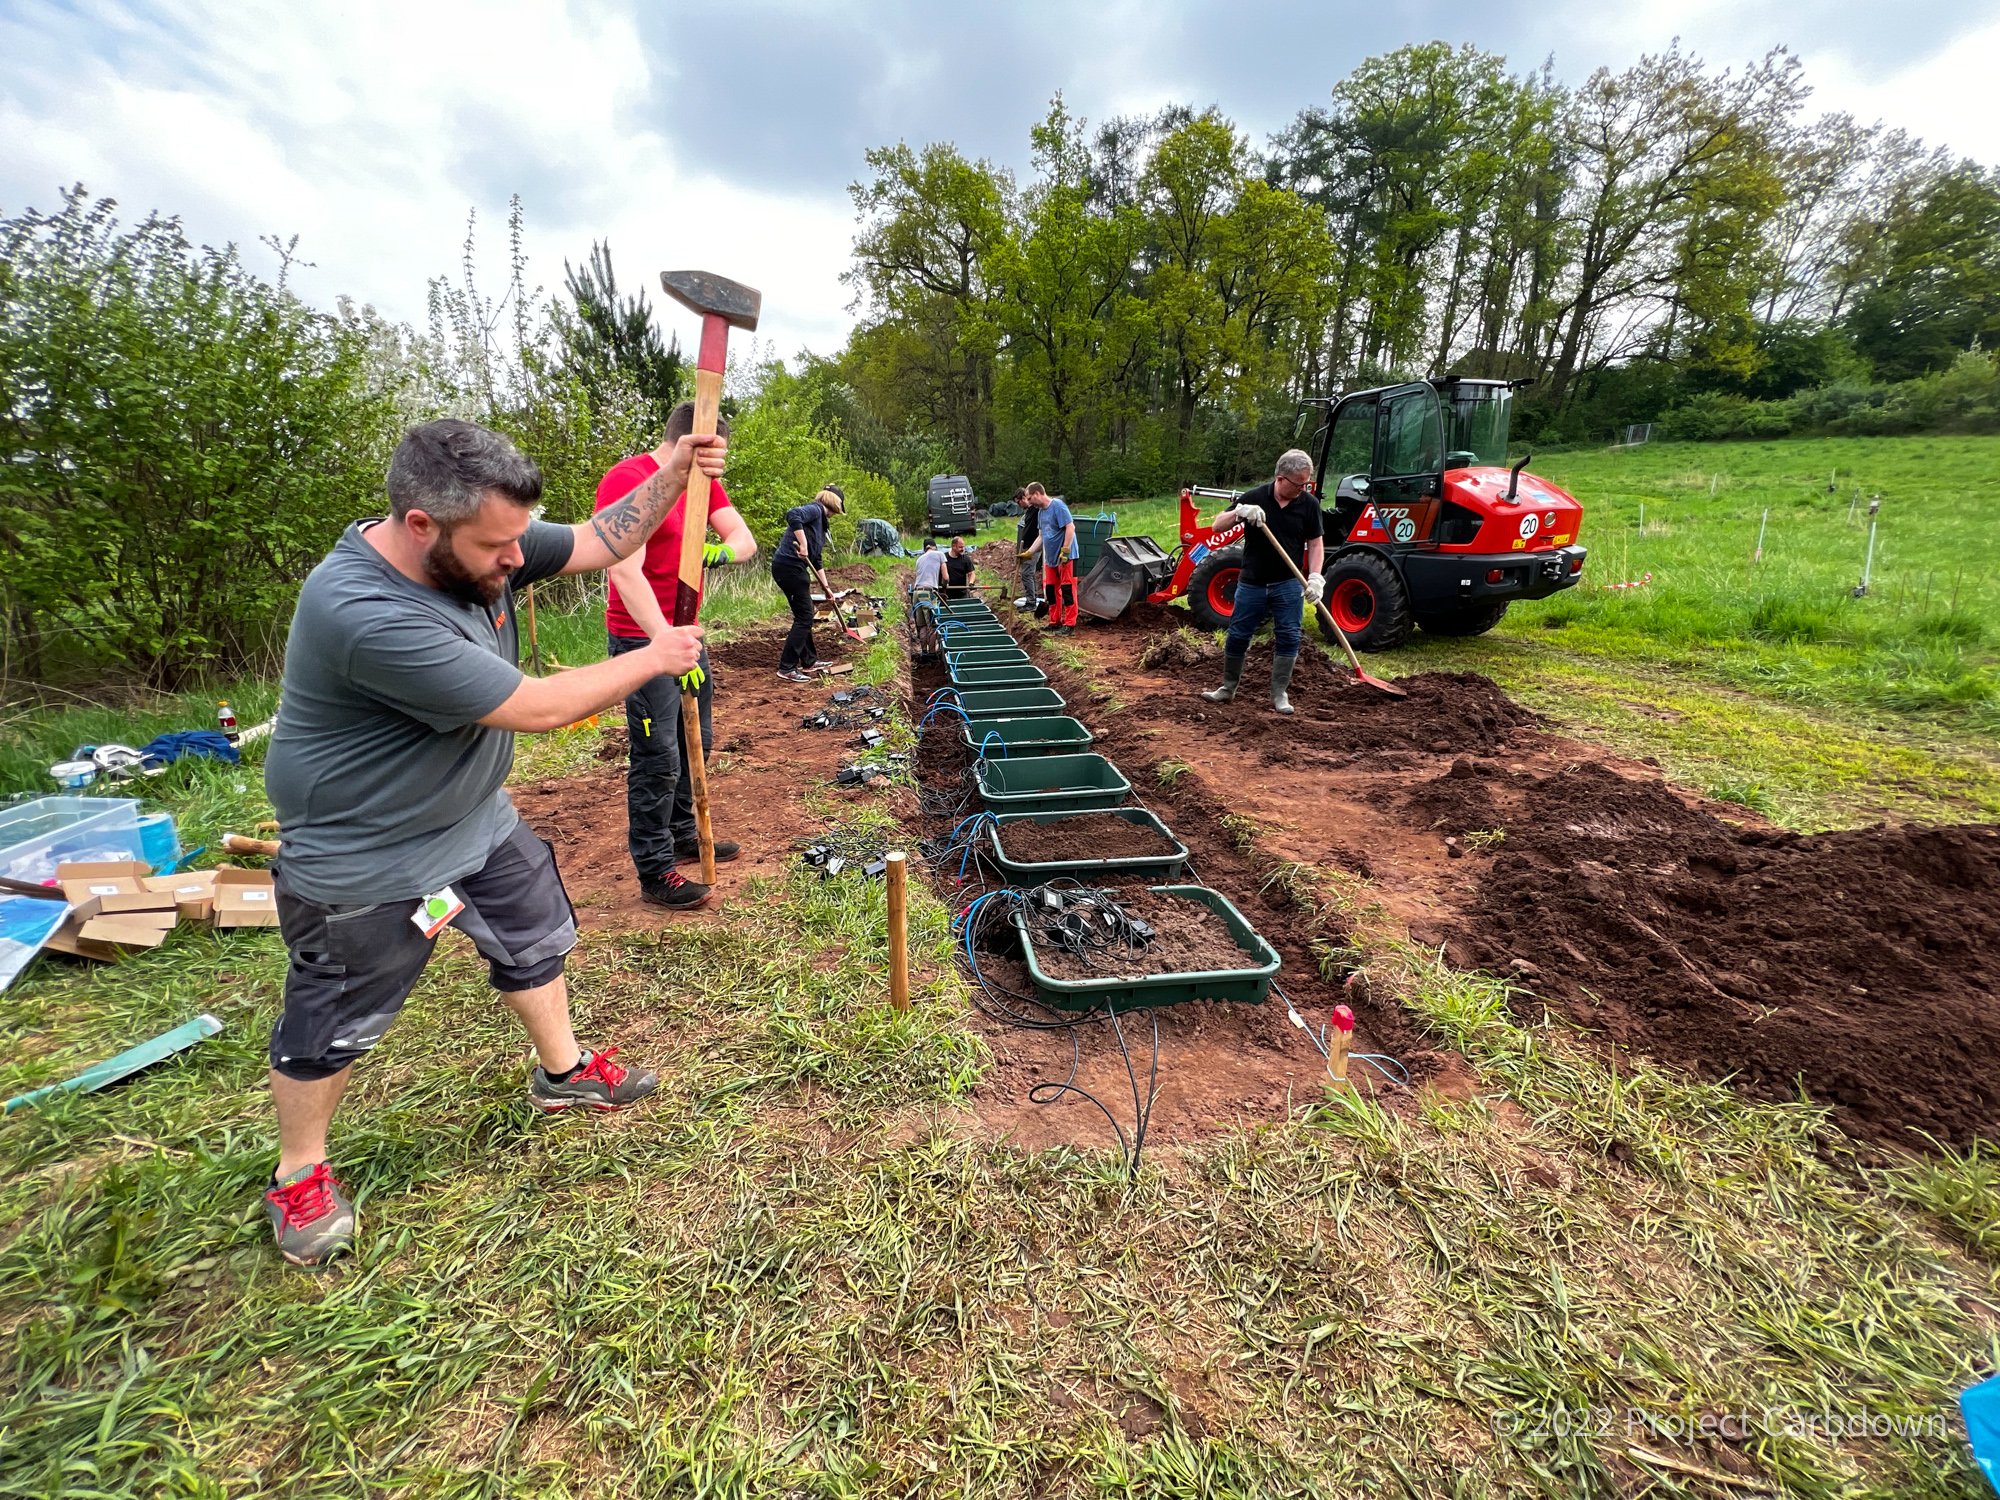
To prepare the field we had to move more than 20 tons of soil, so we had to bring in some equipment. With a digger and a wheel loader we dug out a 25 meter ditch, 80cm deep in late April. We also homogenized several tons of the soil so all lysimeters would contain the same soil.
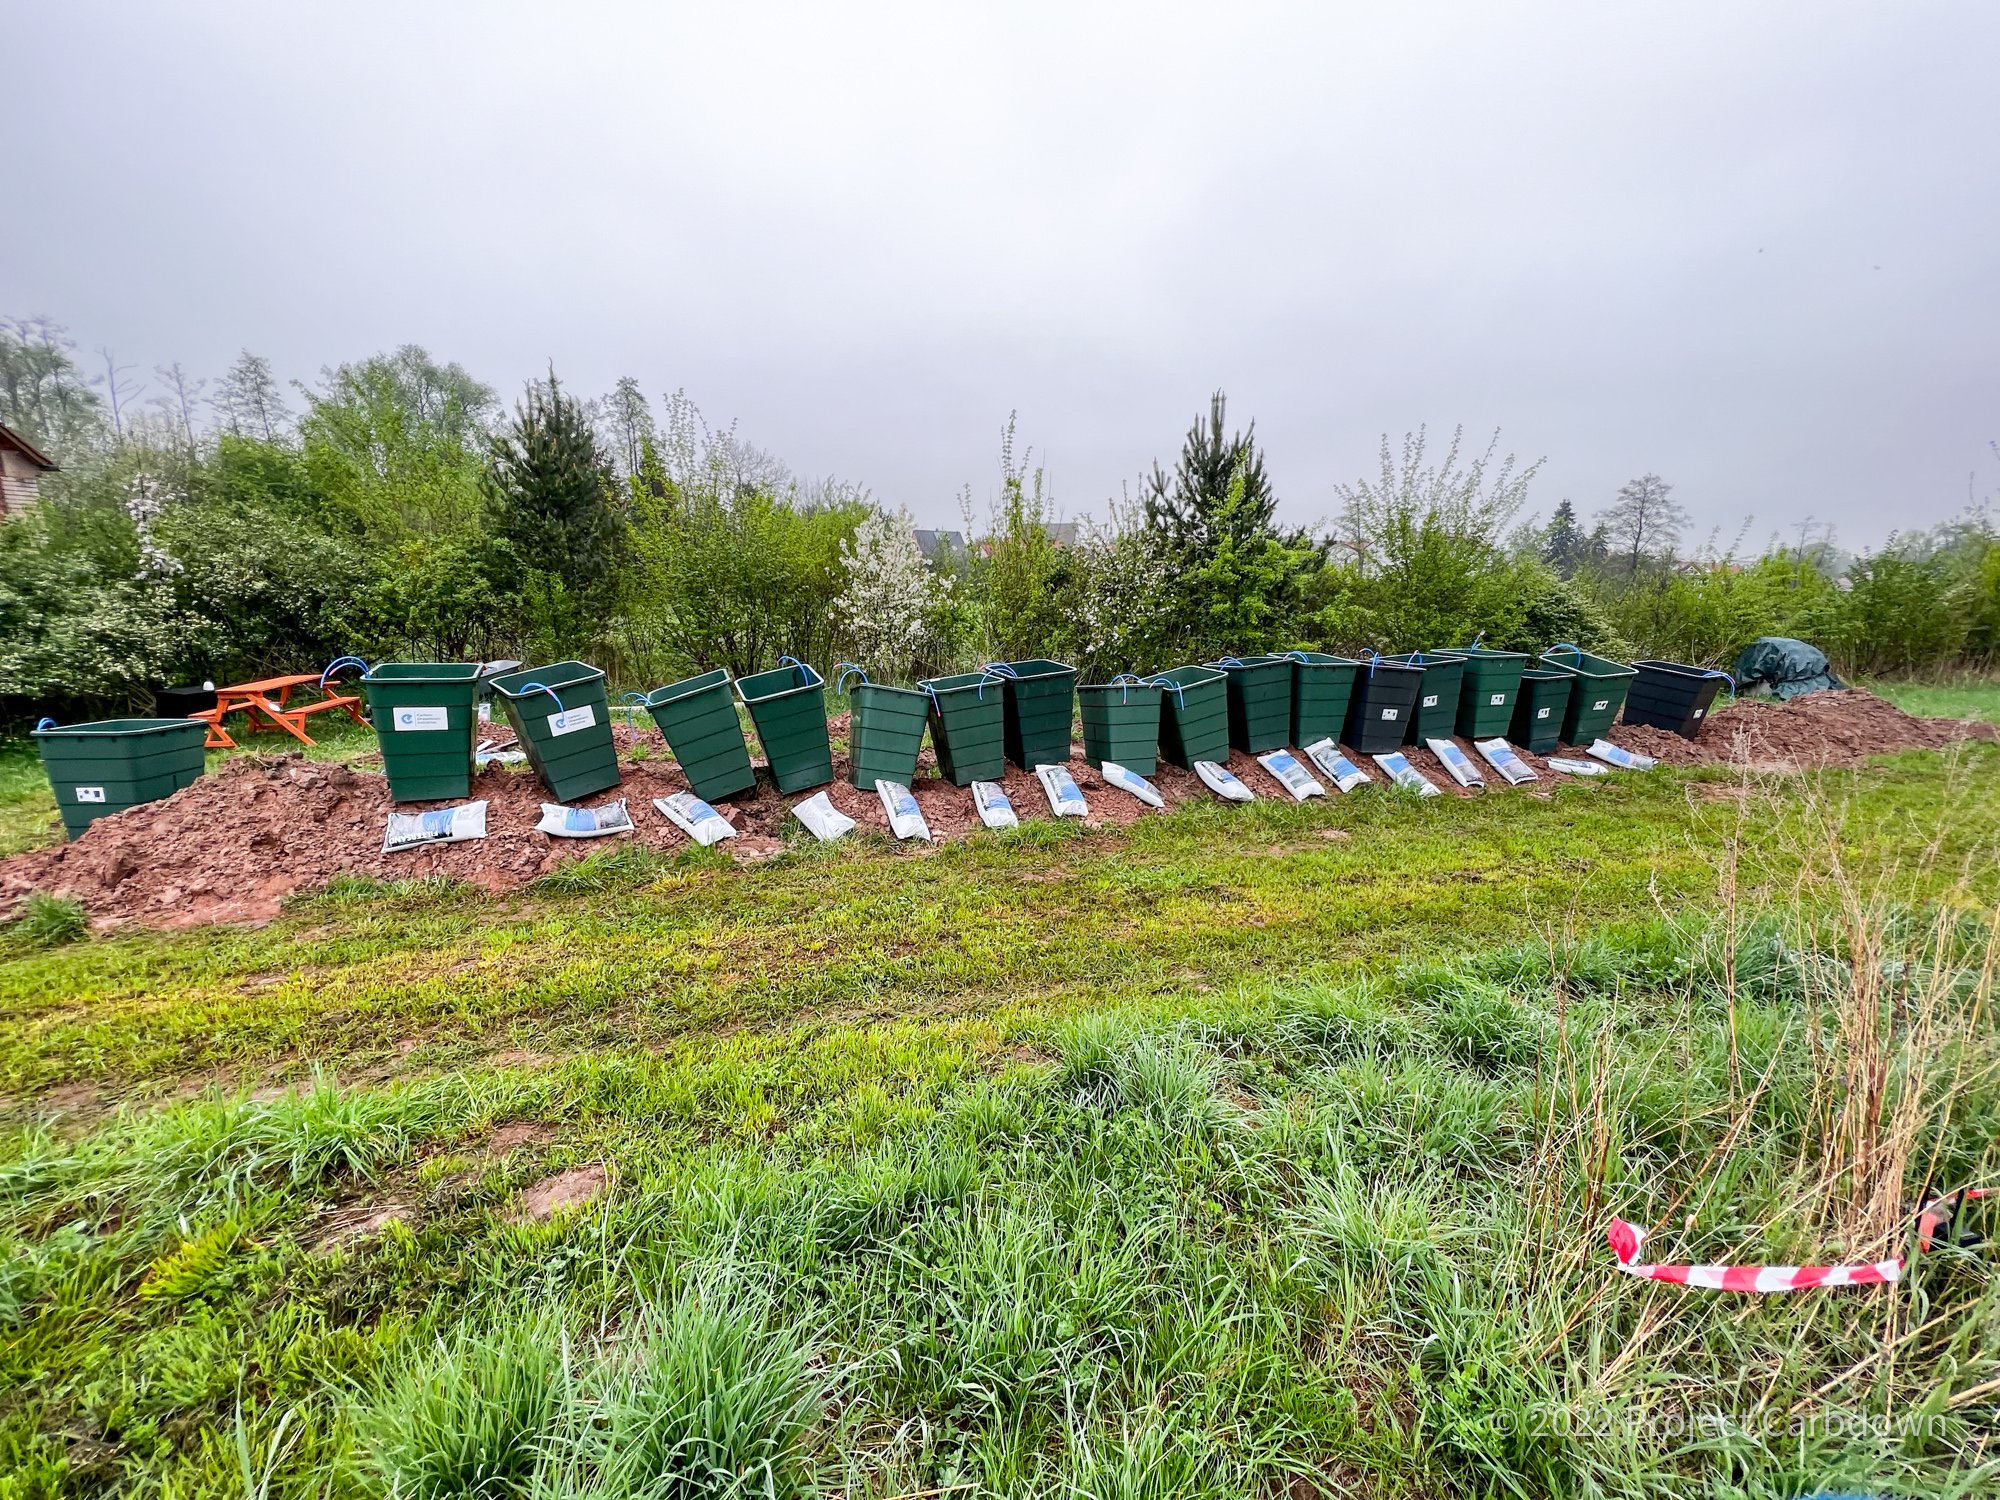
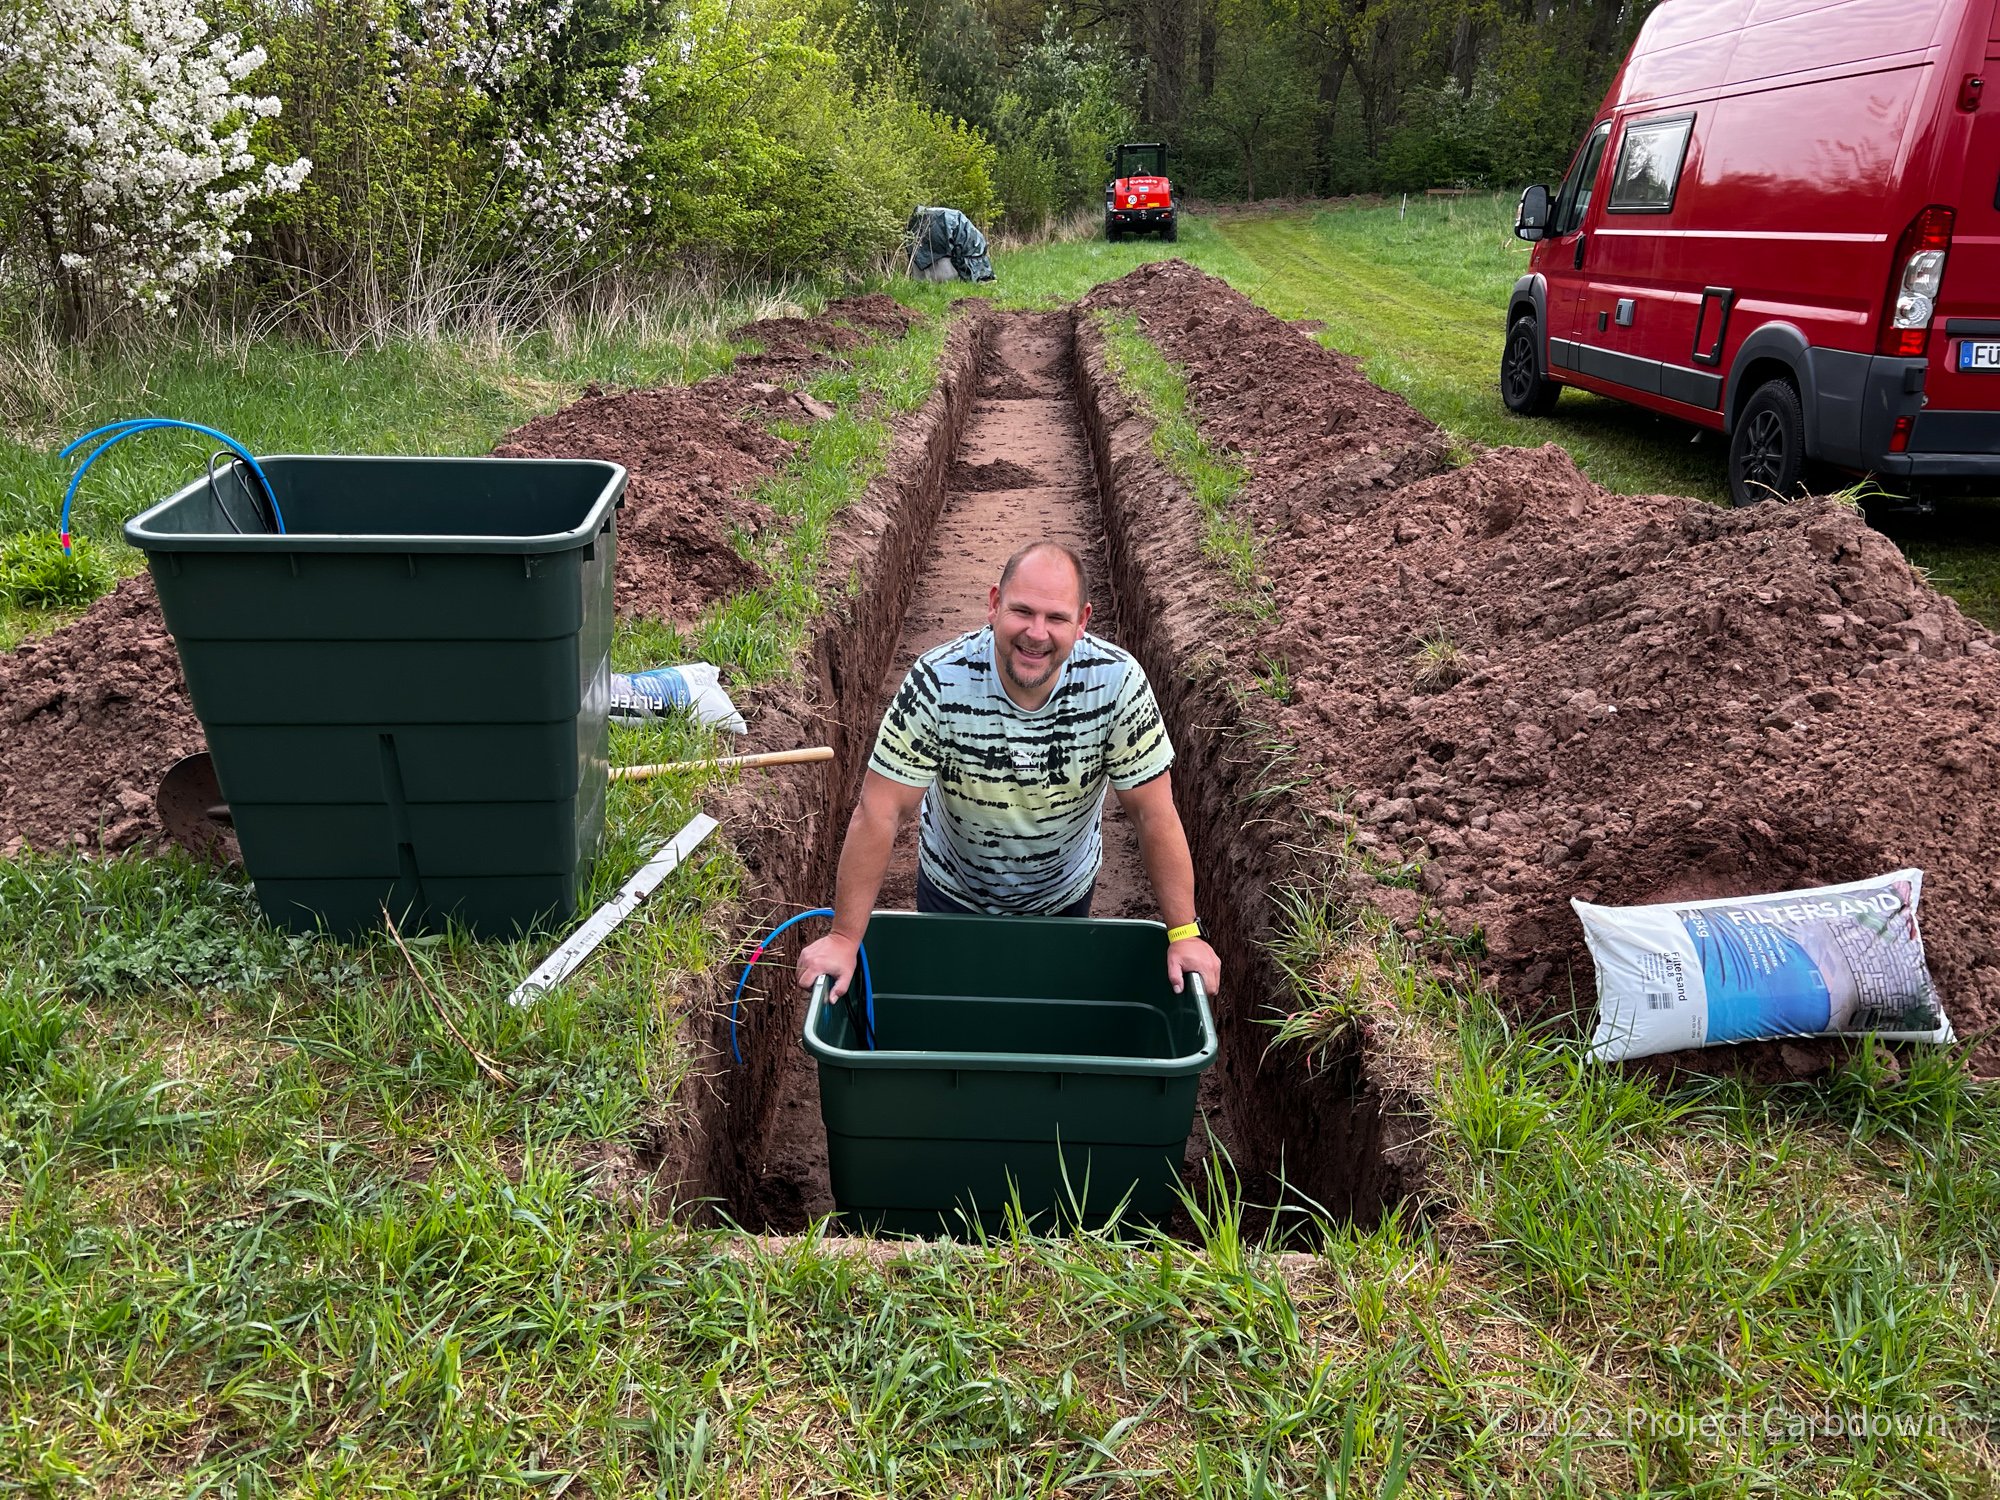
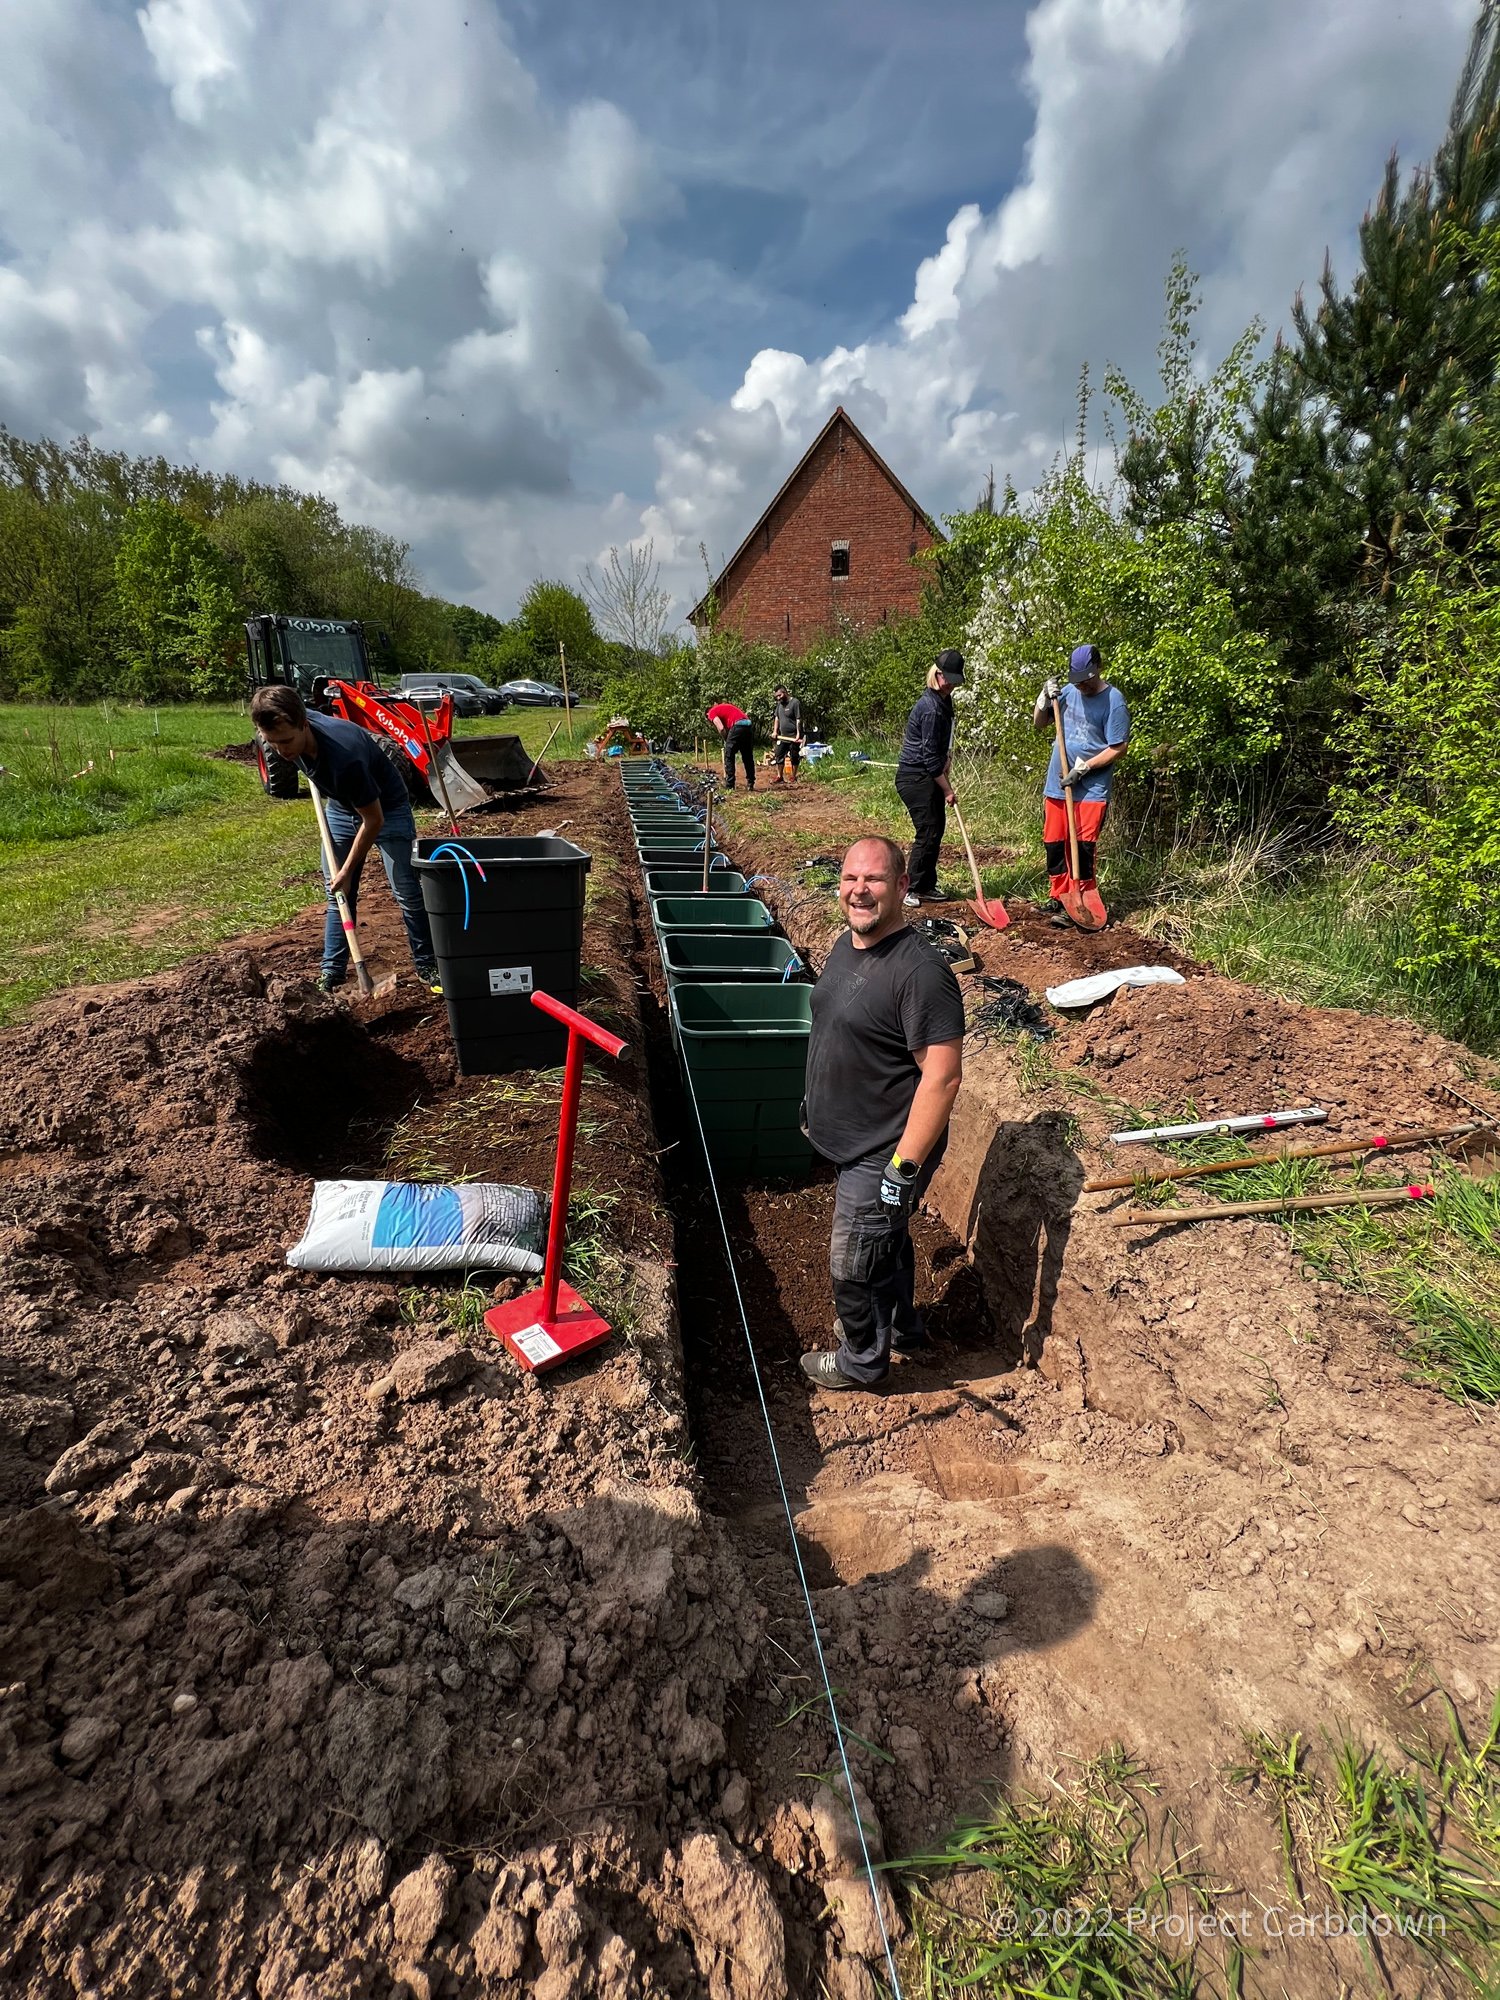
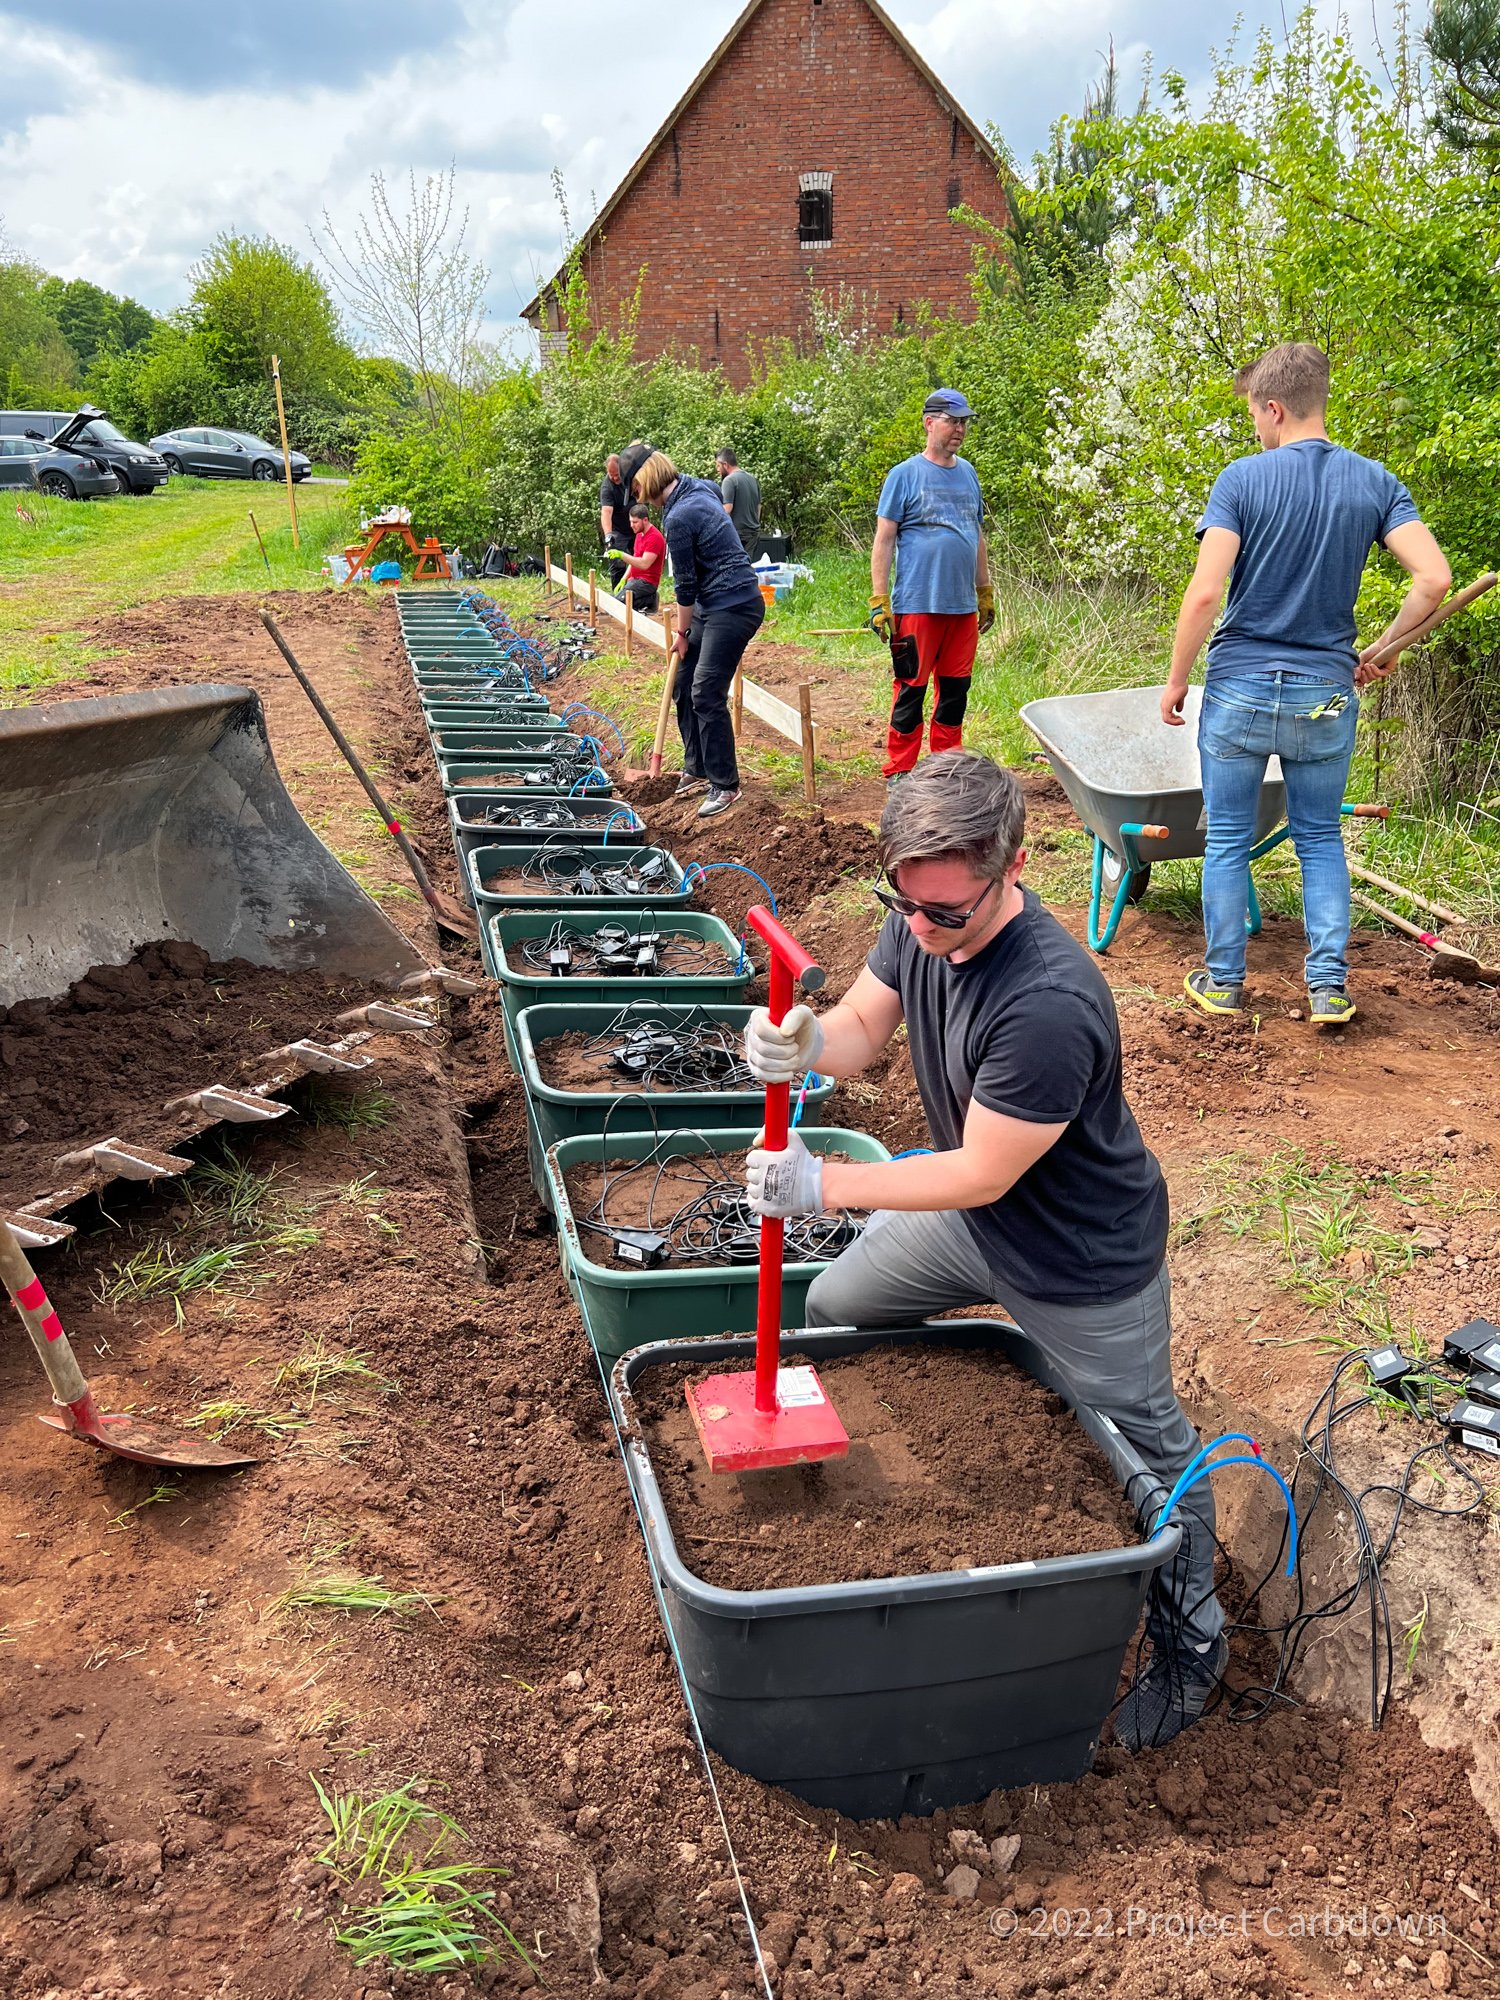
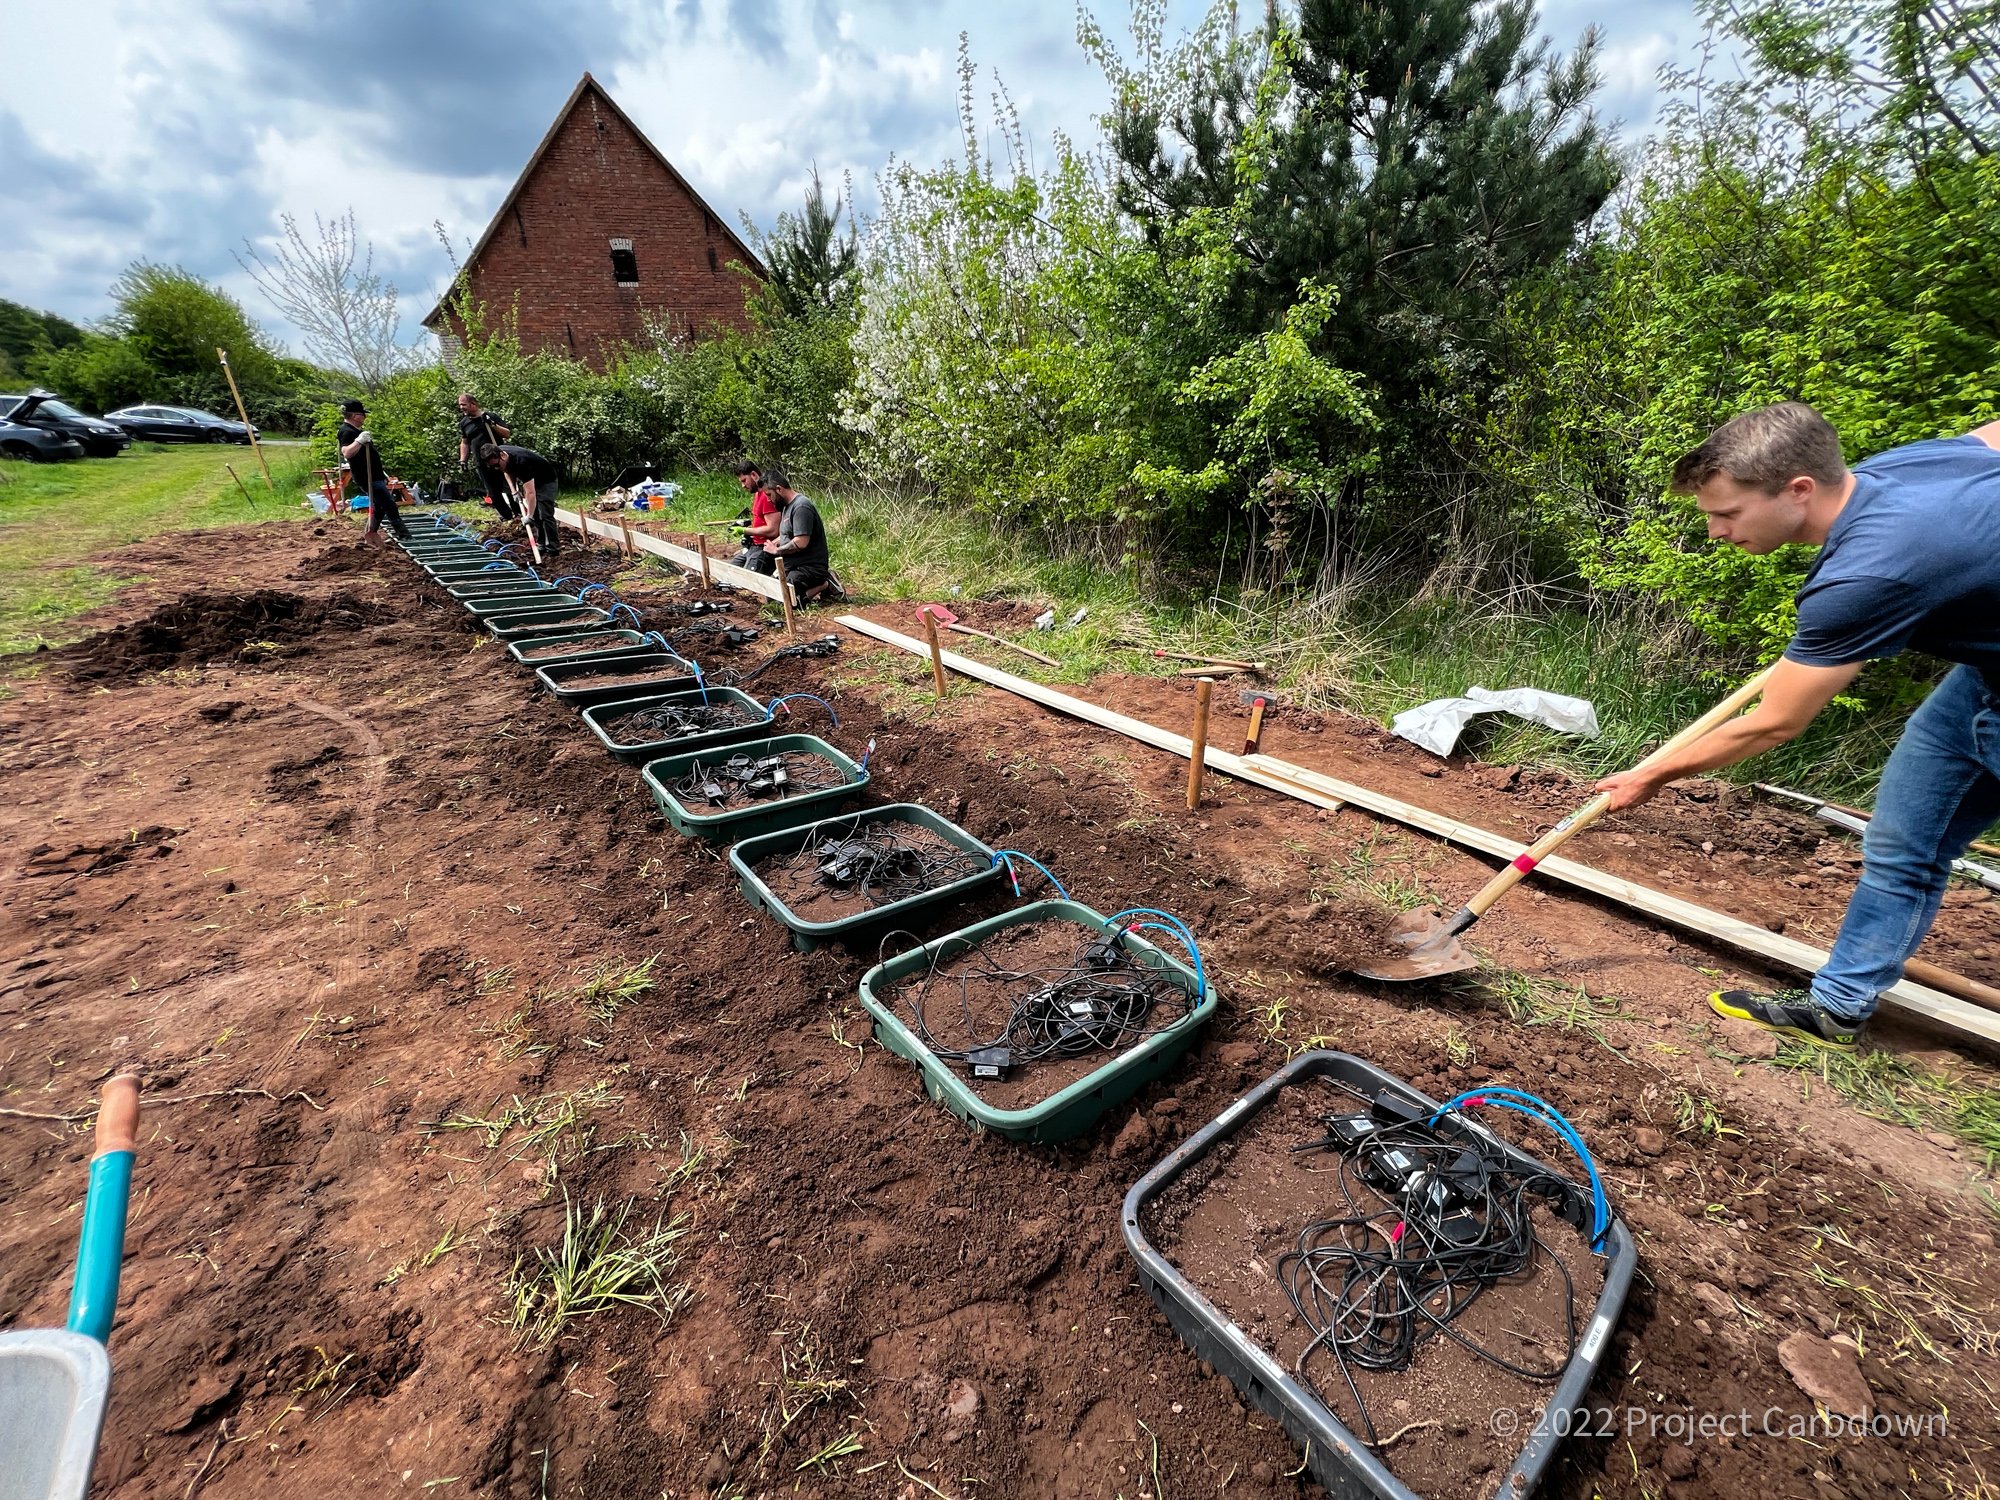
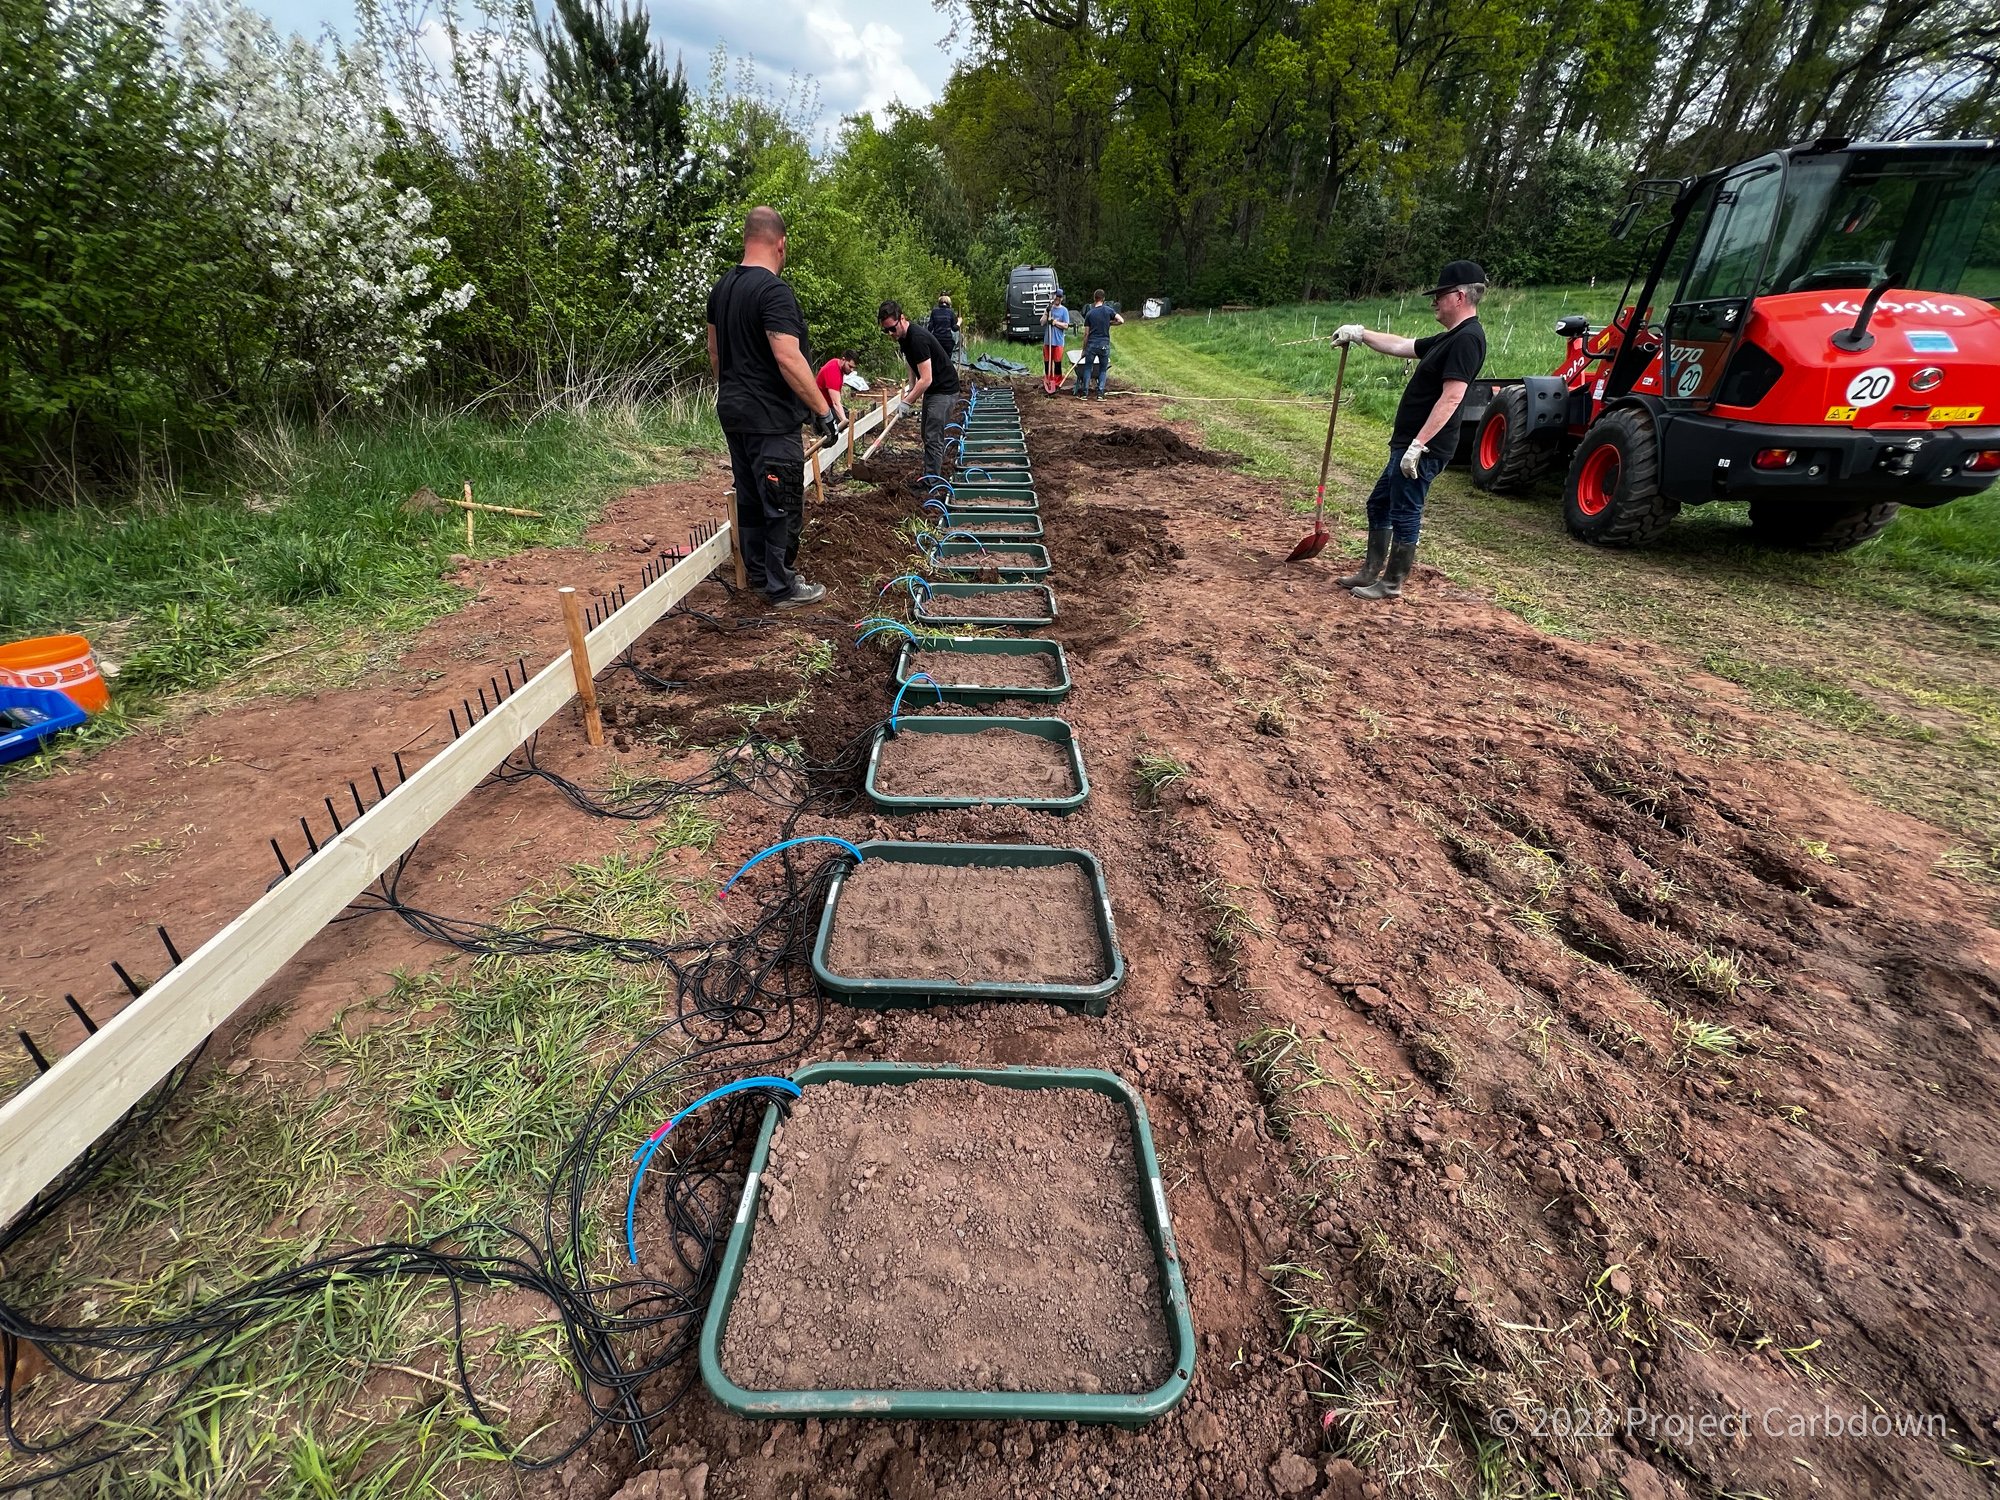
Deploying the Lysimeters On The Field
Finally, on May 5th 2022, we gathered a group of 10 helpers and put the lysimeters into the field. Again many tons of soil had to be moved, but to our surprise we finished the task by early afternoon thanks to the relentless help of our team. Thank you to all the helpers!
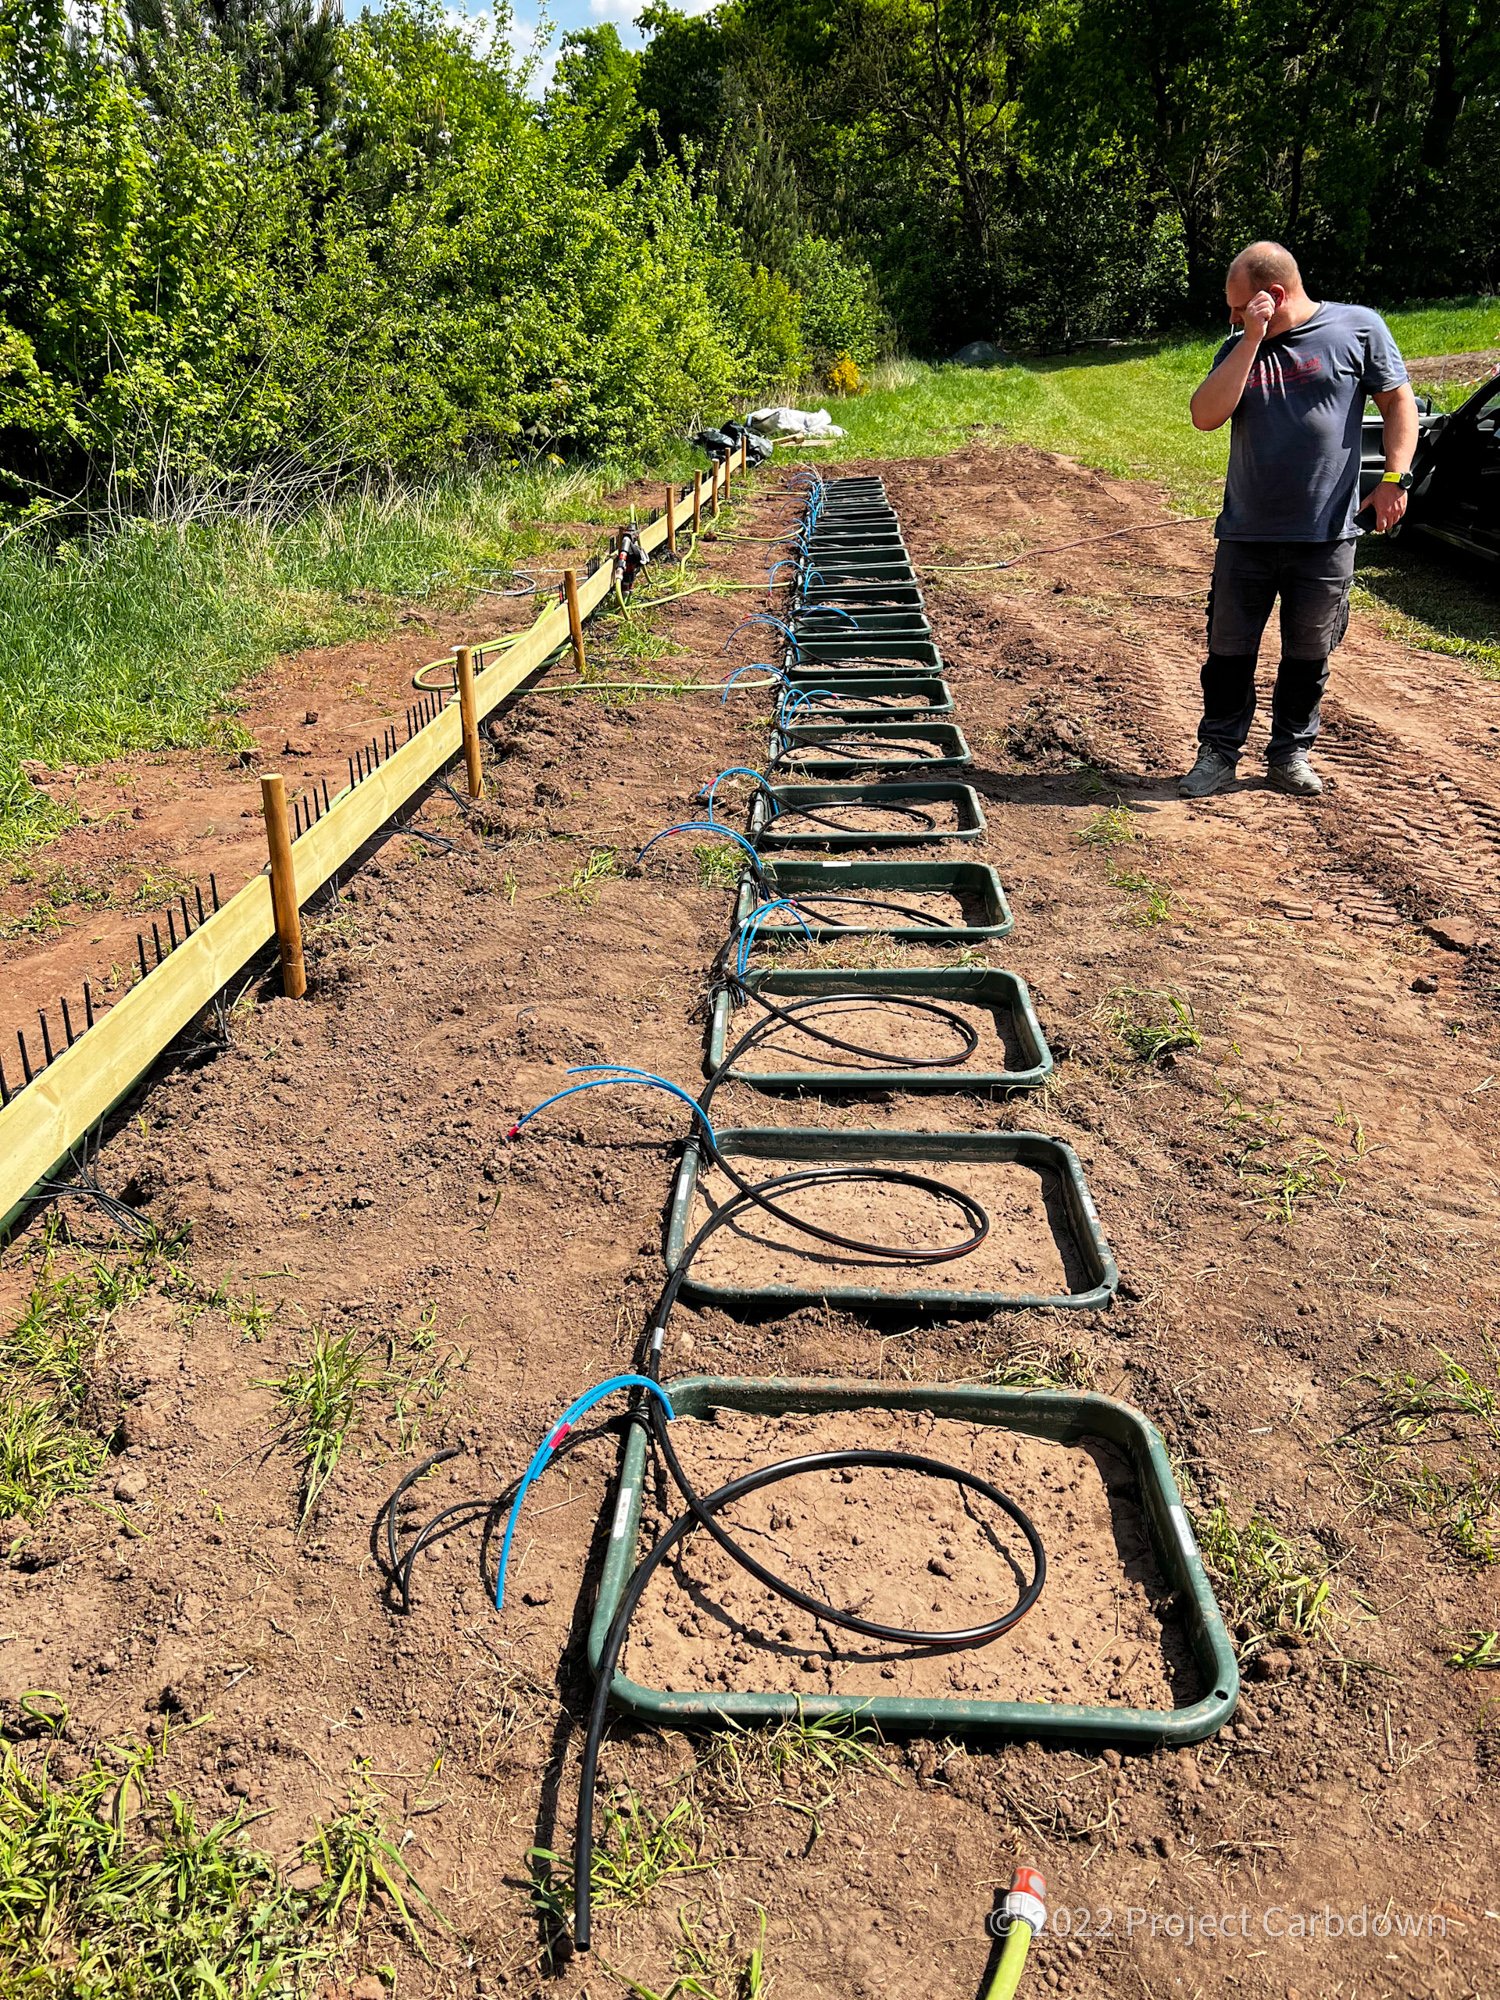
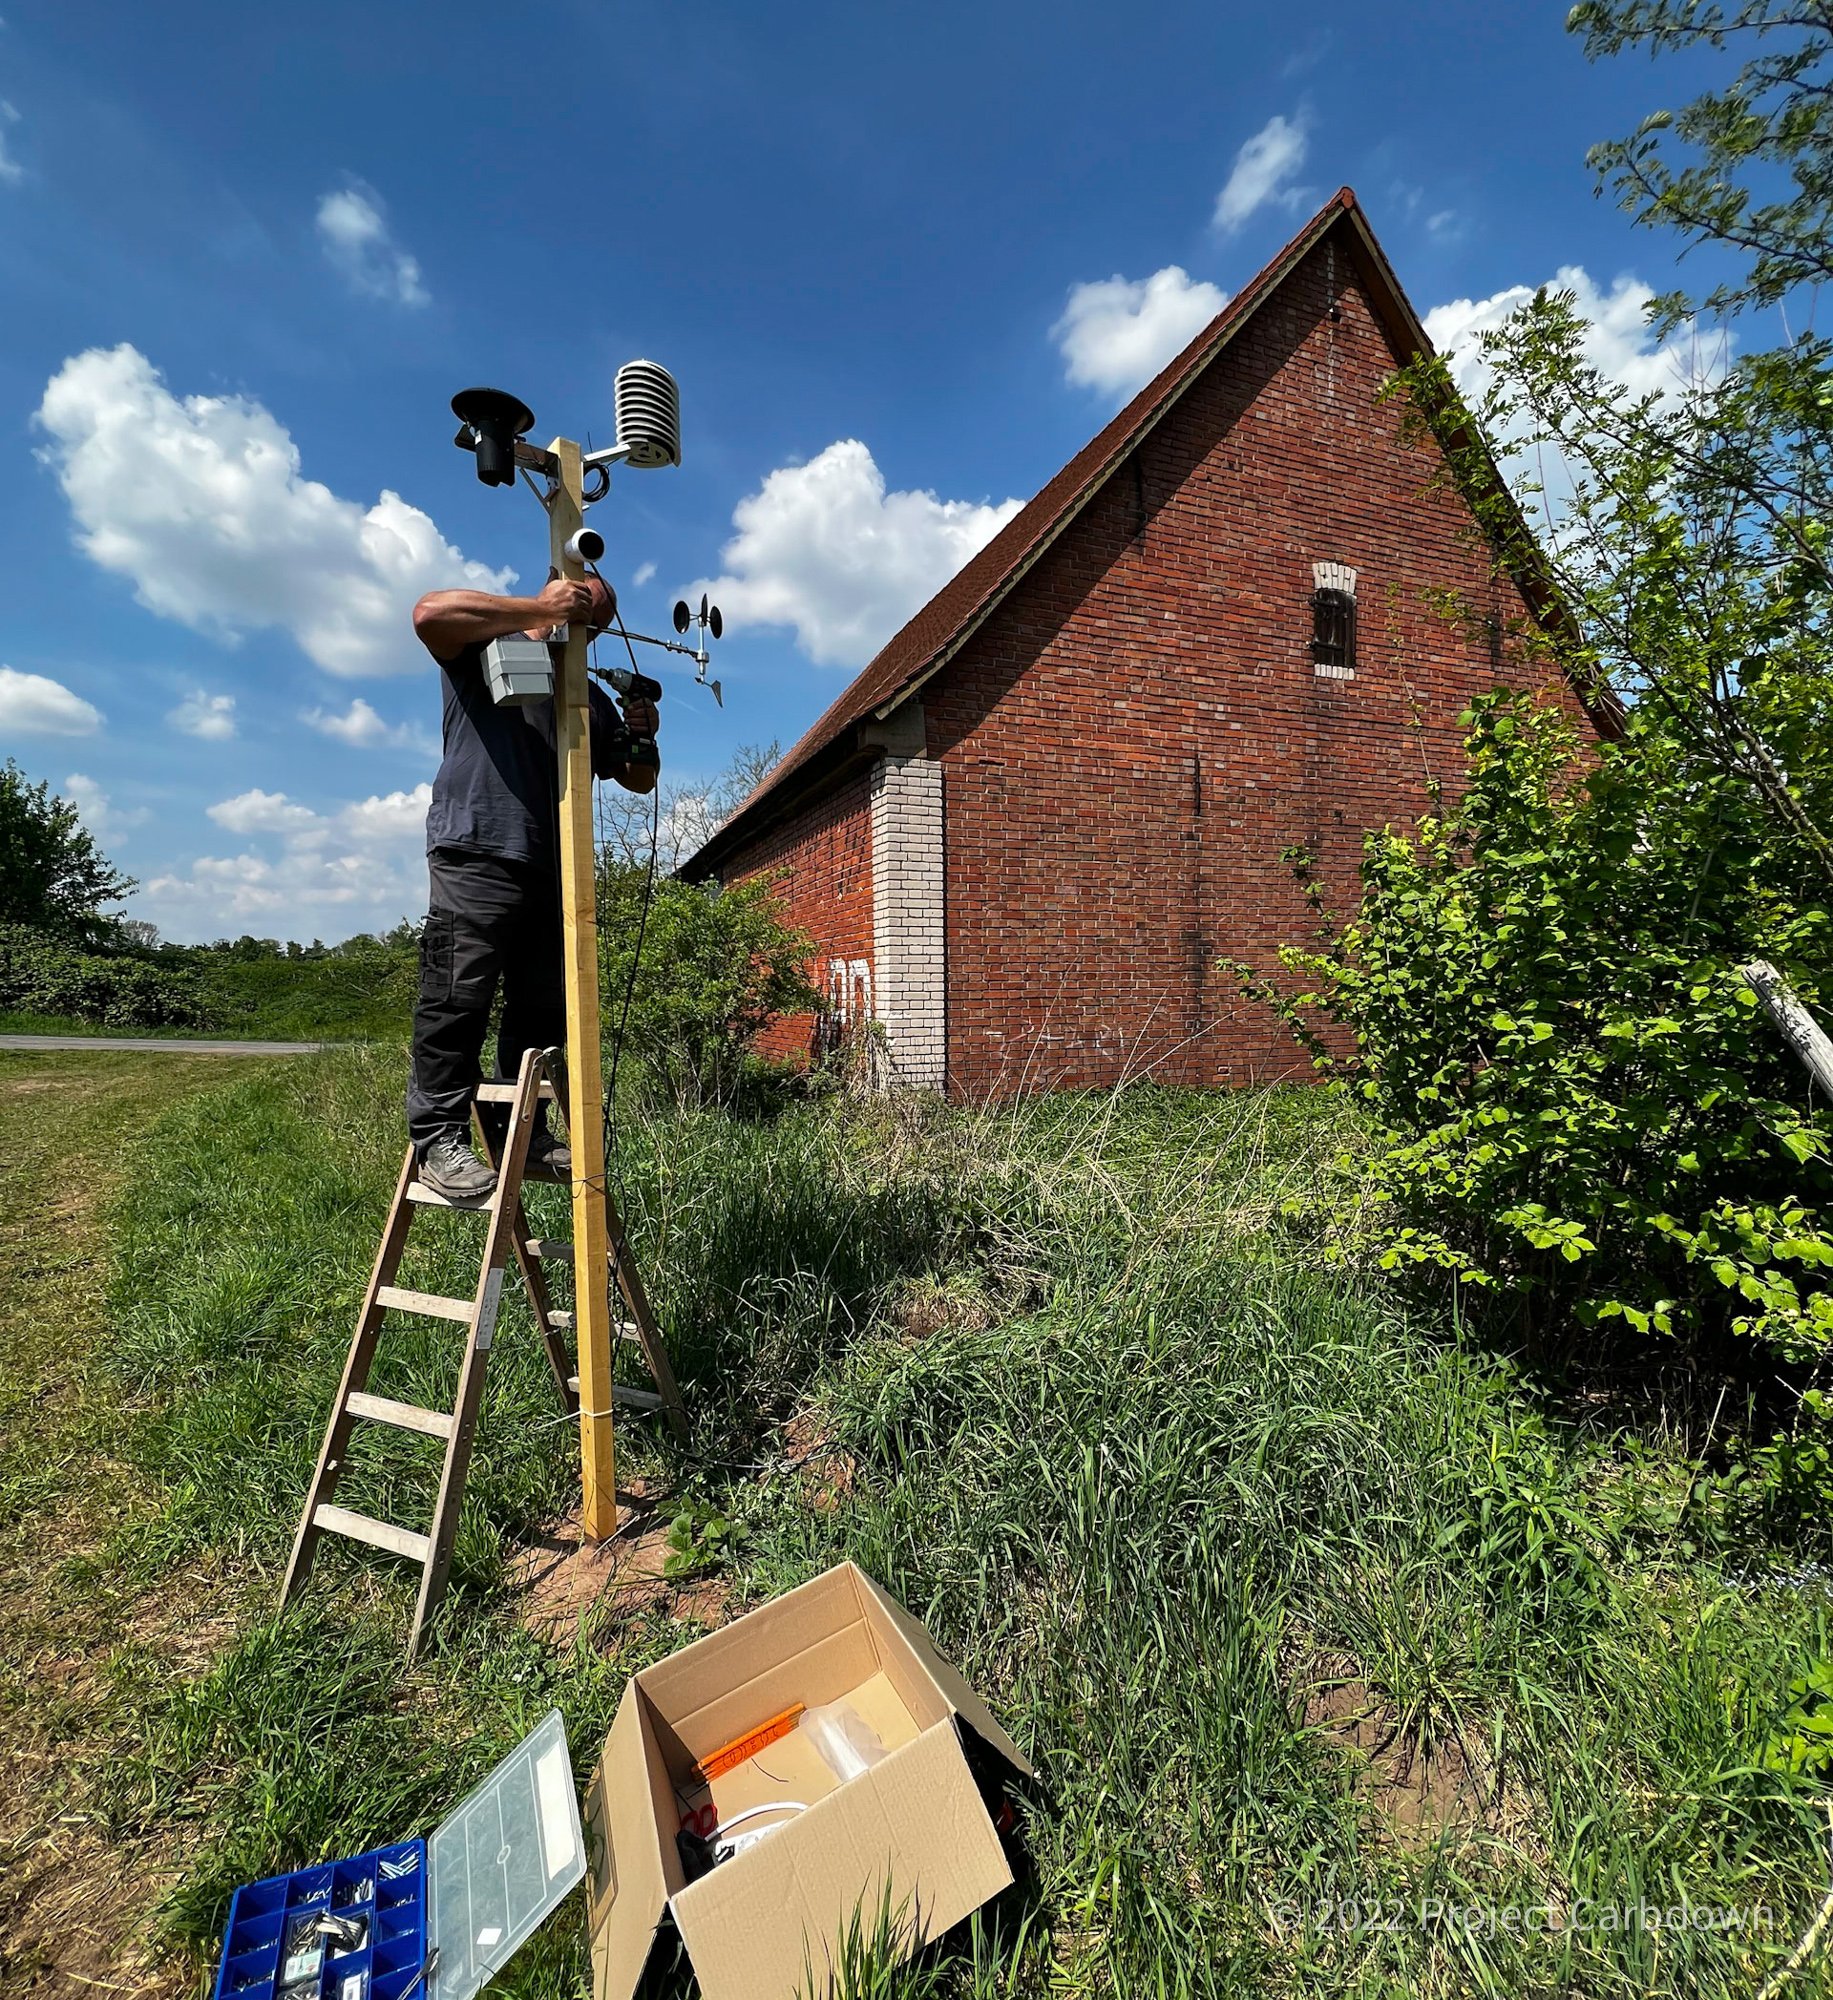
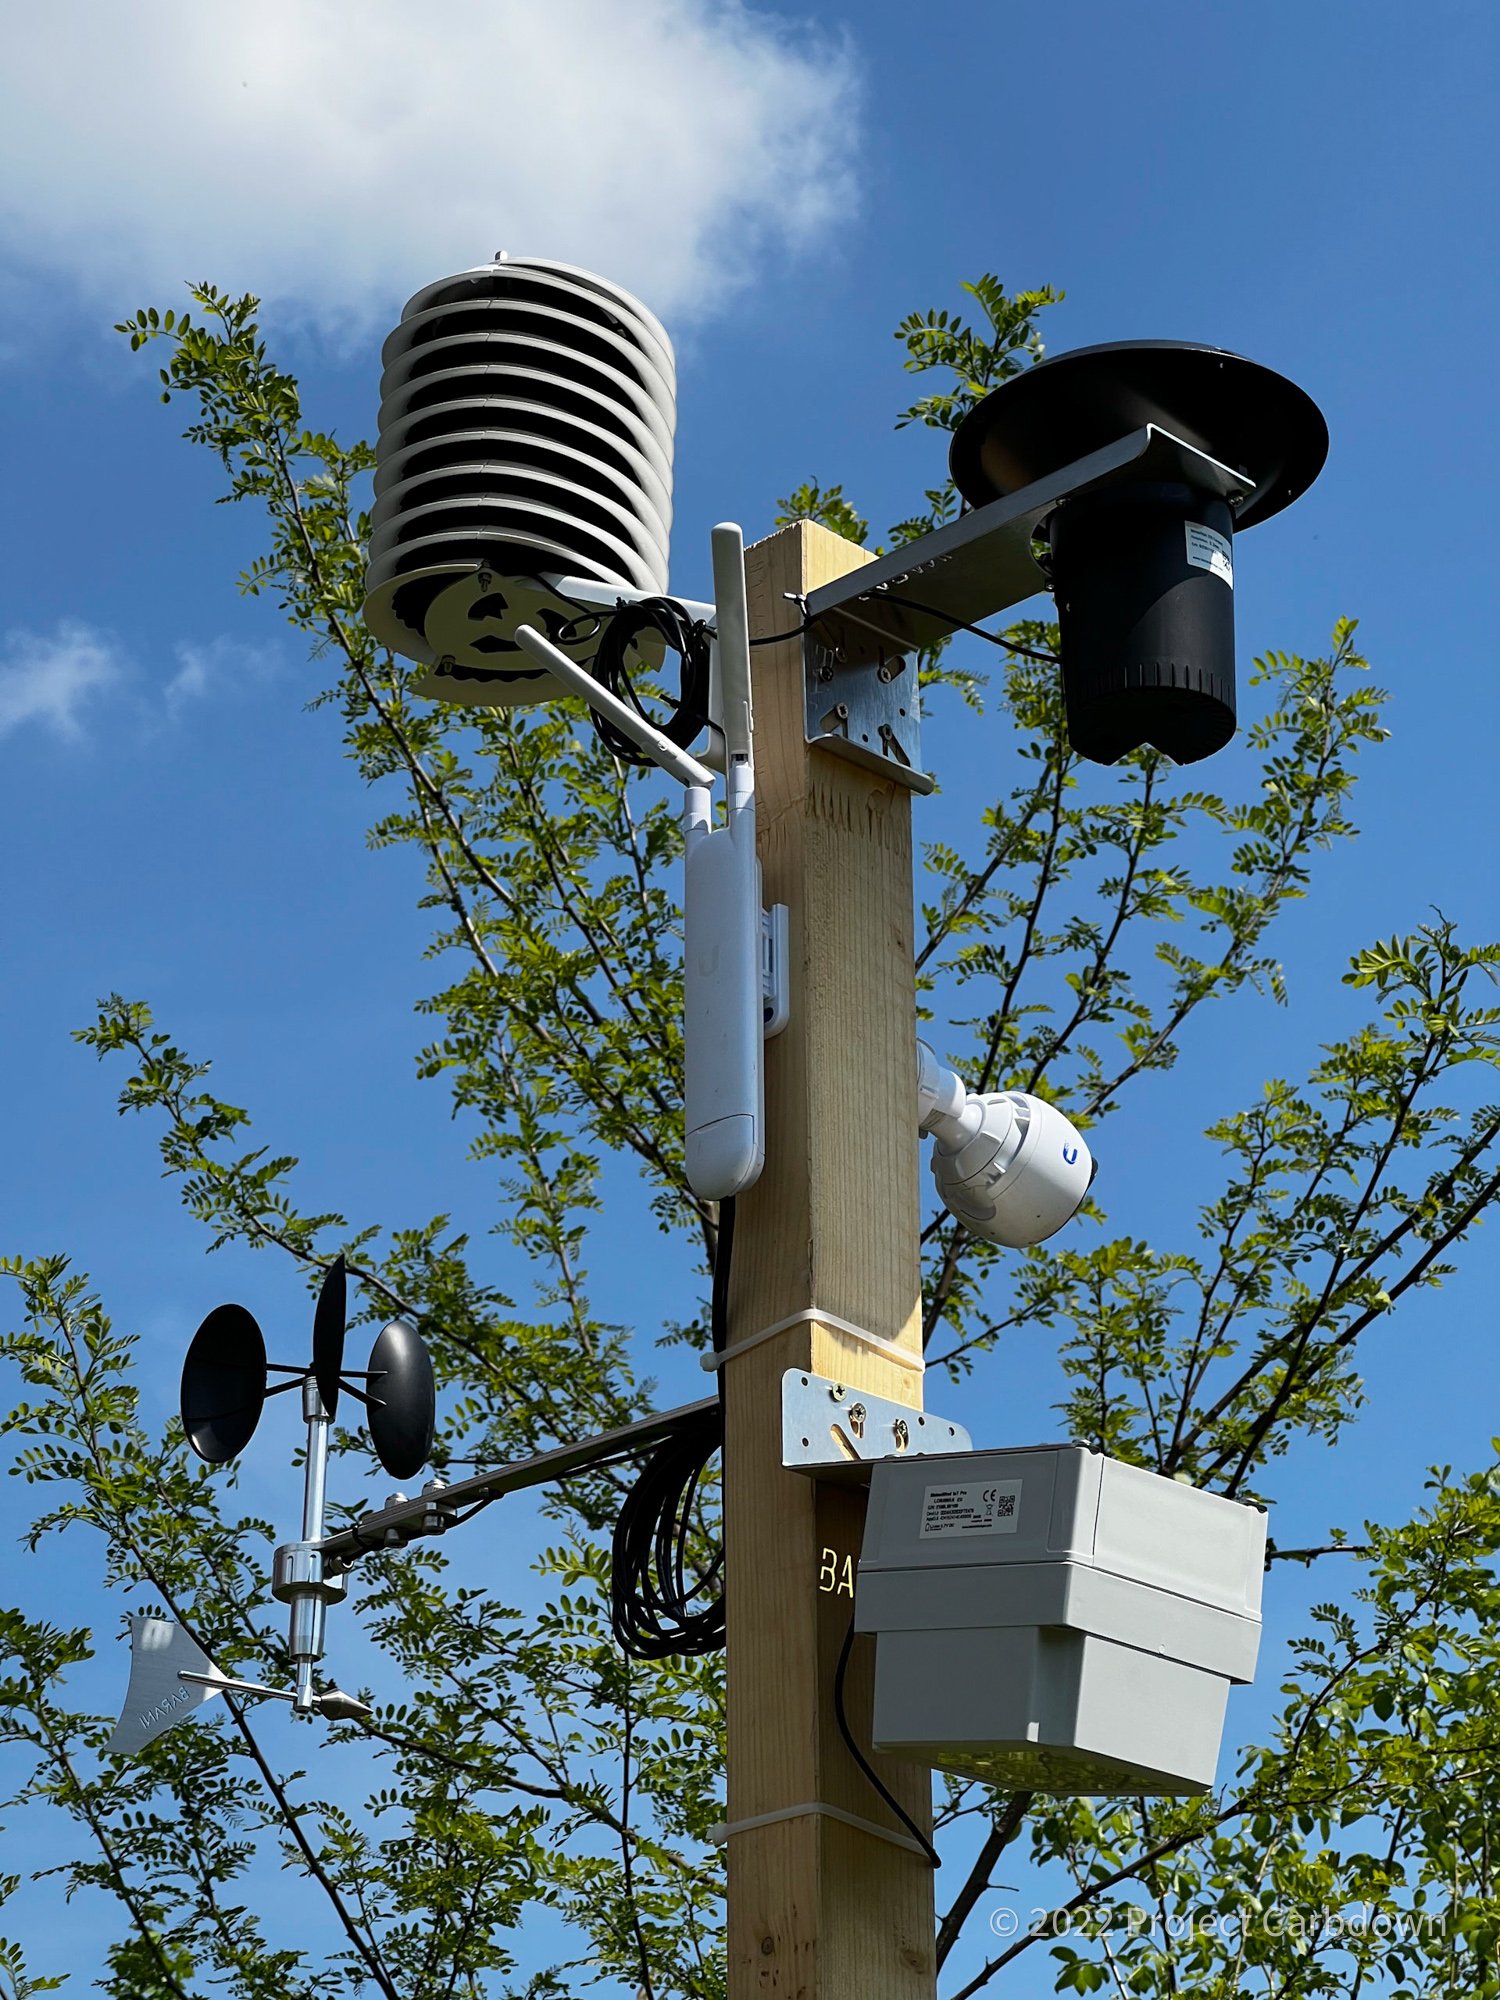
Irrigation and Weather Station
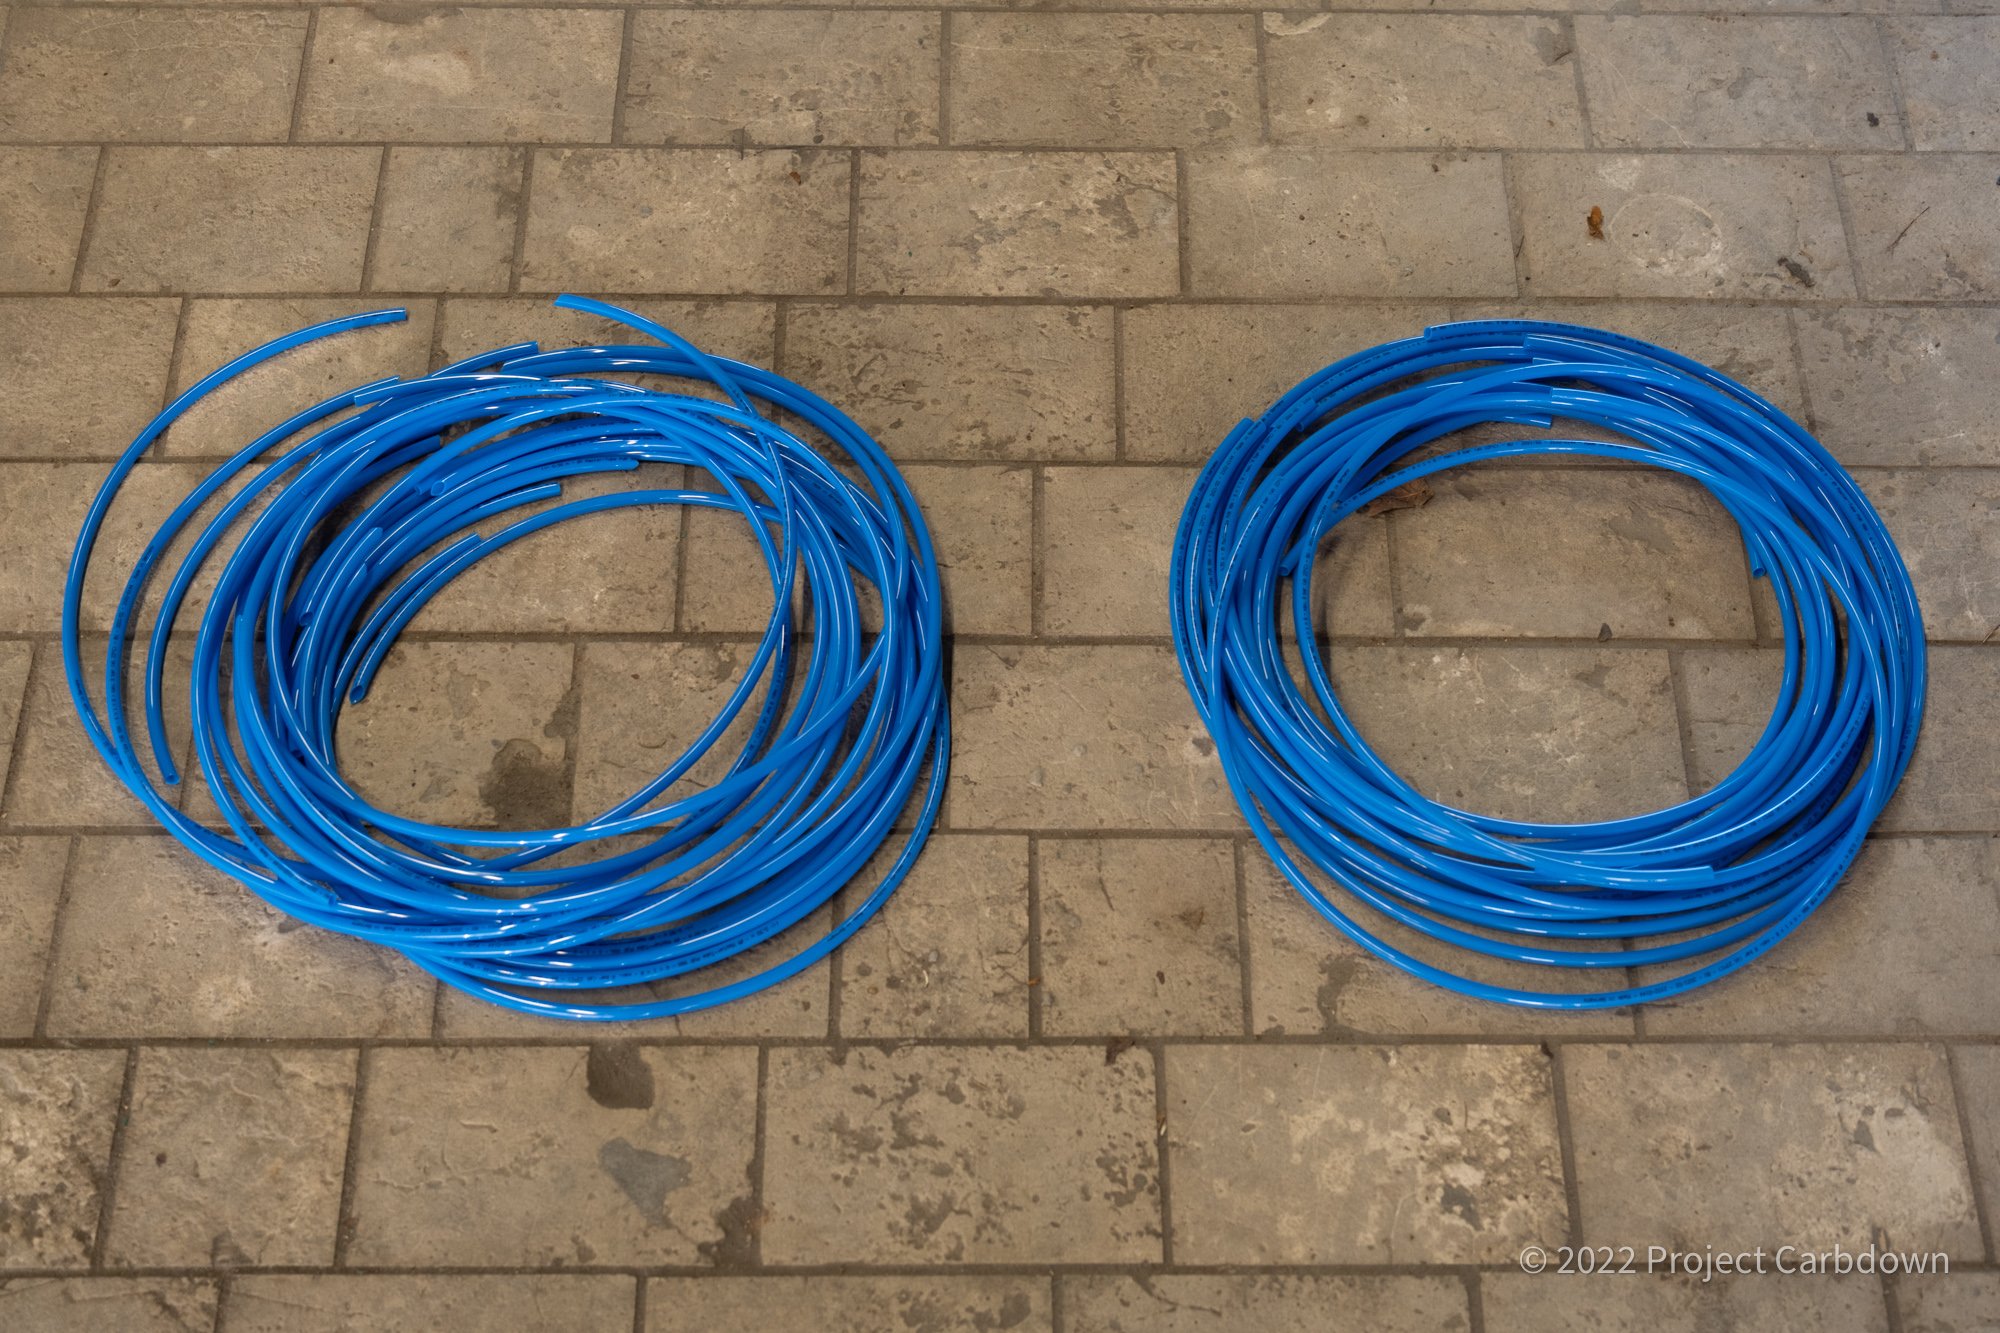
Throughout the year our goal is to always have enough water in the tank so we can take water samples every second week. From our experiments in the last year we learned that the rainfall in summer would not provide enough water. So for the new experiment we installed a drip-water irrigation system which meters the amount of tap water we put into the tanks. Together with the Barani professional grade weather station’s data we will be able to understand the mixture-rate of rain and tap water which we will need to take into account when we look at the lab results:

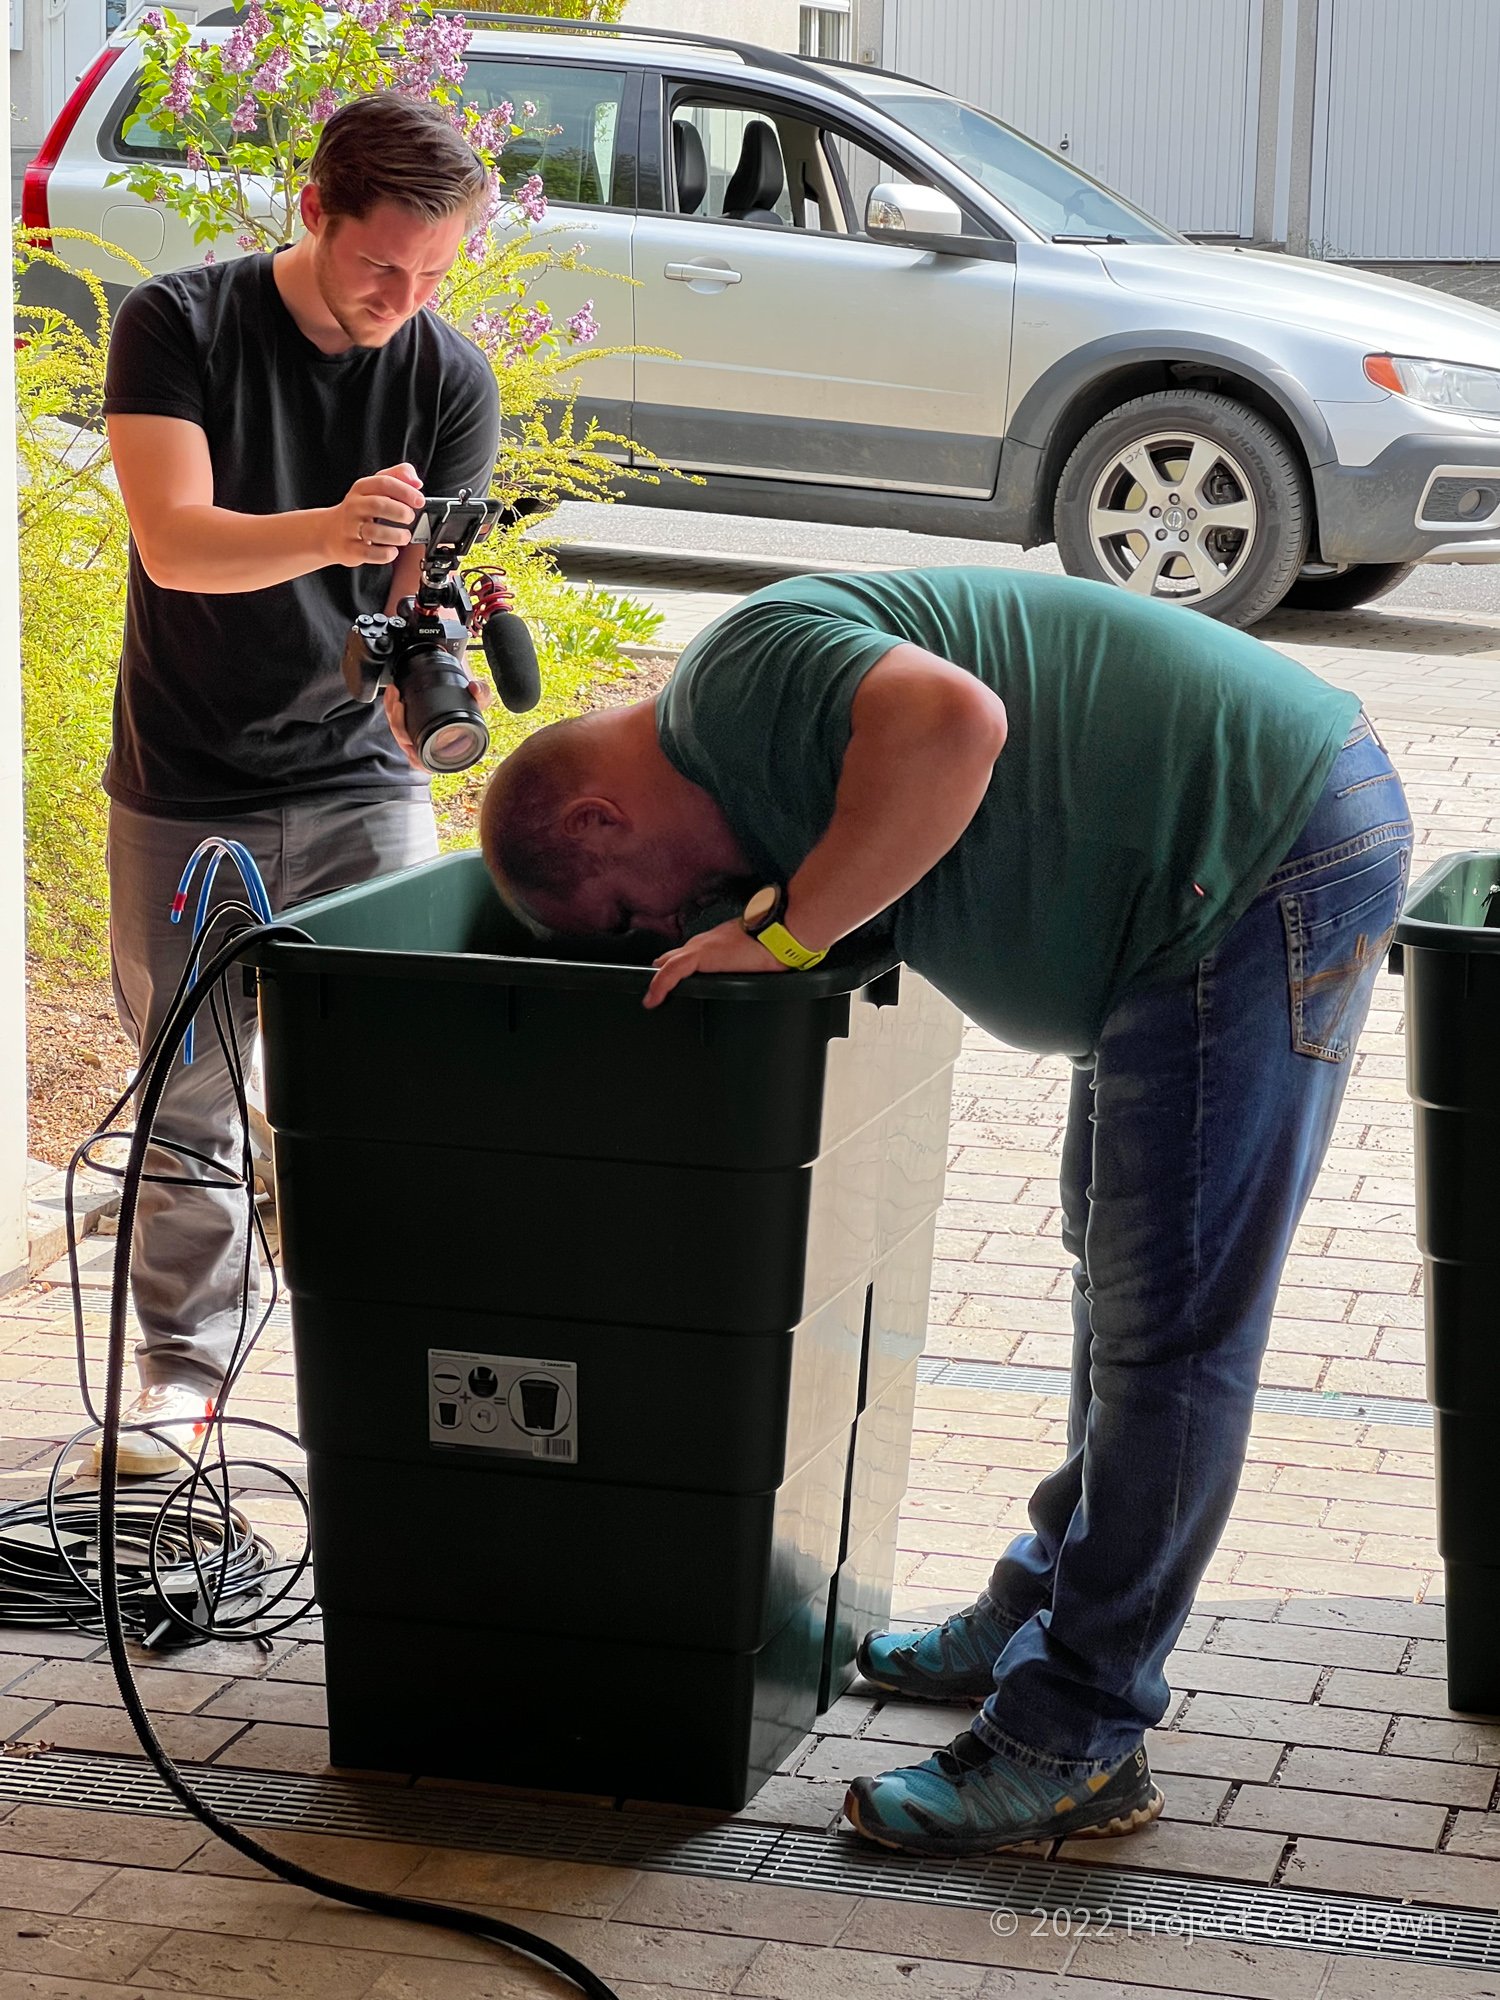
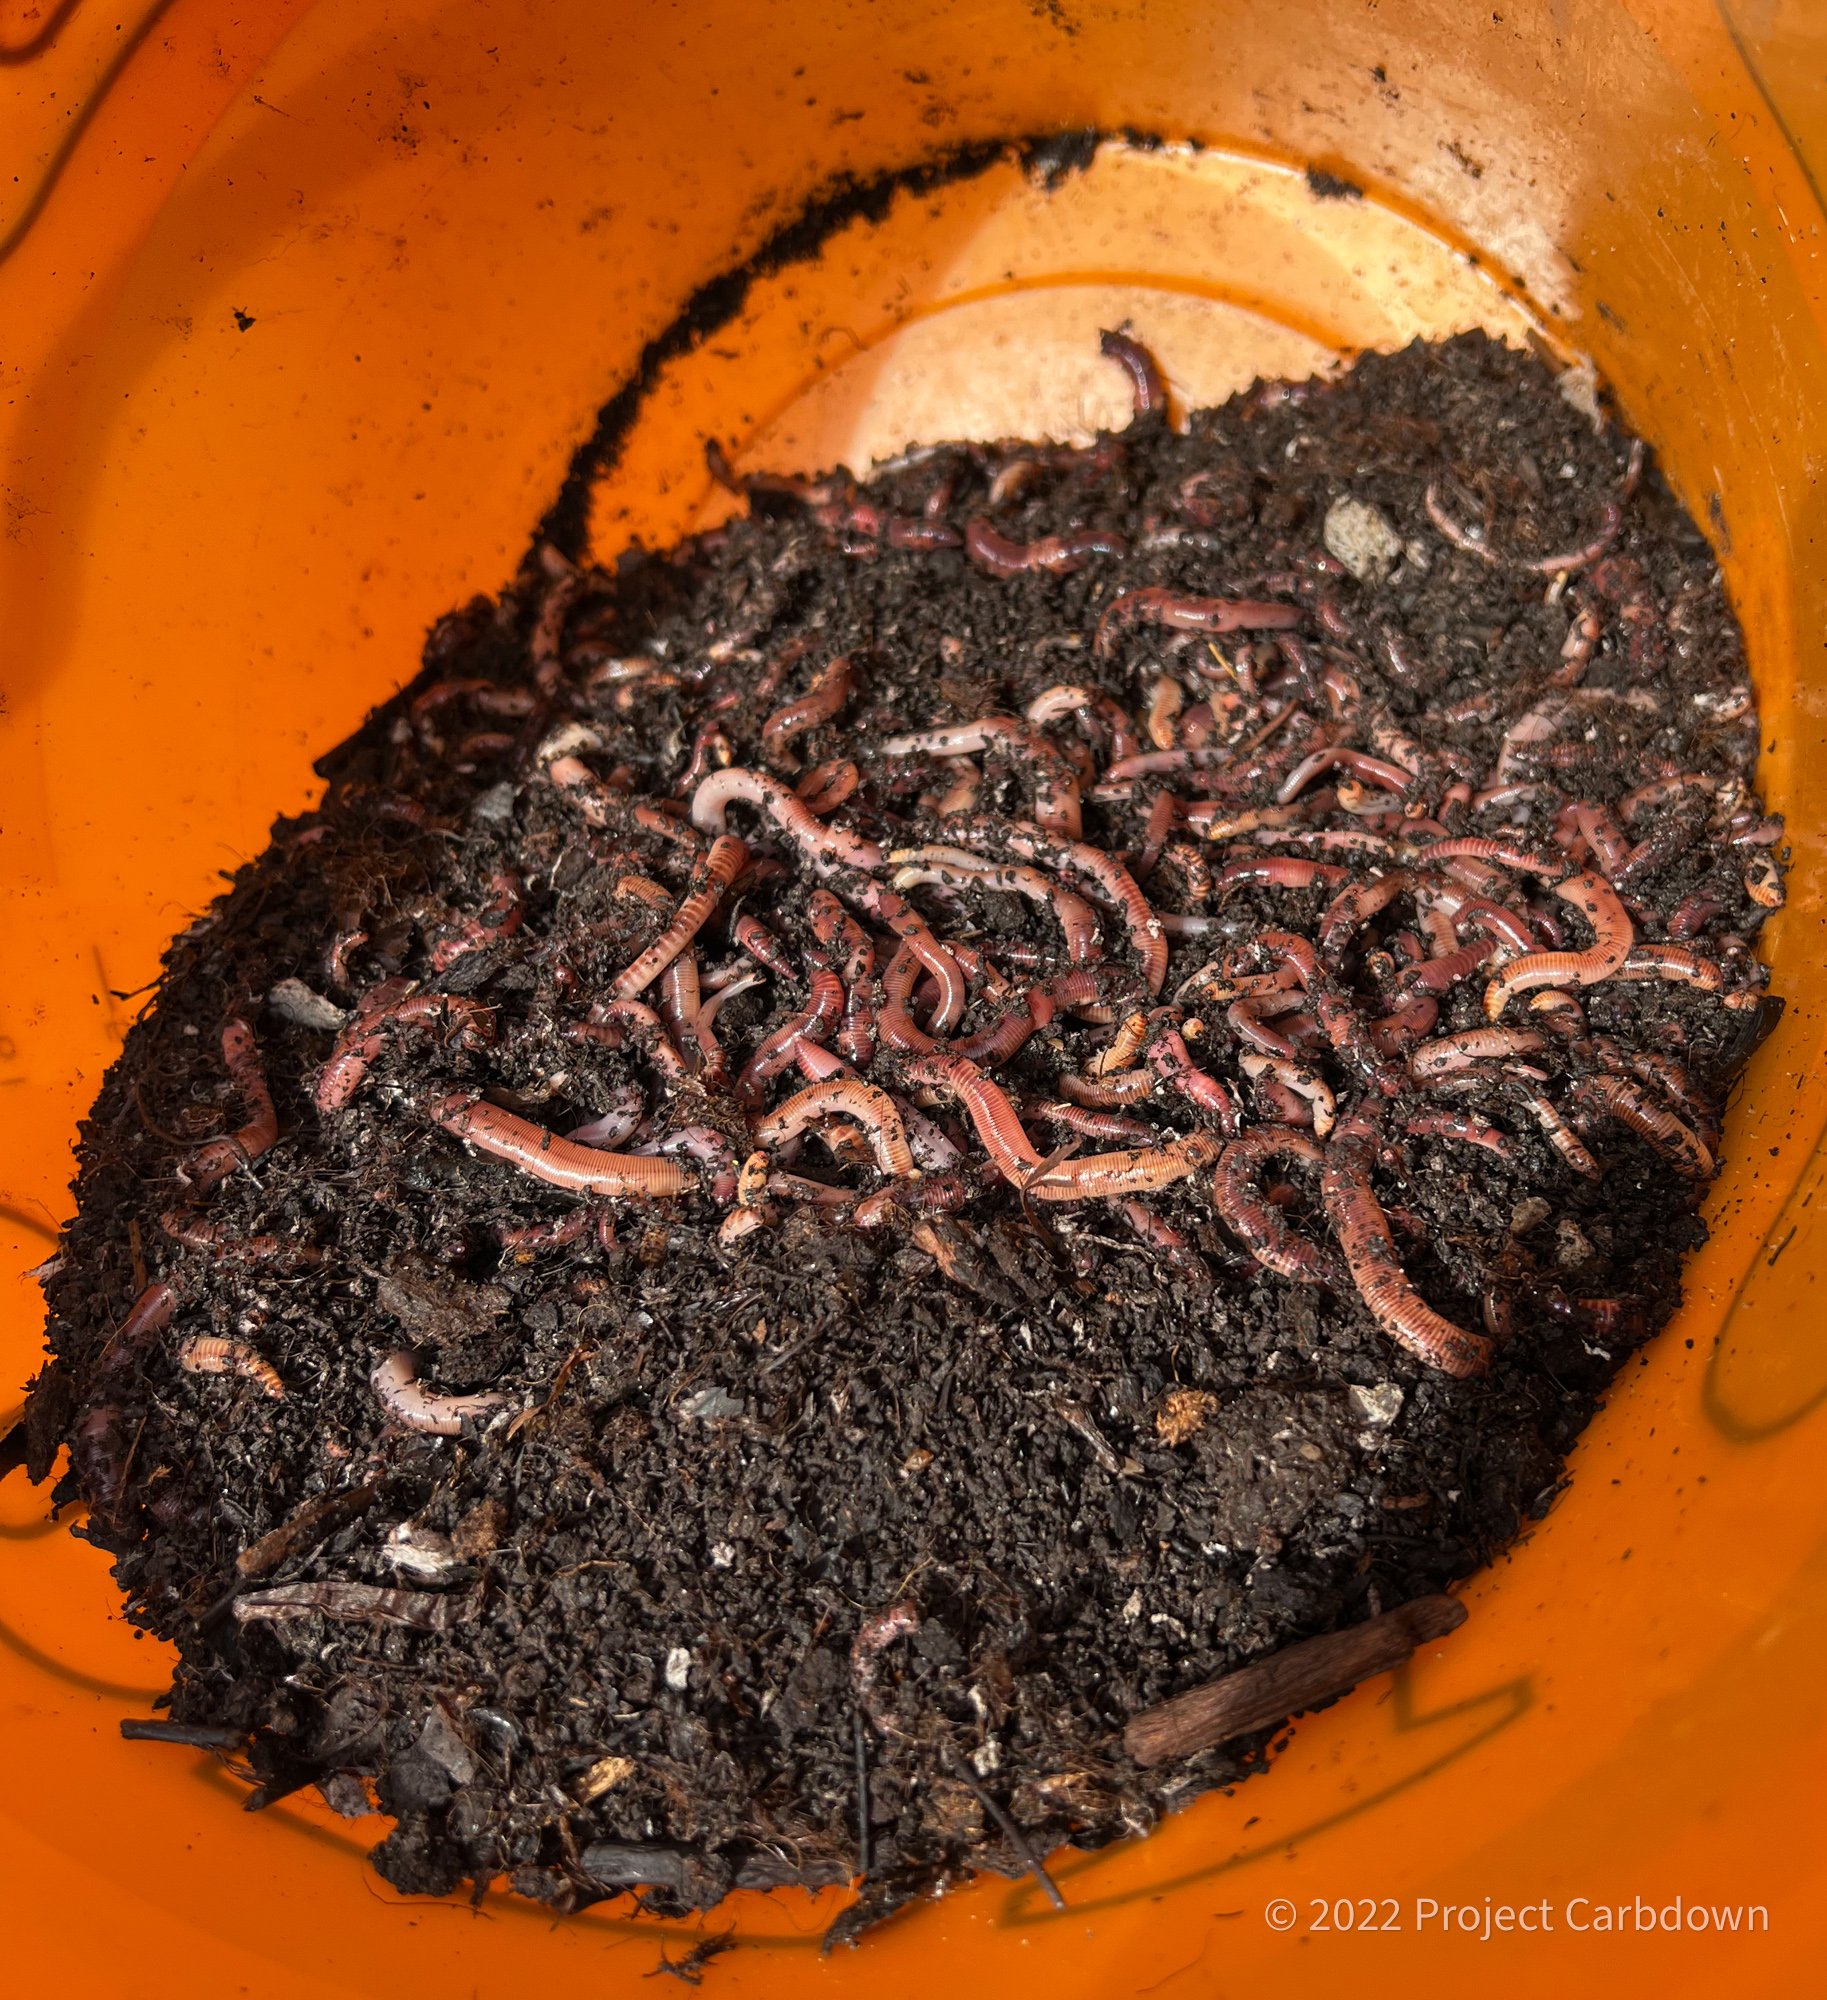
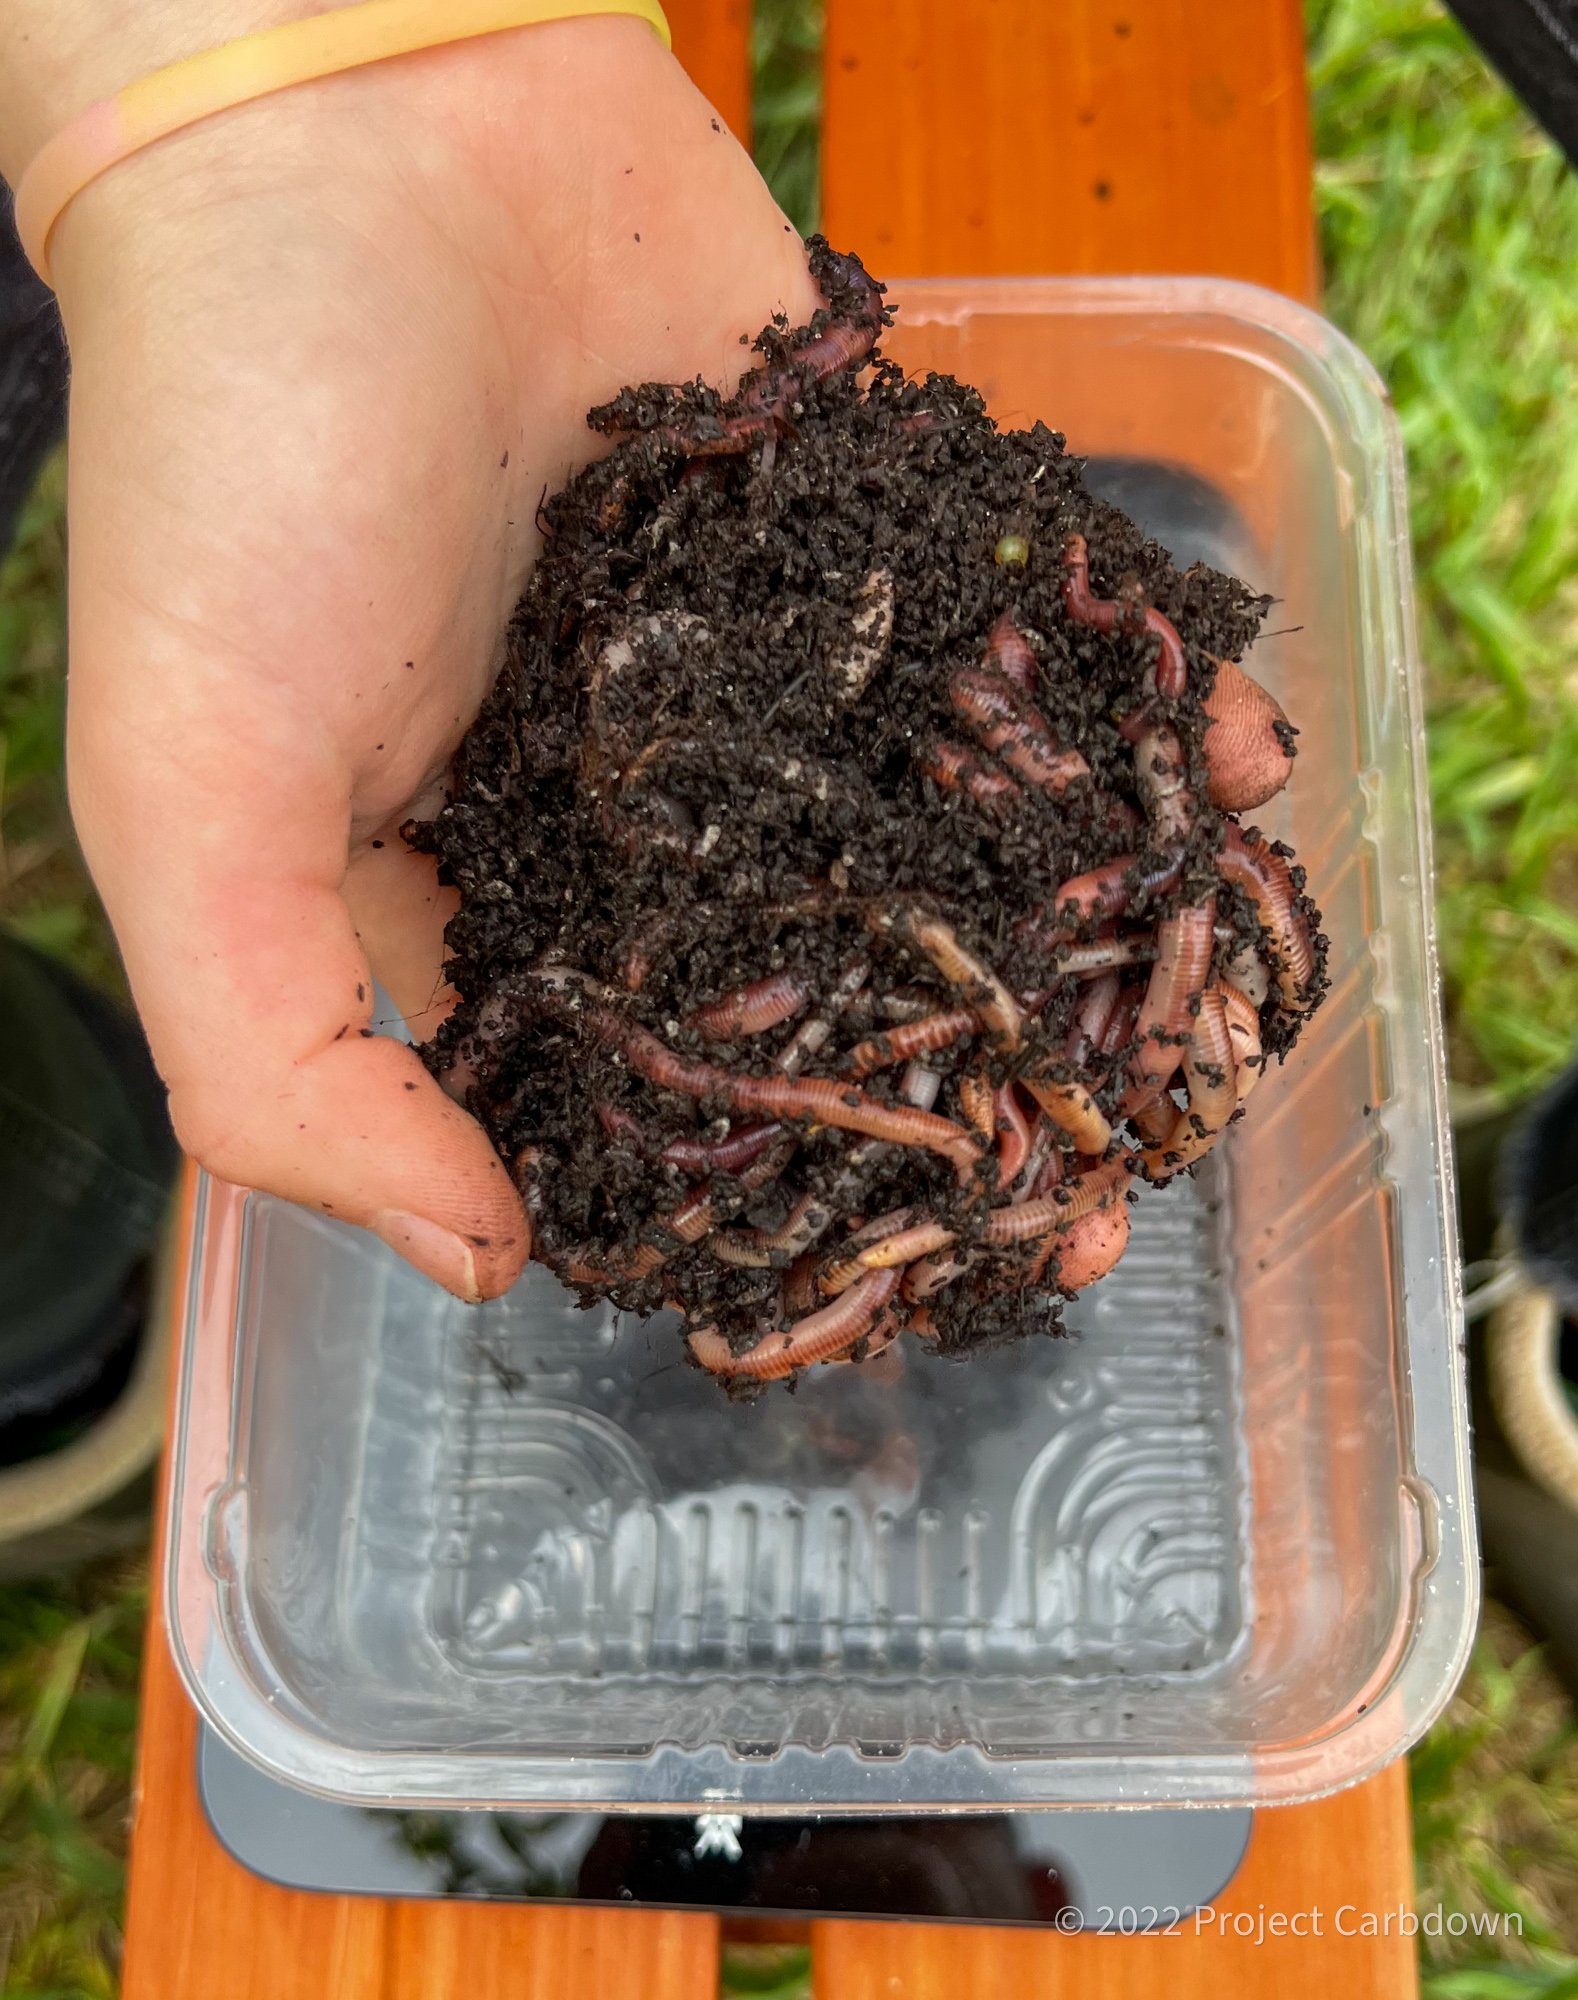
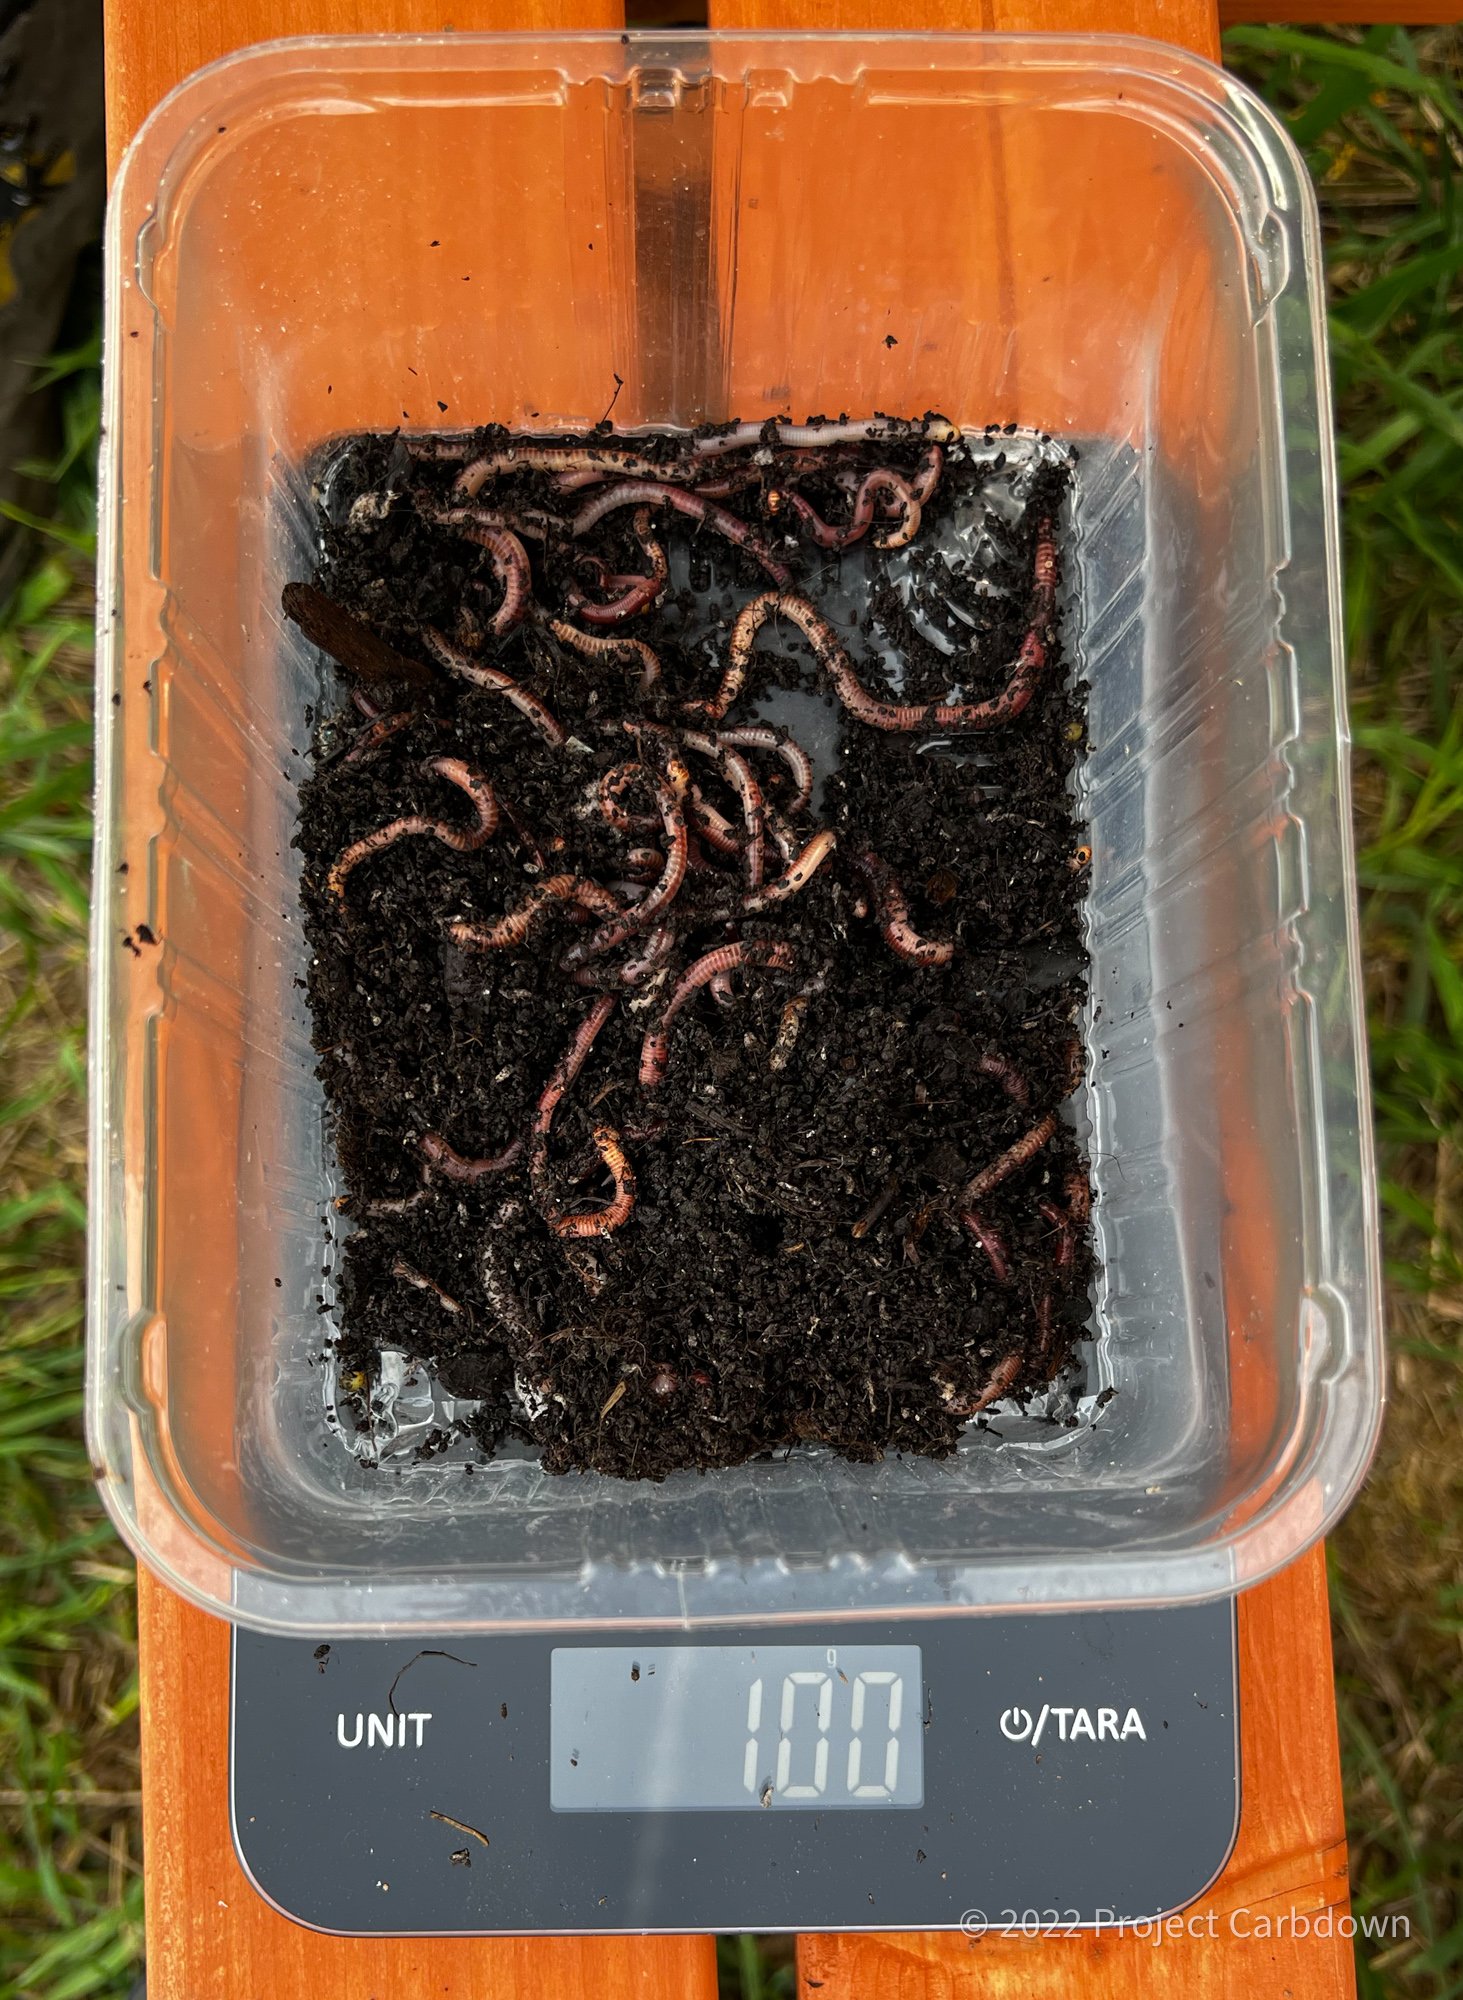
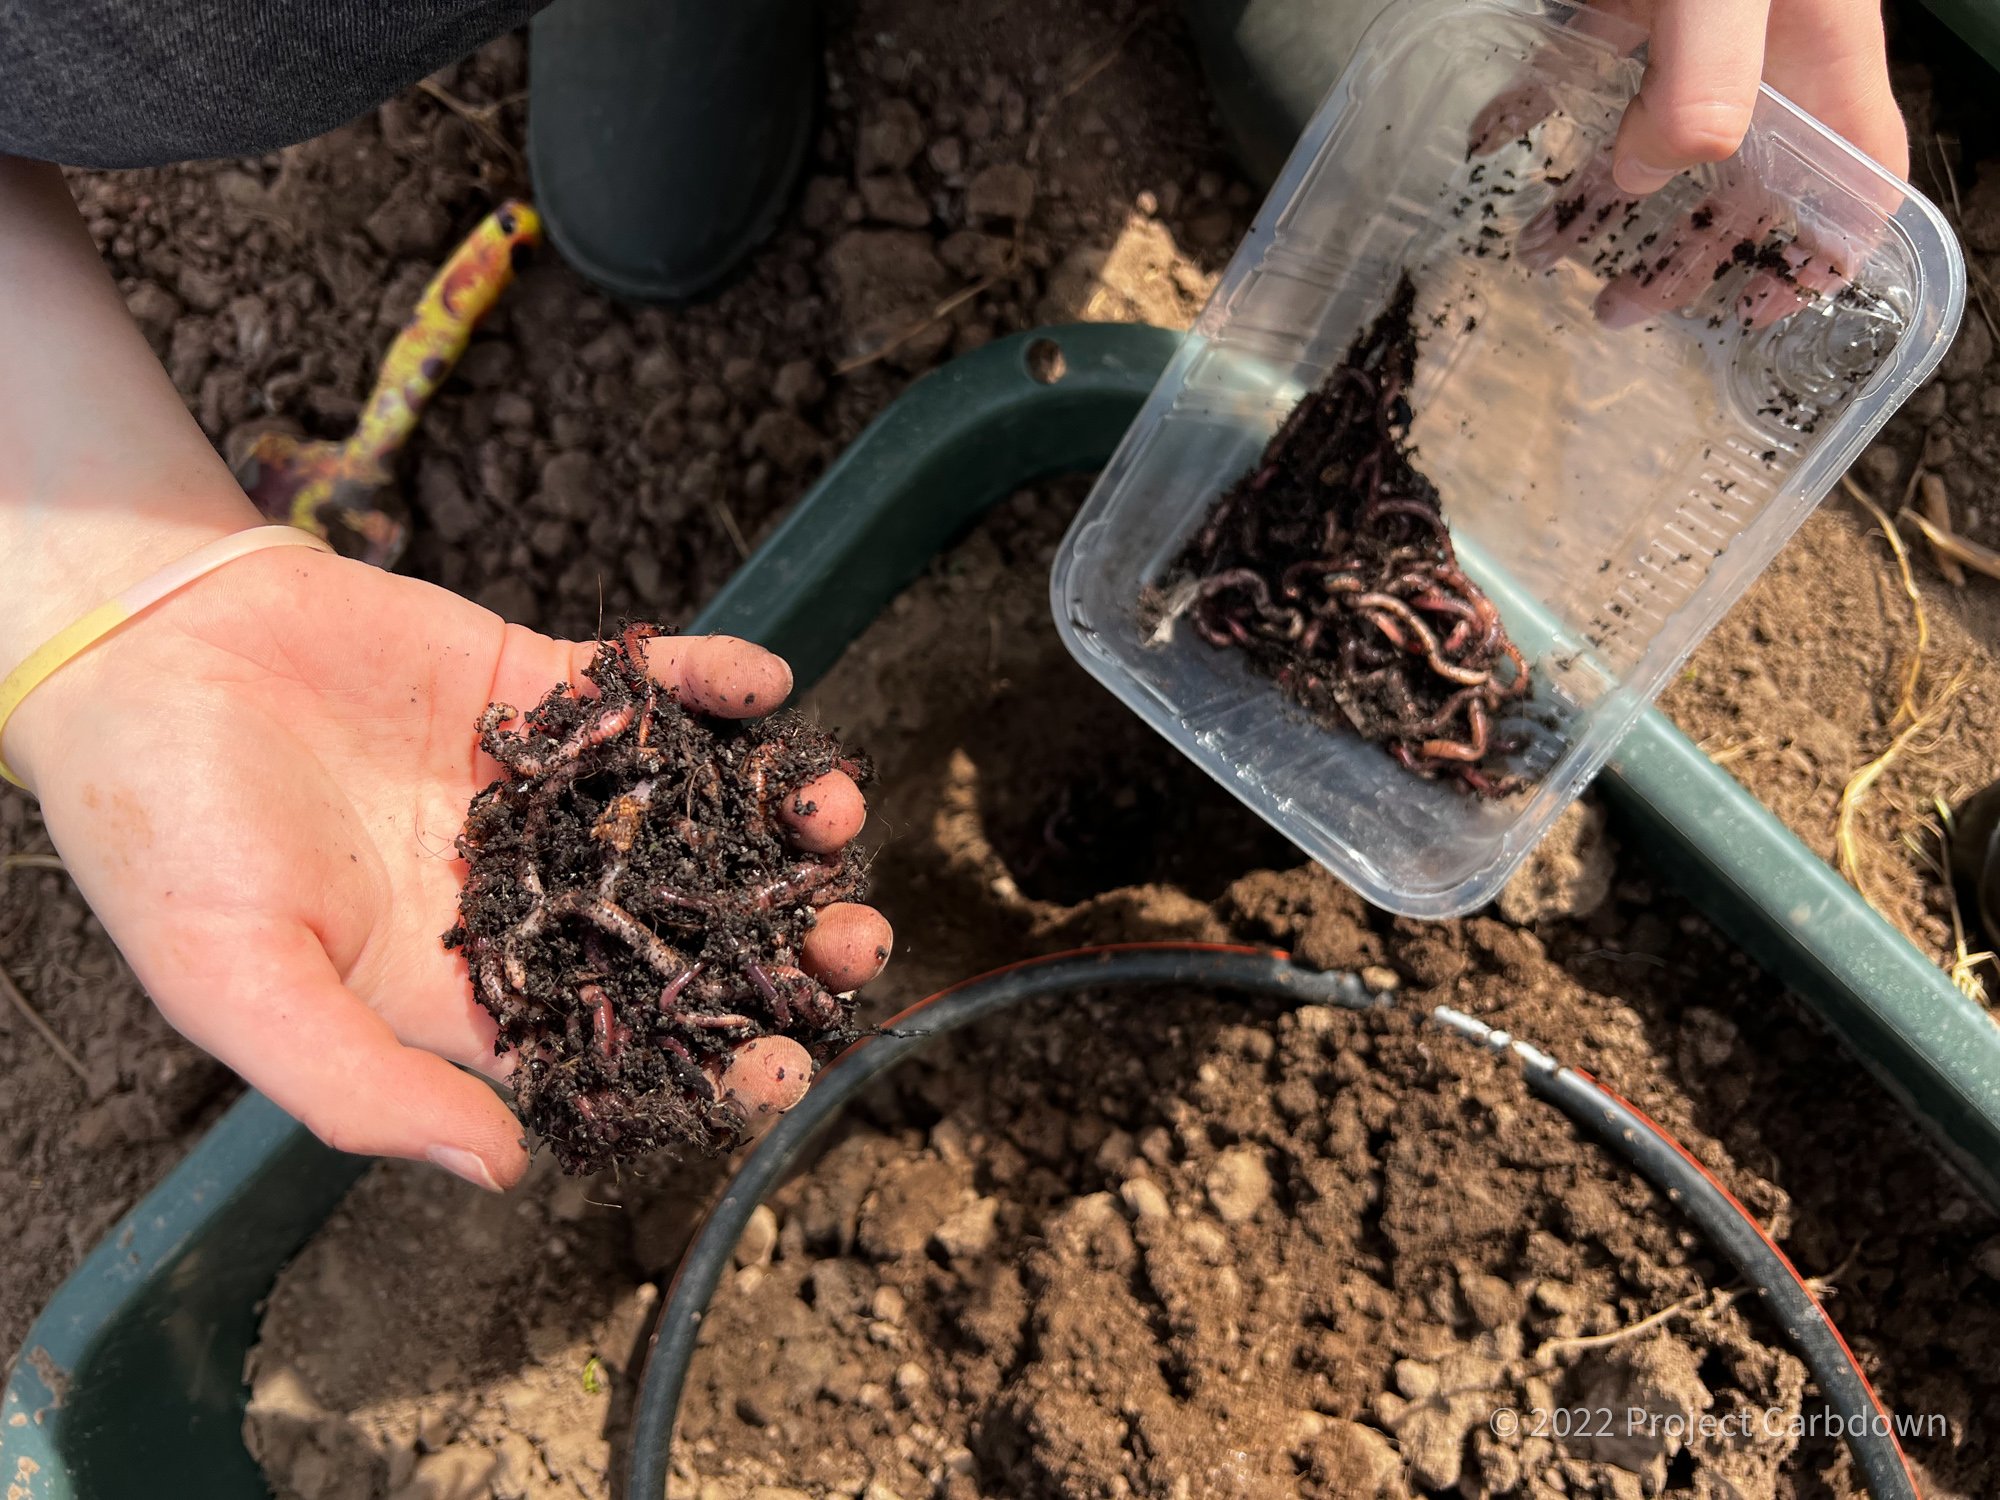
Adding Worms
The activities of worms improve the weathering process. We ordered 1000 earth worms and distributed them to all lysimeters, 50 worms per pot:
For 4-6 weeks we will let the soil in the lysimeters settle down before we add basalt and plants (our experiments last year showed the for the first weeks some sensor readings were all over the place and converged later). We also want to take water samples from all tanks before basalt is added.
Early Monitoring Results
The lysimeters are in the ground for 4 weeks now and there are already some early interesting data bits.

6.000-8.000 ppm CO₂ in the tanks
Immediately after the soil was filled into the tanks on May 5th the air in the tanks equilibrated with the soil. The CO₂ sensor readings went up and showed us that the CO₂ content in the soil is ~15-20x times higher than in the ambient air which only has 420 ppm of CO₂.
This fact is one of the reasons why we mix basalt into the soil onto croplands: The higher the amount of CO₂ around the basalt grains the faster the weathering process will be (at least as long as enough water is available).
using moisture sensors to measure the liquid level in the tanks actually works

We always need to know the current fluid level in each tank for two reasons:
We need to make sure that there will be enough water for the sampling days. If rain doesn’t provide enough liquid we have to add water by irrigation.
Also we need to make sure that the tanks don’t fill too much because our cameras and gas sensors would be drowned and would likely be damaged.
During the development of the lysimeters we had tried to install dedicated wireless liquid level sensors, but without success, they were incompatible with our tanks. The next idea we tried was to install a Dragino Soil Moisture sensor vertically into the tank — and that actually worked. When water is collected inside the tank the sensor picks up an increasing moisture signal along the sensor forks’ length and gives us a reading between 0% and 100%. A reading of 100% means that most of the forks are under water.
With this monitoring we learned that when it starts to rain or when we start the irrigation system water reaches the tank in a matter of minutes. Think of it like a sponge full of water: If you add water on top it drives out the water that was stored in the bottom of the sponge.
Soil Conductivity Sensors
The following graphs show the electrical conductivity of the soil measured at 30 cm and 60 cm in all of the tanks. At 30 cm depth we see readings between 100 and 150 μS/cm. At 60 cm depth the readings are between 150 and 200 μS/cm (except for one outlier). The difference between 30 cm and 60 cm depth is due to the fact we put the soil into the tanks in 2 layers (0-30 cm and 30-60 cm of the soil that we dug out). As soon as we add basalt onto some of the lysimeters we expect these readings to diverge depending on the amount of basalt because the weathering generates alkalinity which will drive up the EC metrics for the basalt treated pots.

Our cameras
In three tanks we have installed a camera and there is also a camera that monitors the whole setup. In the tanks you can see the vertical forks of the moisture/conductivity sensors on the left. The black pH sensor and the tubes are visible in the back and the metal tube in the front/left is the CO₂ sensor.

The next step will be the initial sampling of water for the lab analysis next week and afterwards the treatment with basalt and planting of plants on top of it. Stay tuned!